Wood Joinery Experiments #algorithmic #fabrication #p5js #javascript #itp #introduction-to-fabrication
I have always wanted to experiment with wood joinery and I finally decided that this is the week. During my research, I stumbled upon this interactive wood joint design system and wanted to create something similar in p5.js.
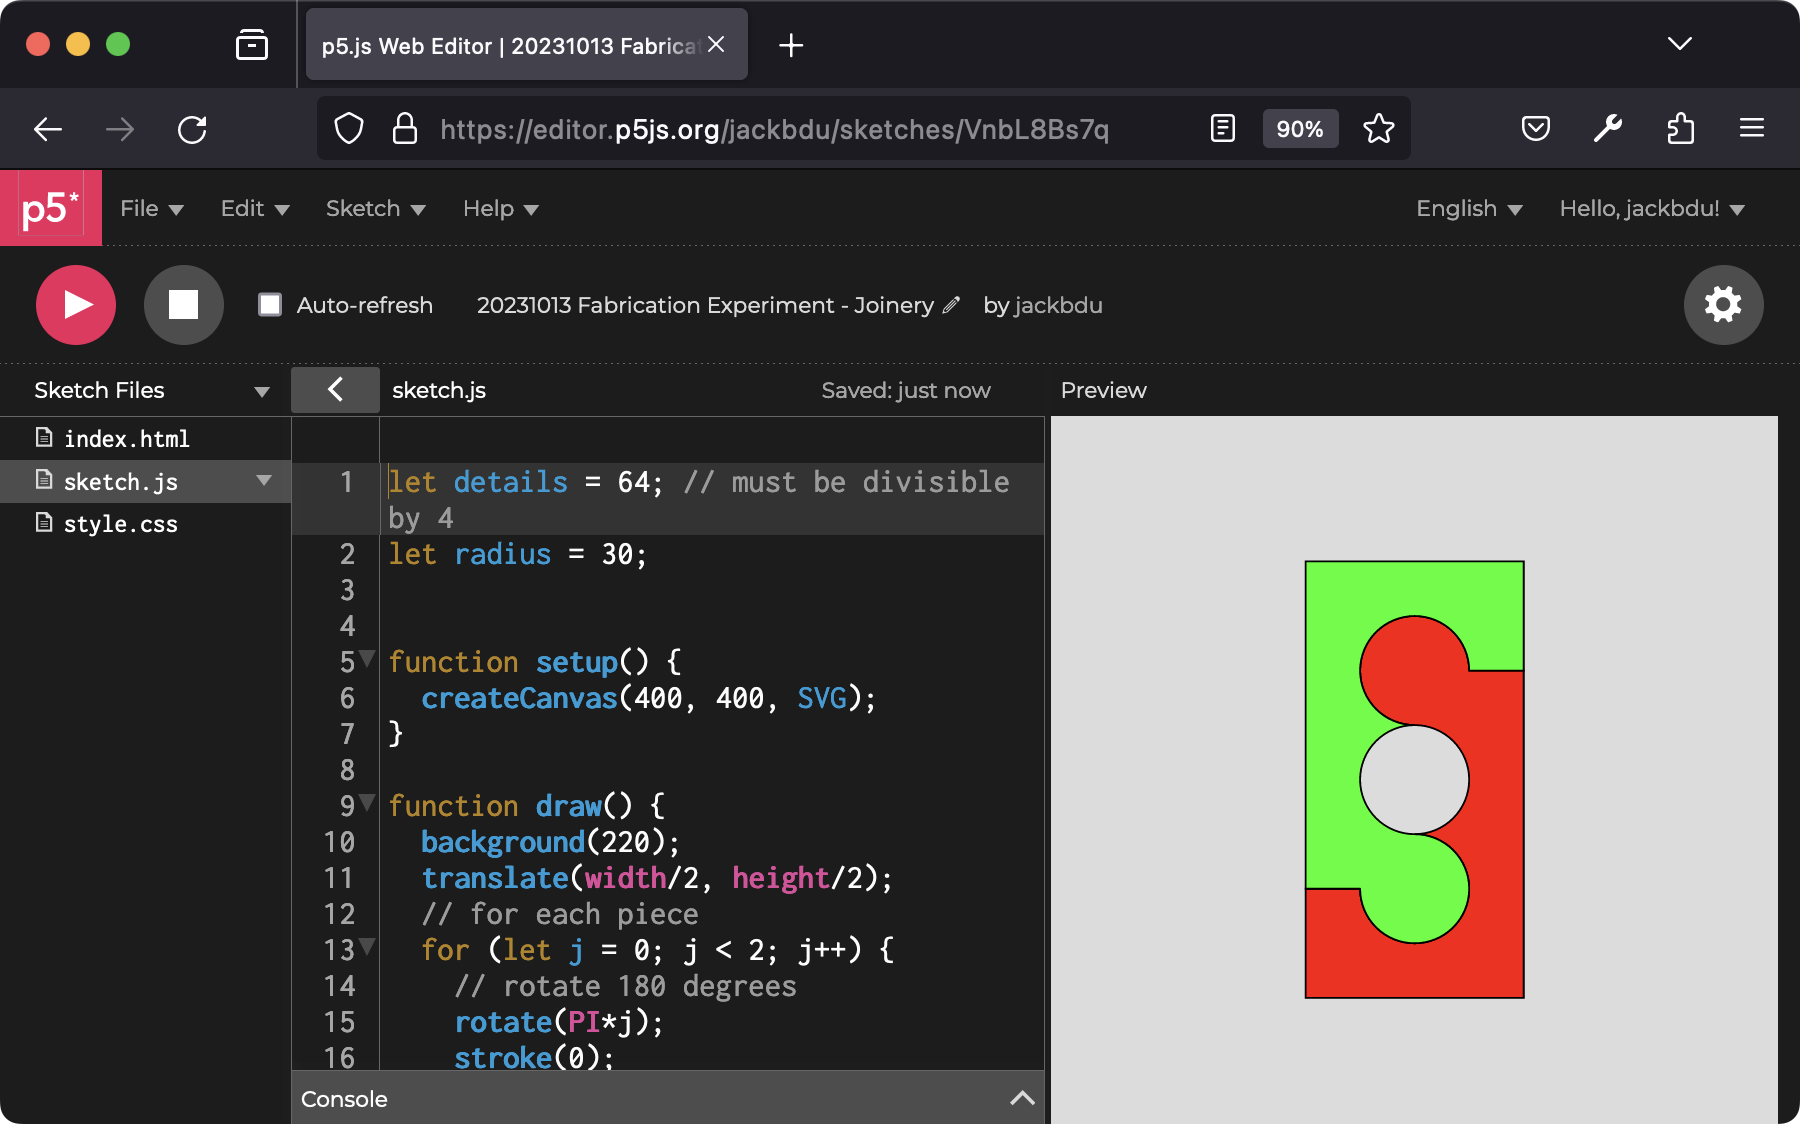
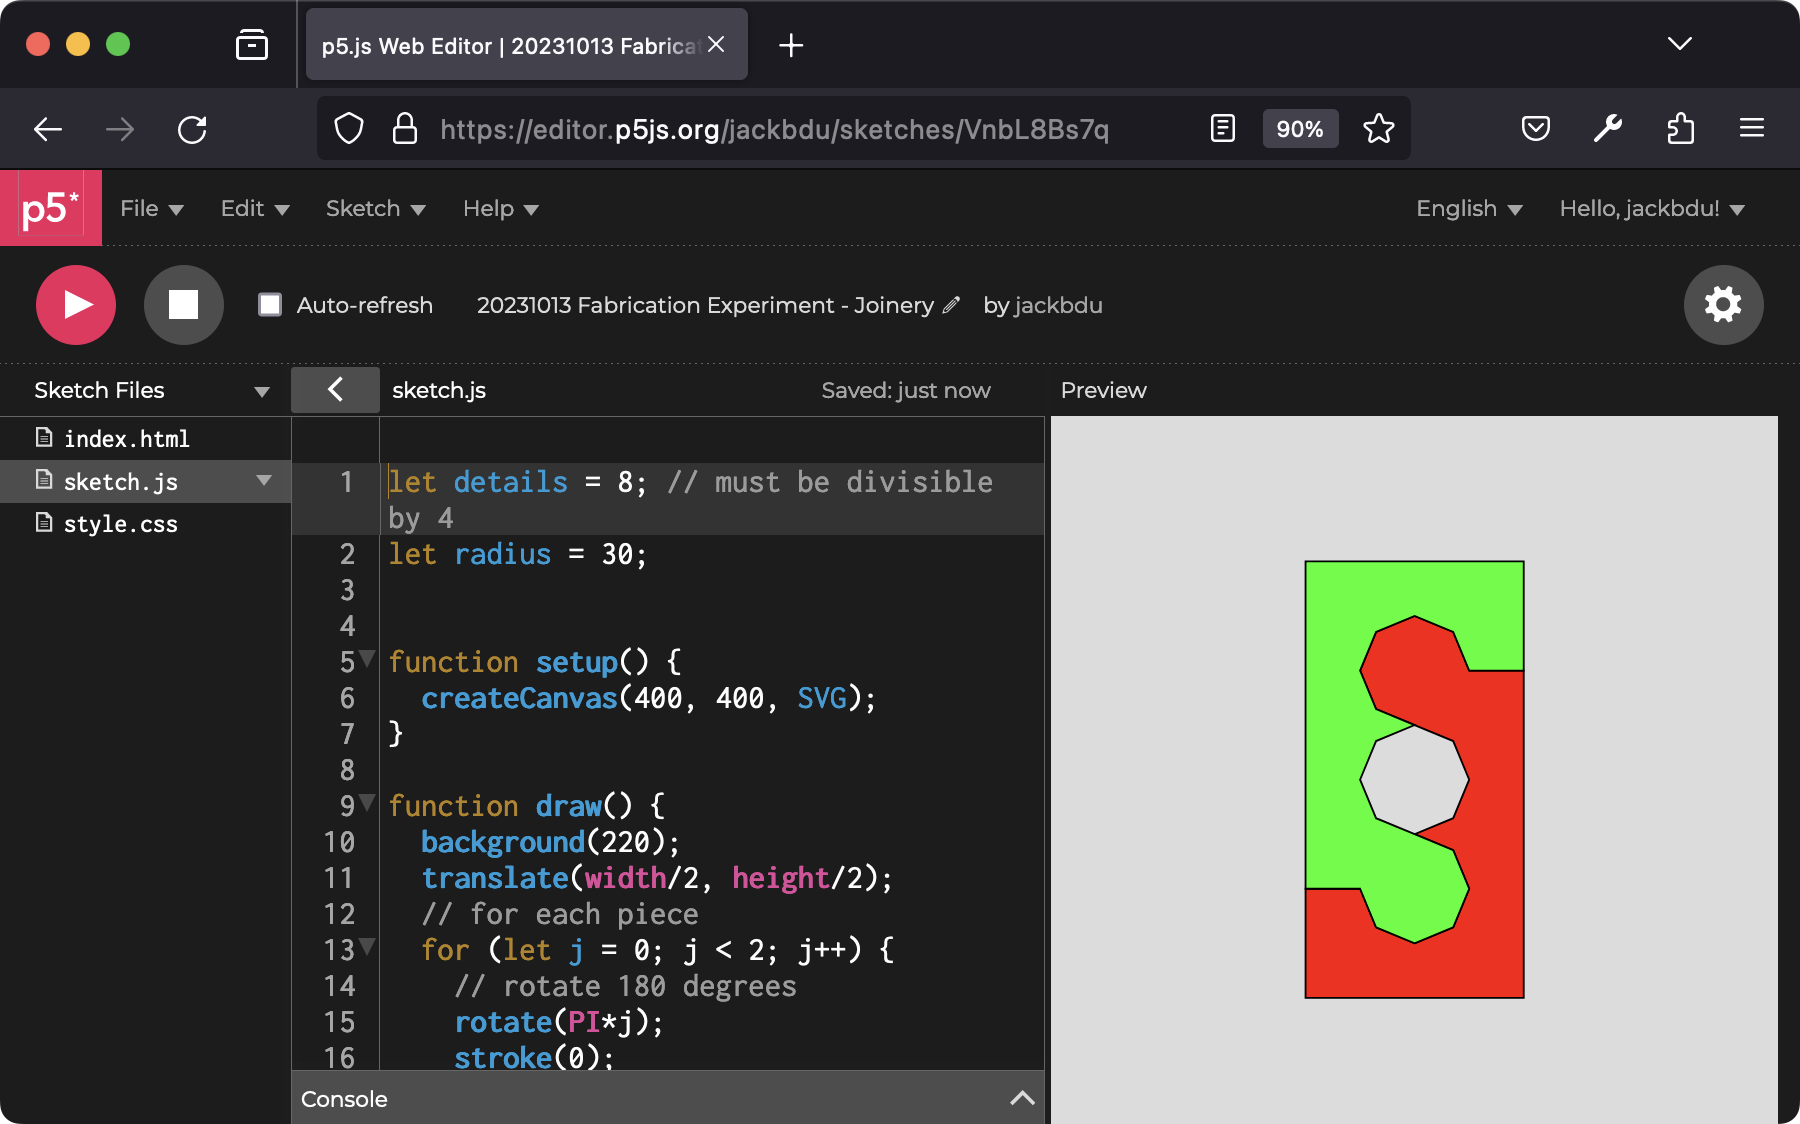
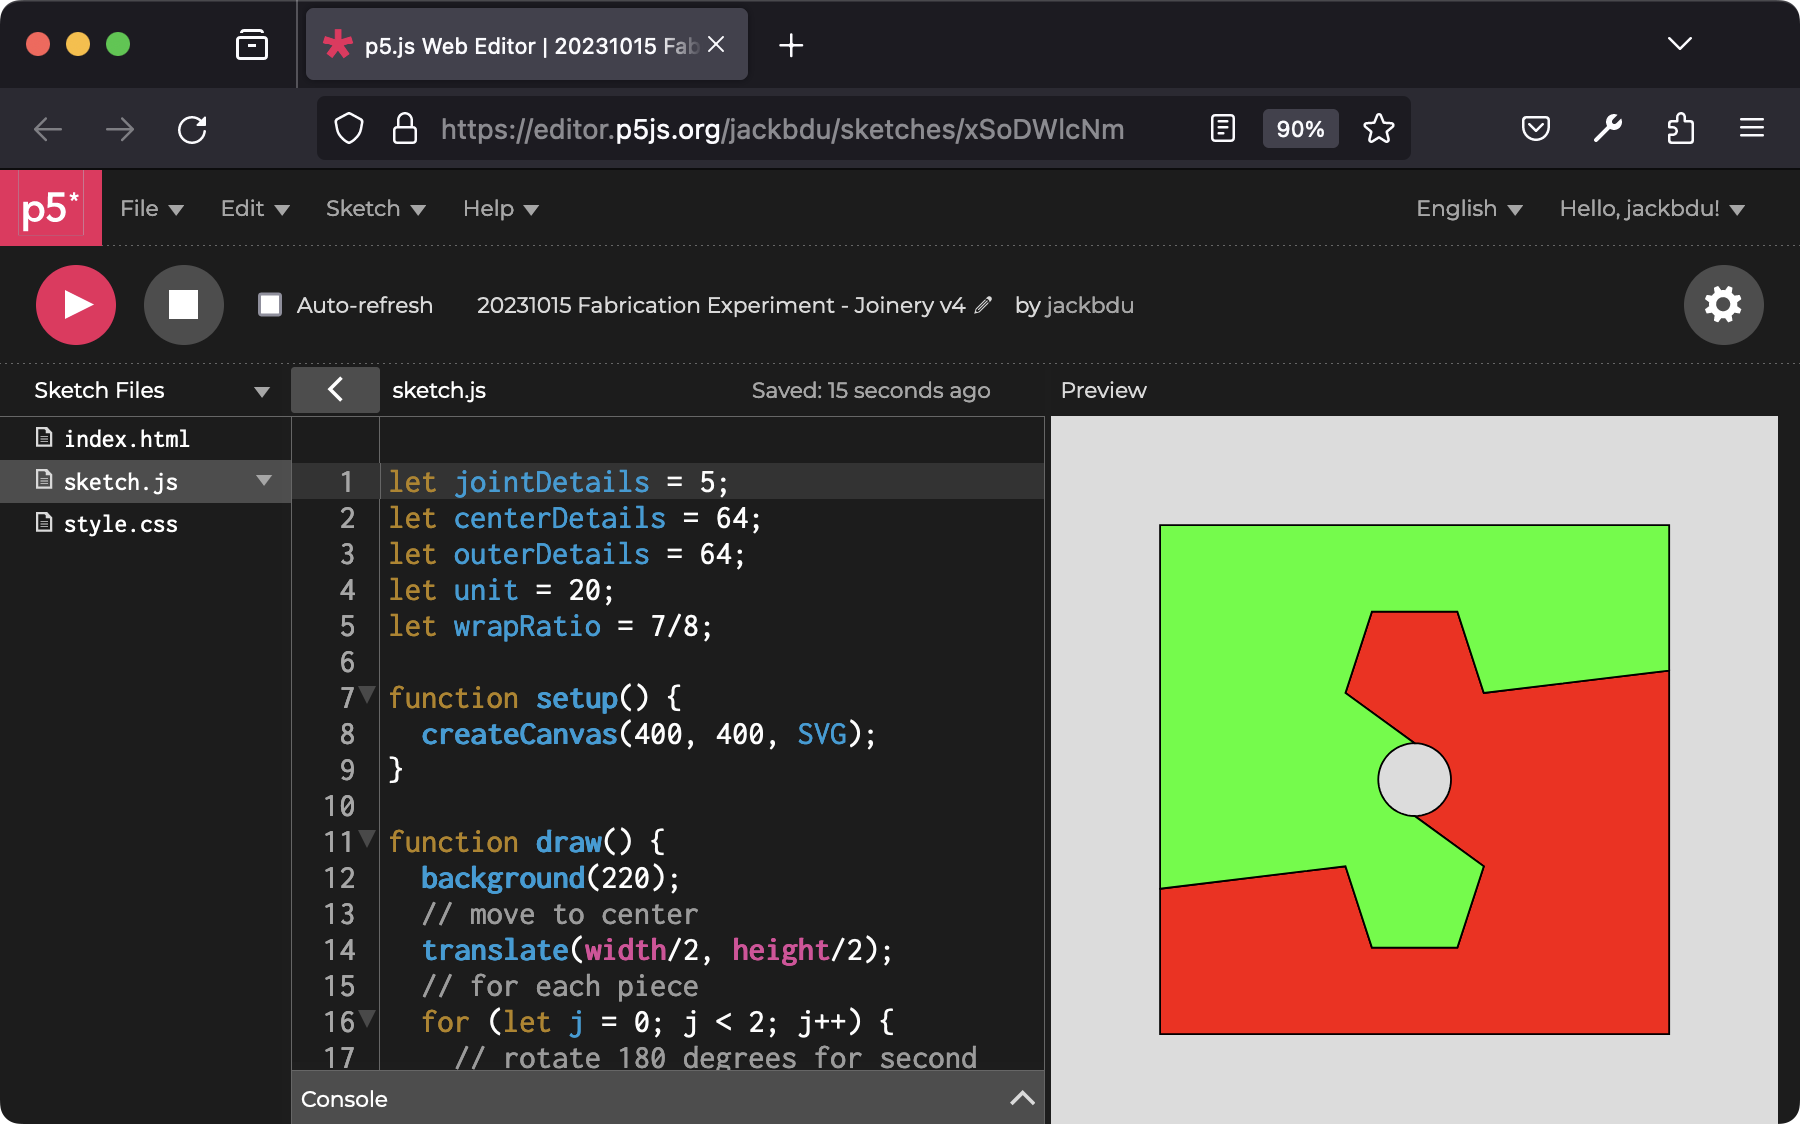
To start off, I designed a very specific joint in p5.js with the ability to change the number of sides (details) of the polygon section.
 |
 |
I realized that these designs might still be a bit too complicated for me to make by hand, so I created another p5.js sketch that generates a different bow tie (butterfly joint) every frame.
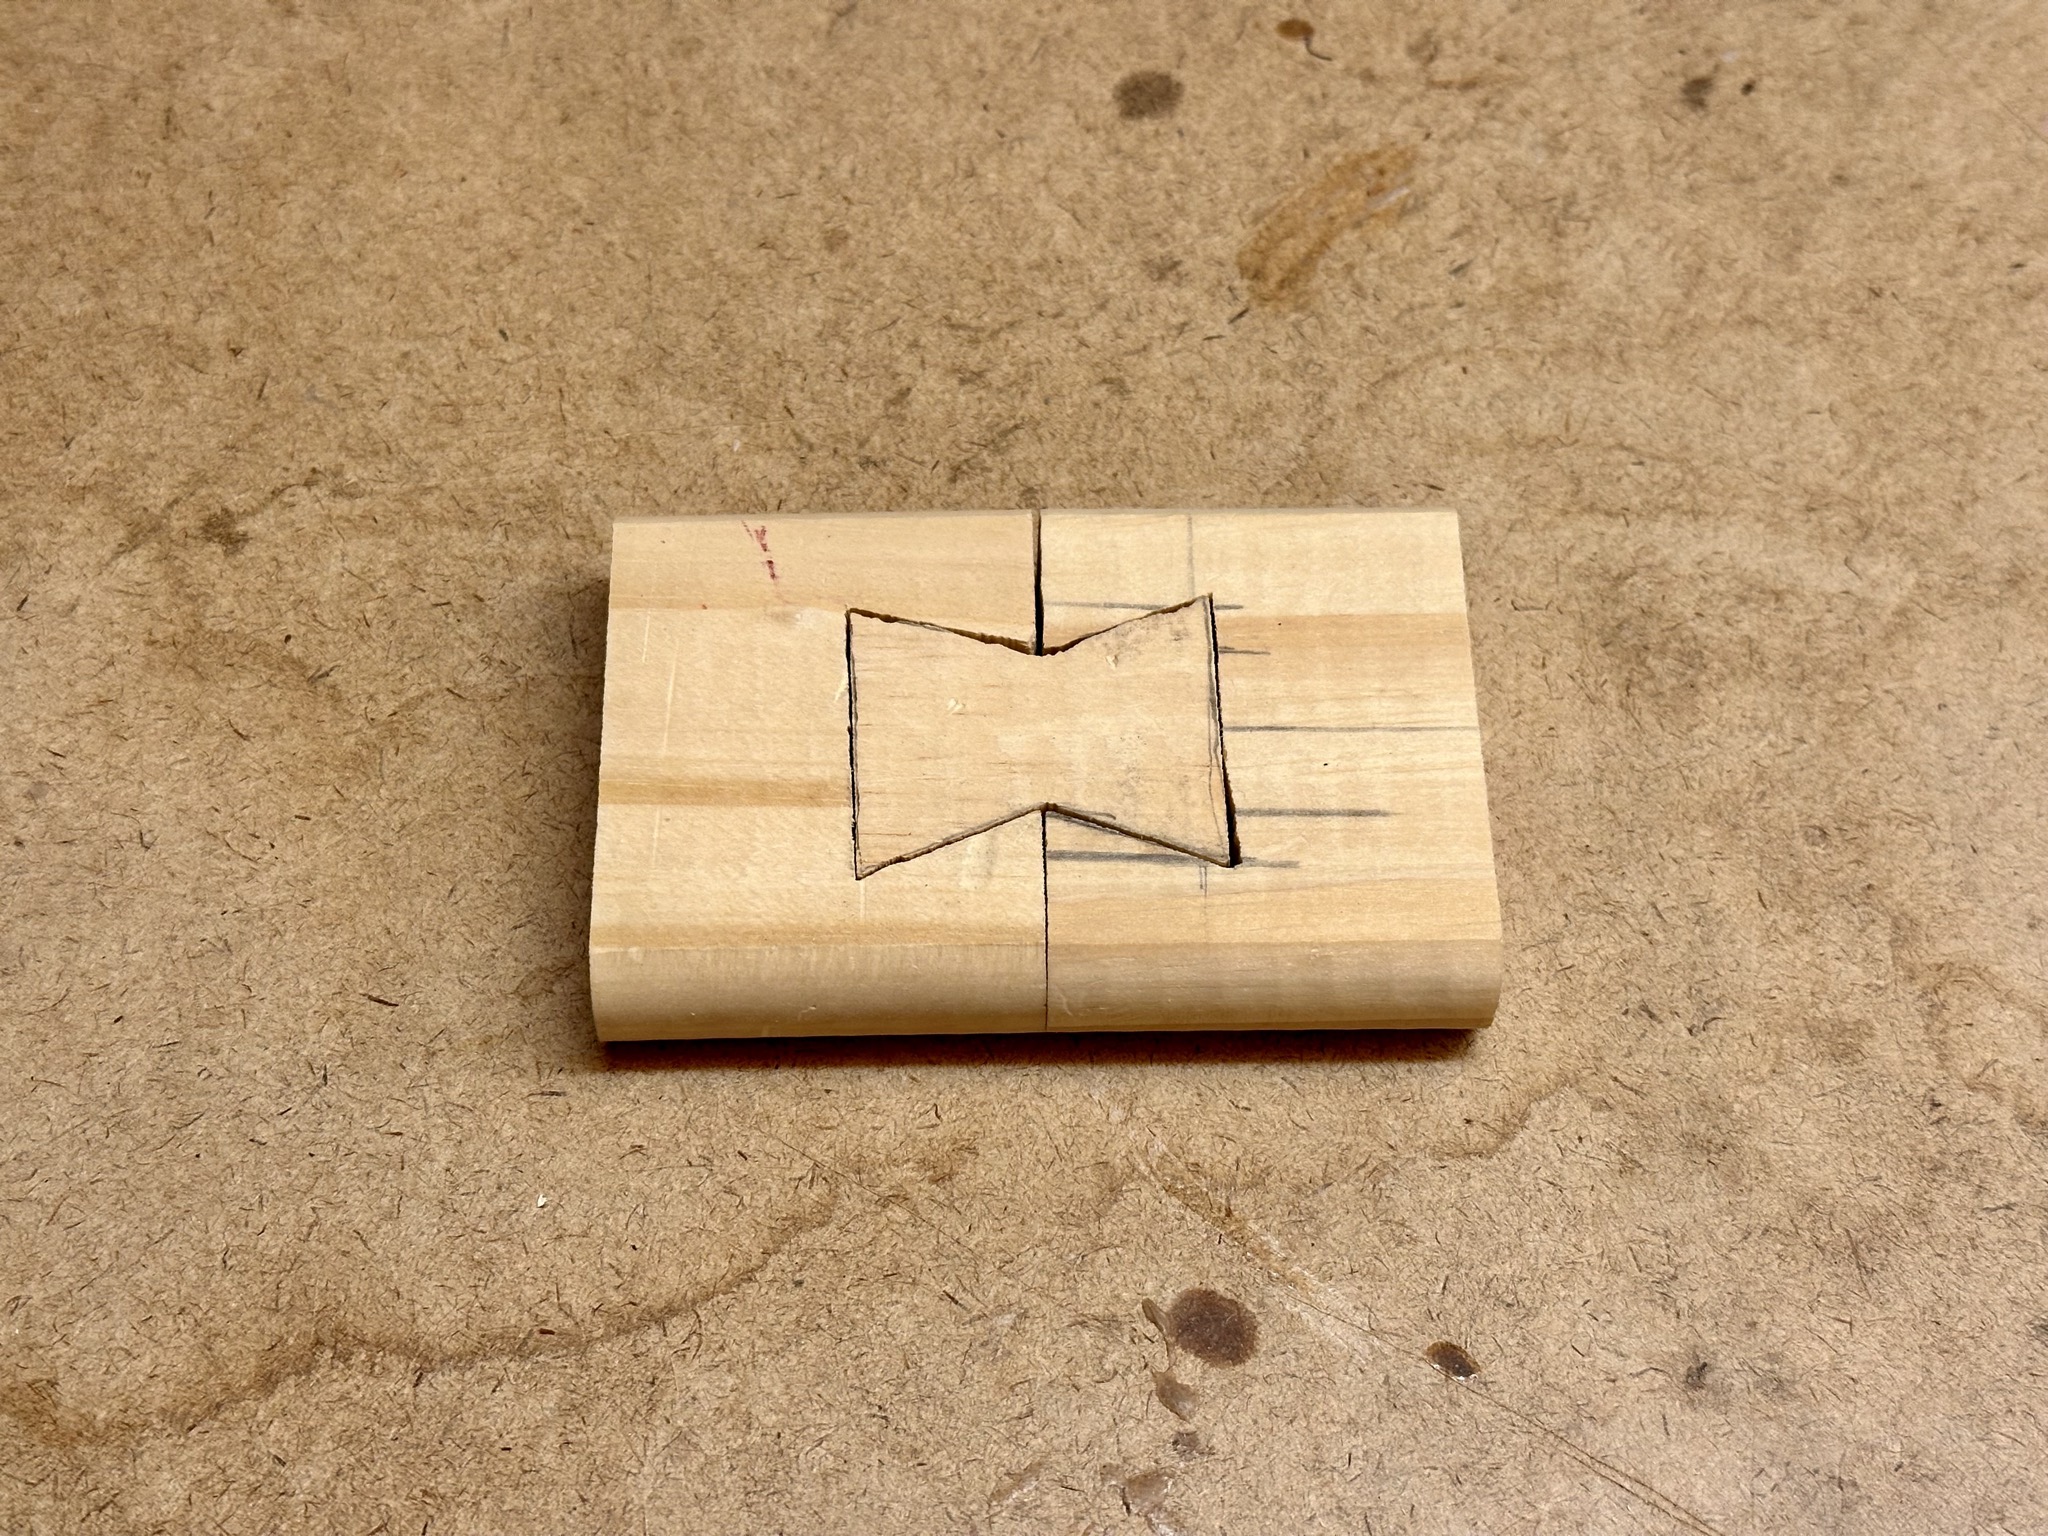
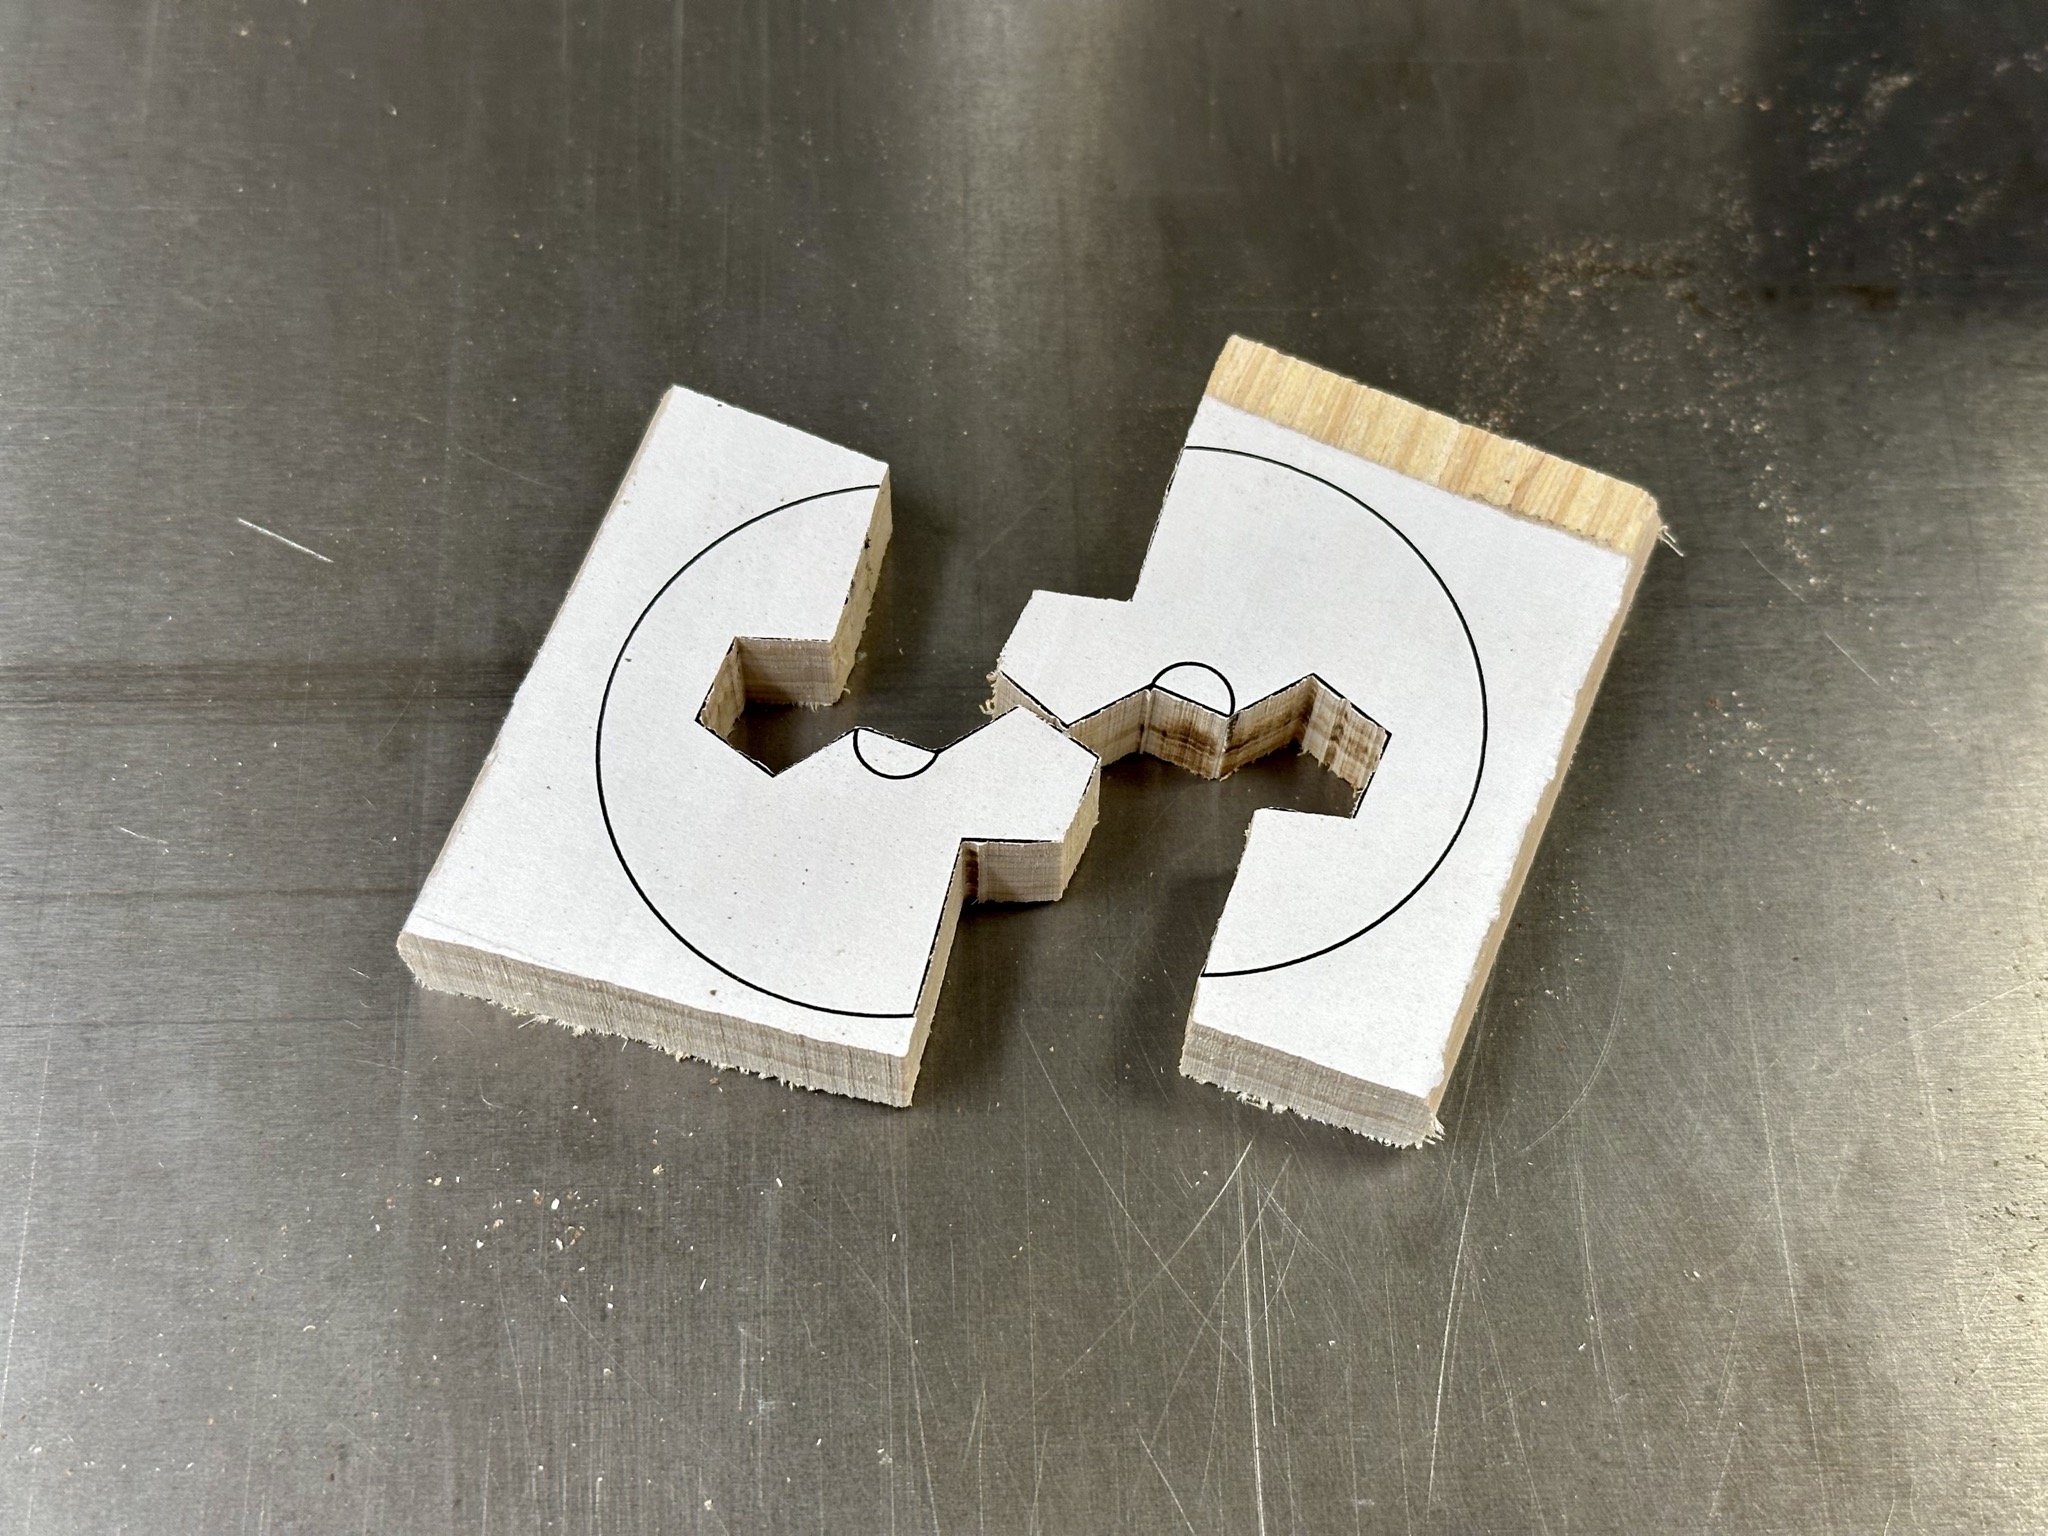
I was not sure if the sketch was as useful as it appeared to be fun, because I ultimately decided to drew my own on the scrap piece of wood that I found.
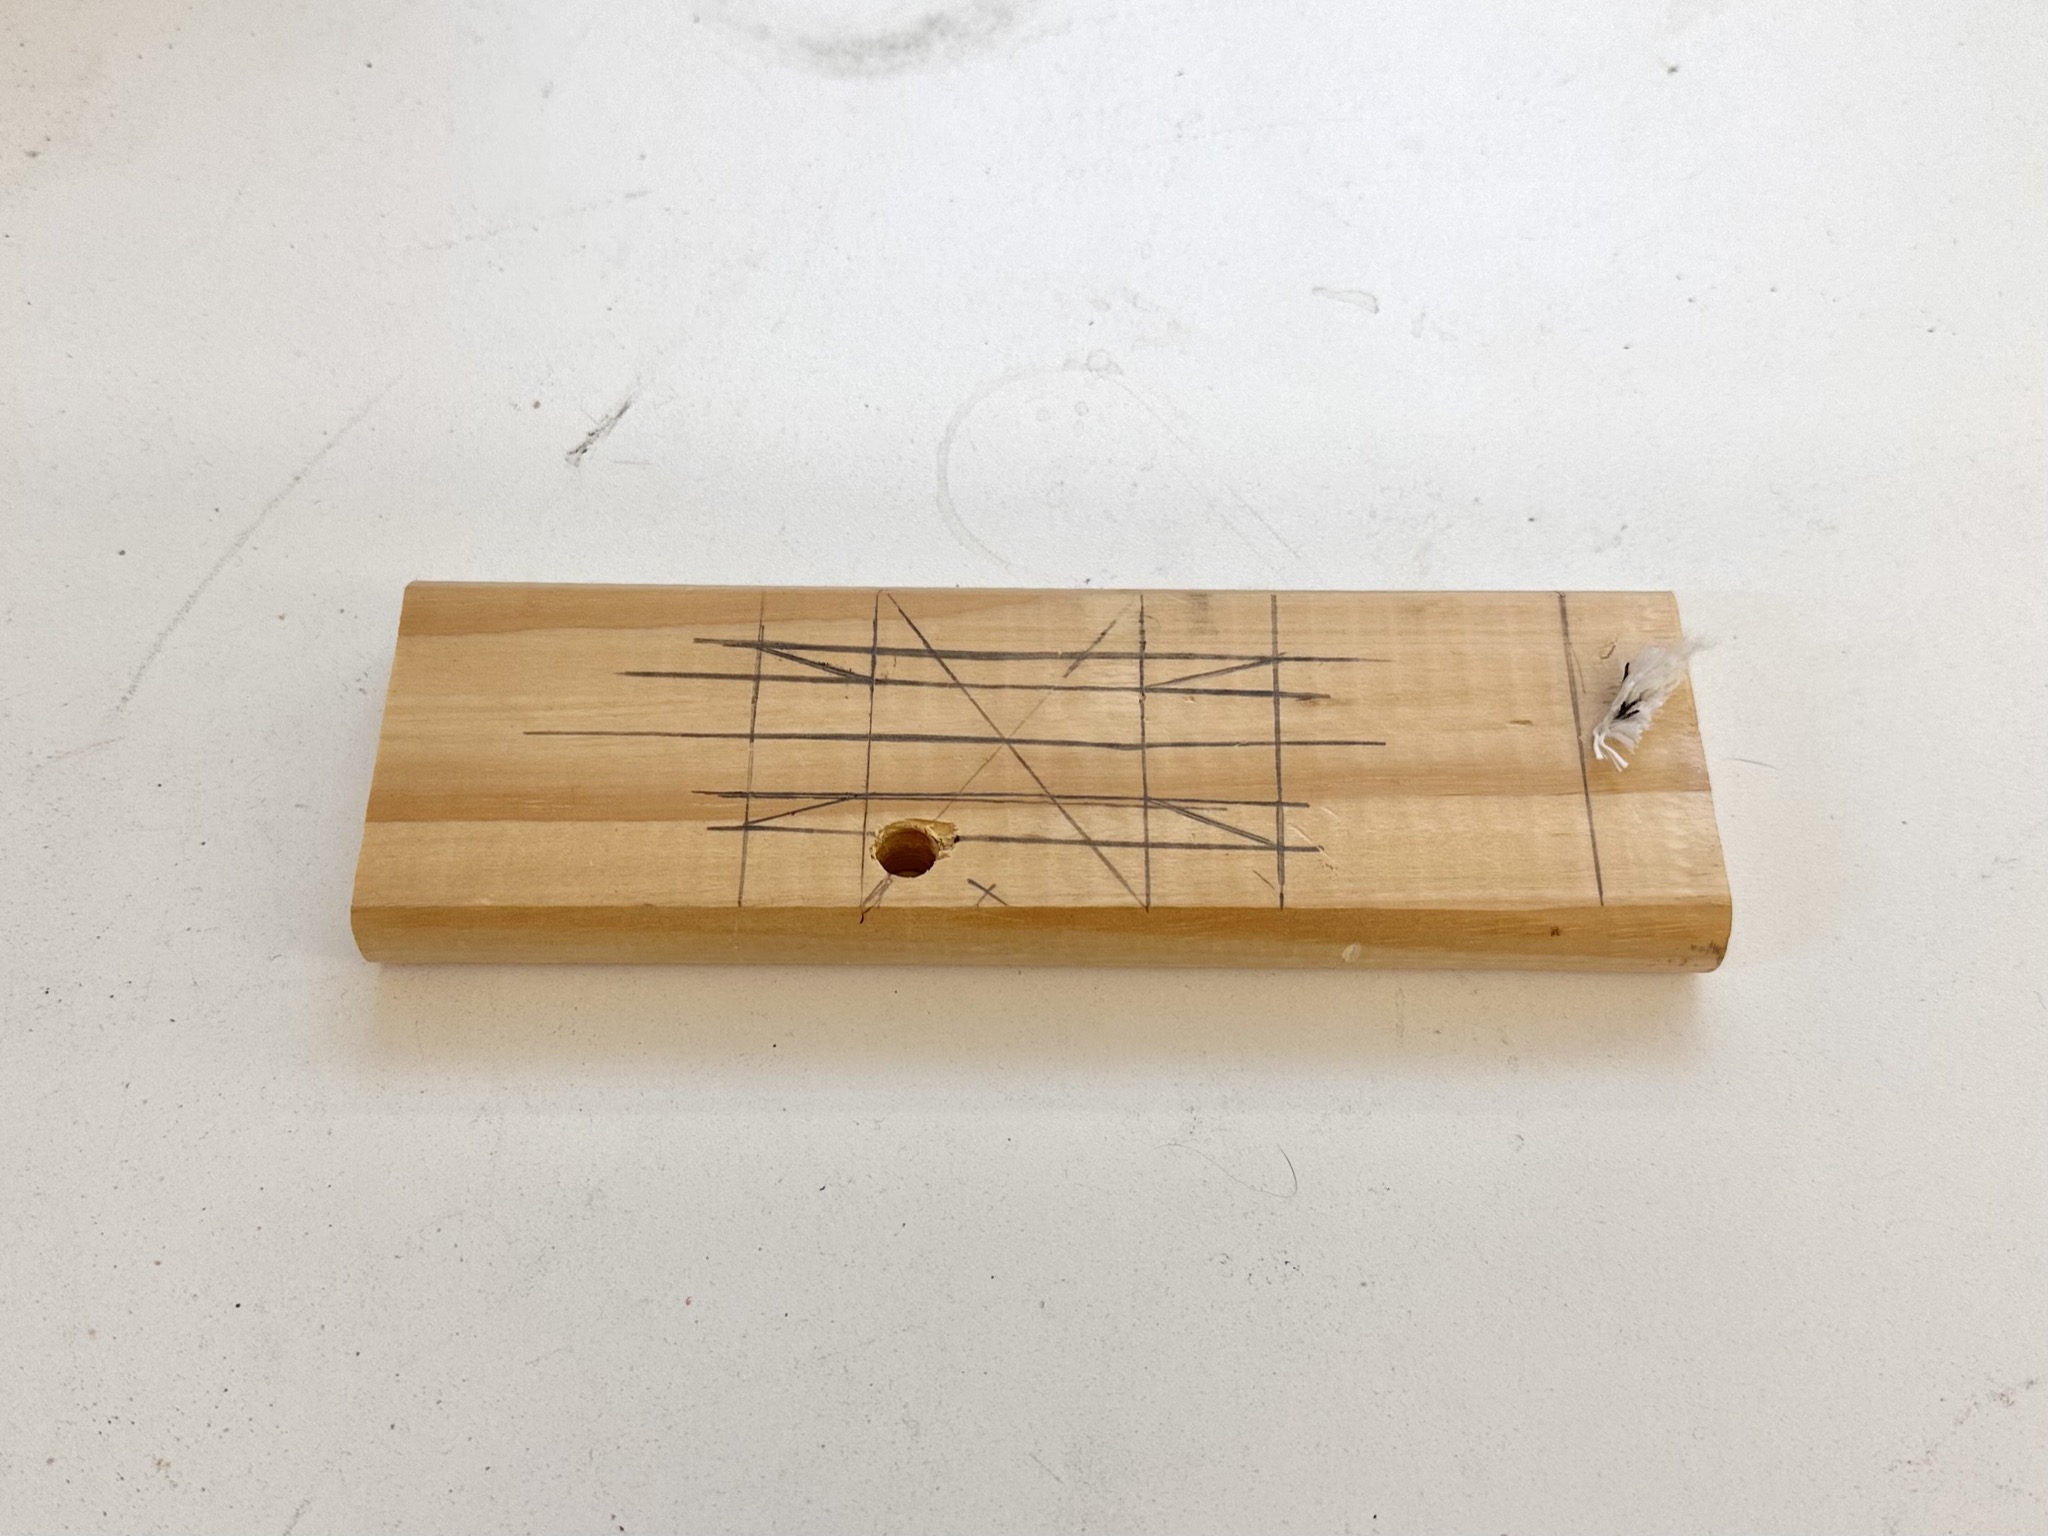
I started on a band saw, carefully cutting a few lines along the marks before using a drill press to cut into the unwanted section.
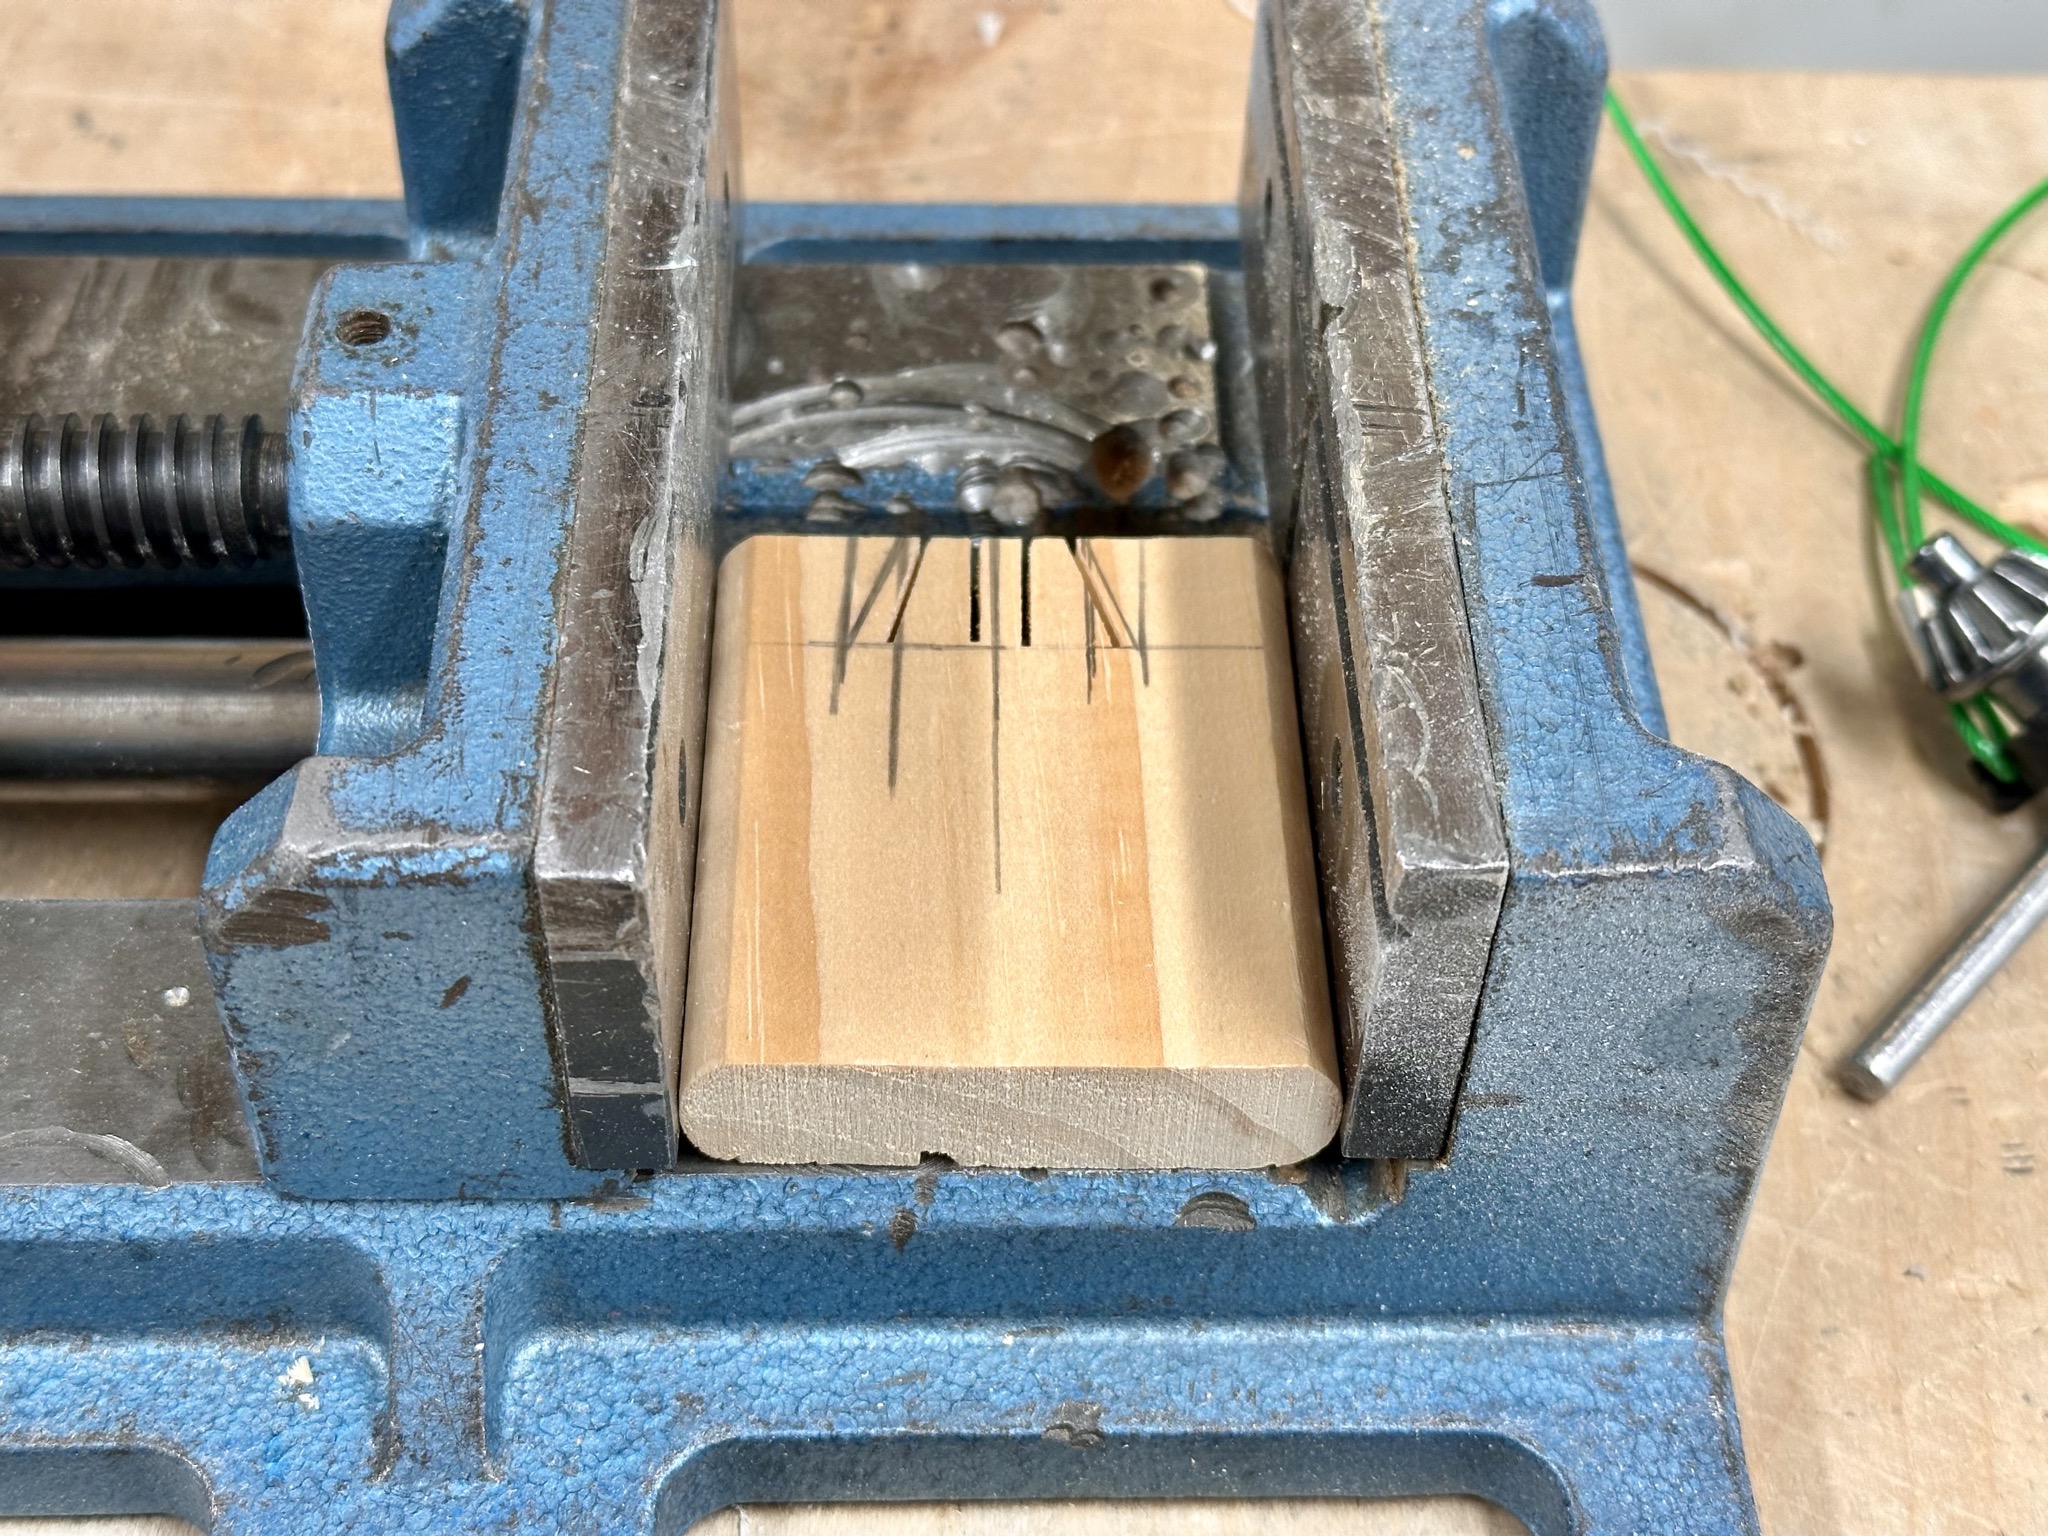
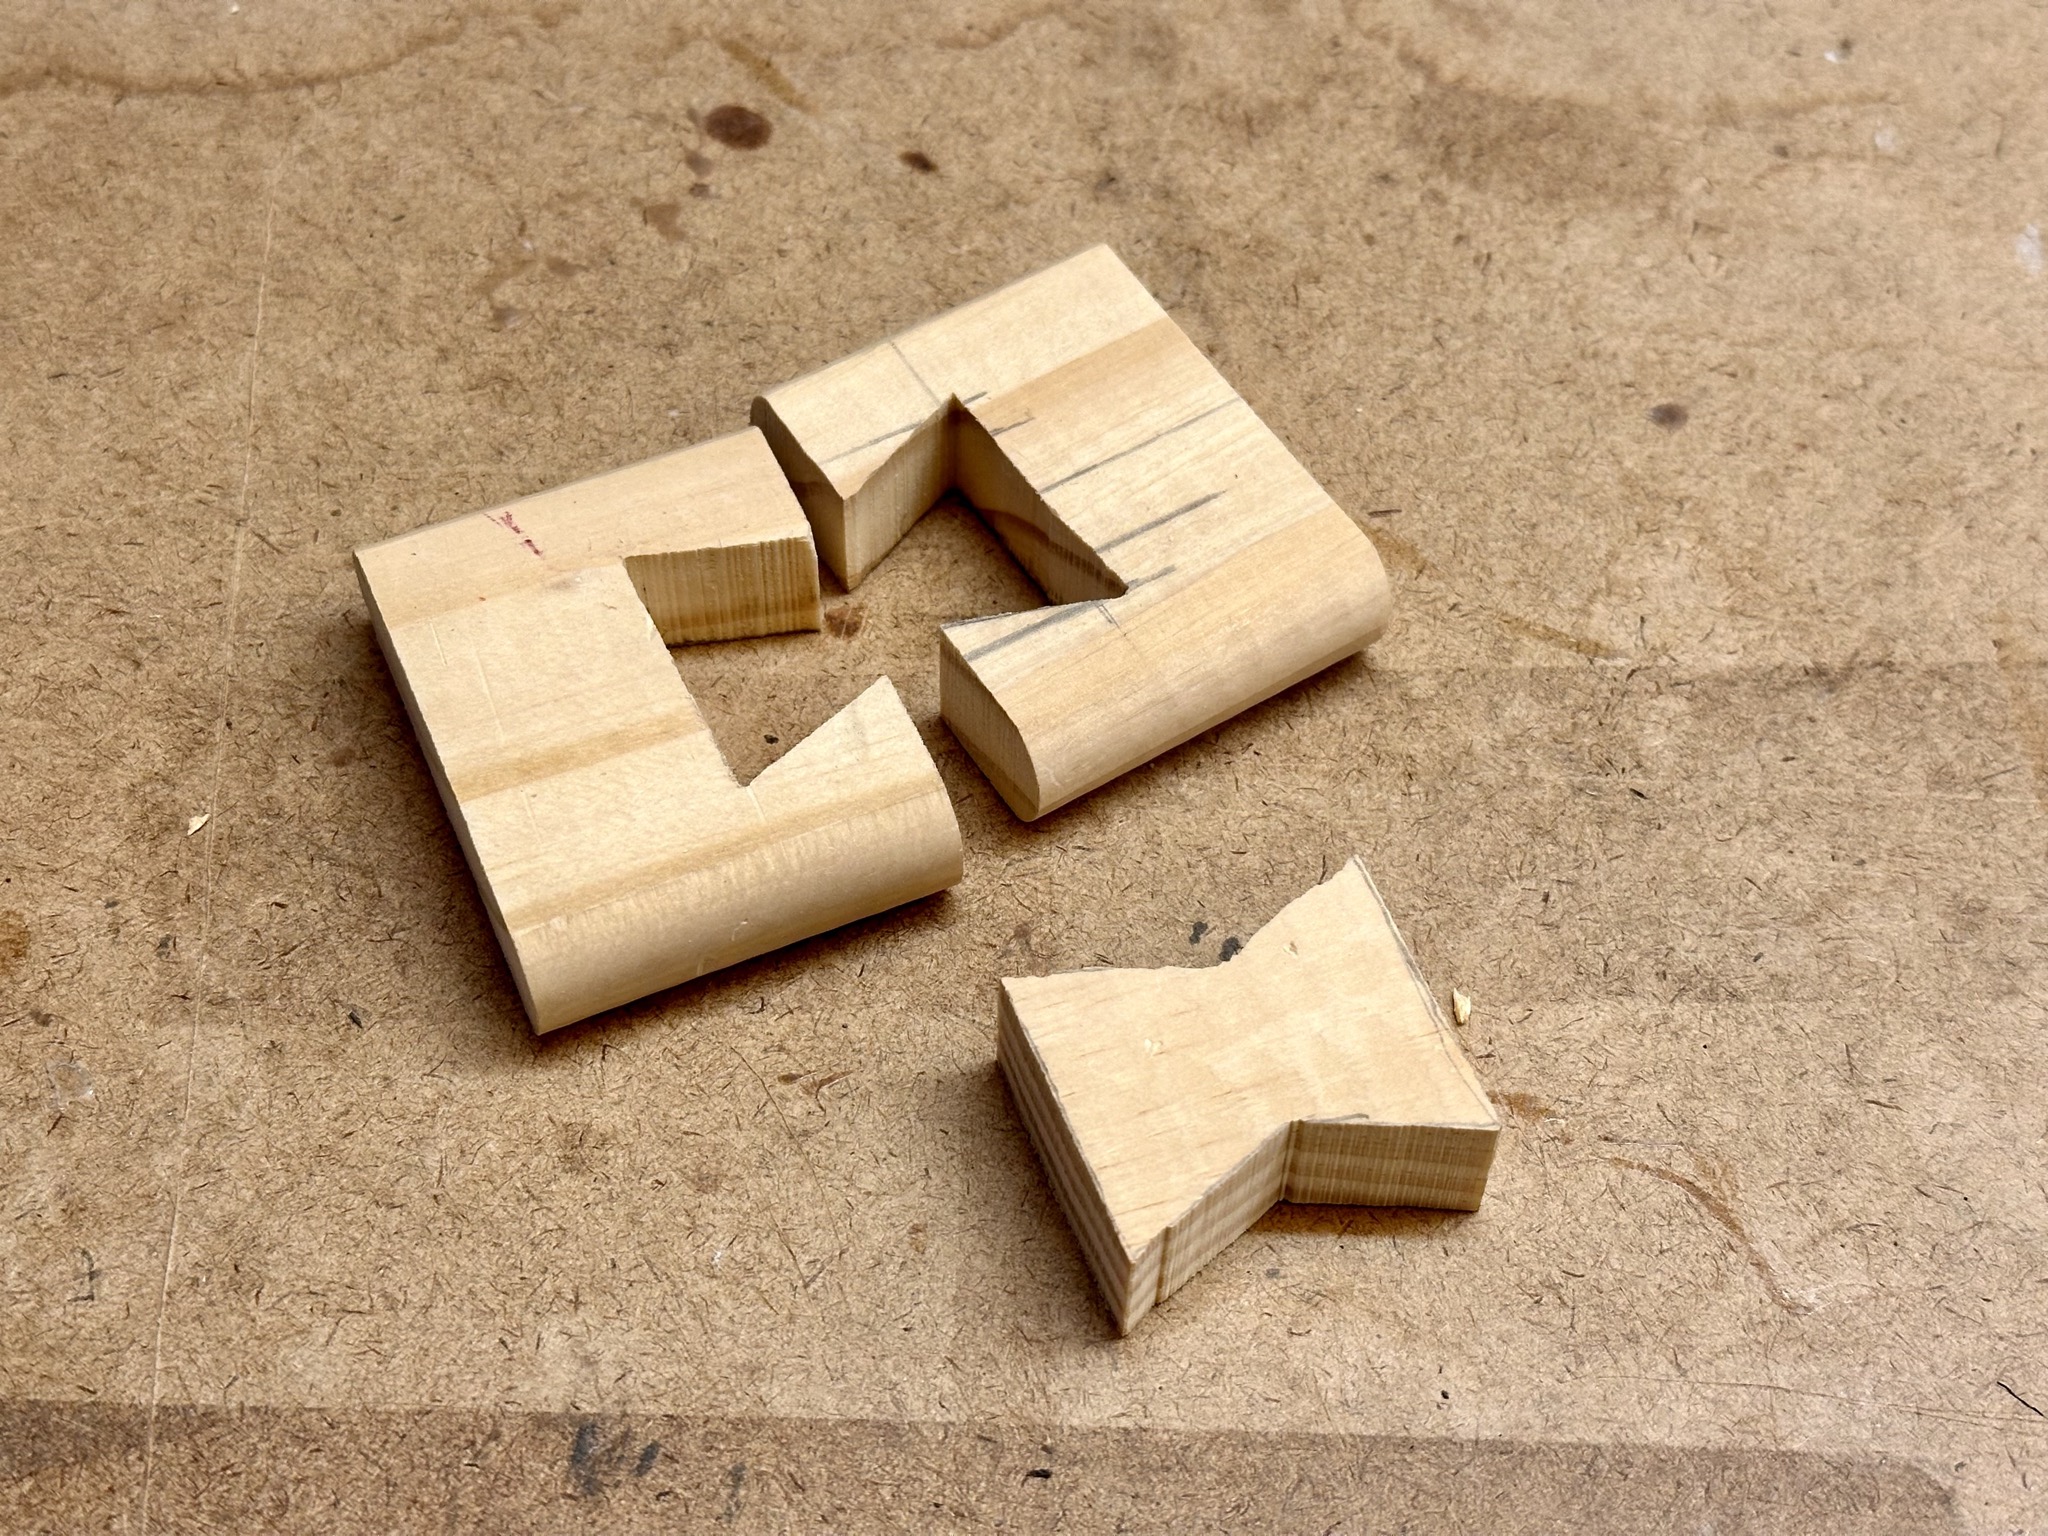
I had to go back to the band saw to finish it off. I did the same for the other piece and then finally cut a bowtie based on the negative space. (Later, I realized it seemed to be more common to cut the bowtie first.)
 |
 |
While I clearly needed a lot more practice, the bowtie did work as a joint, which gave me the confidence to work on a more complicated design.
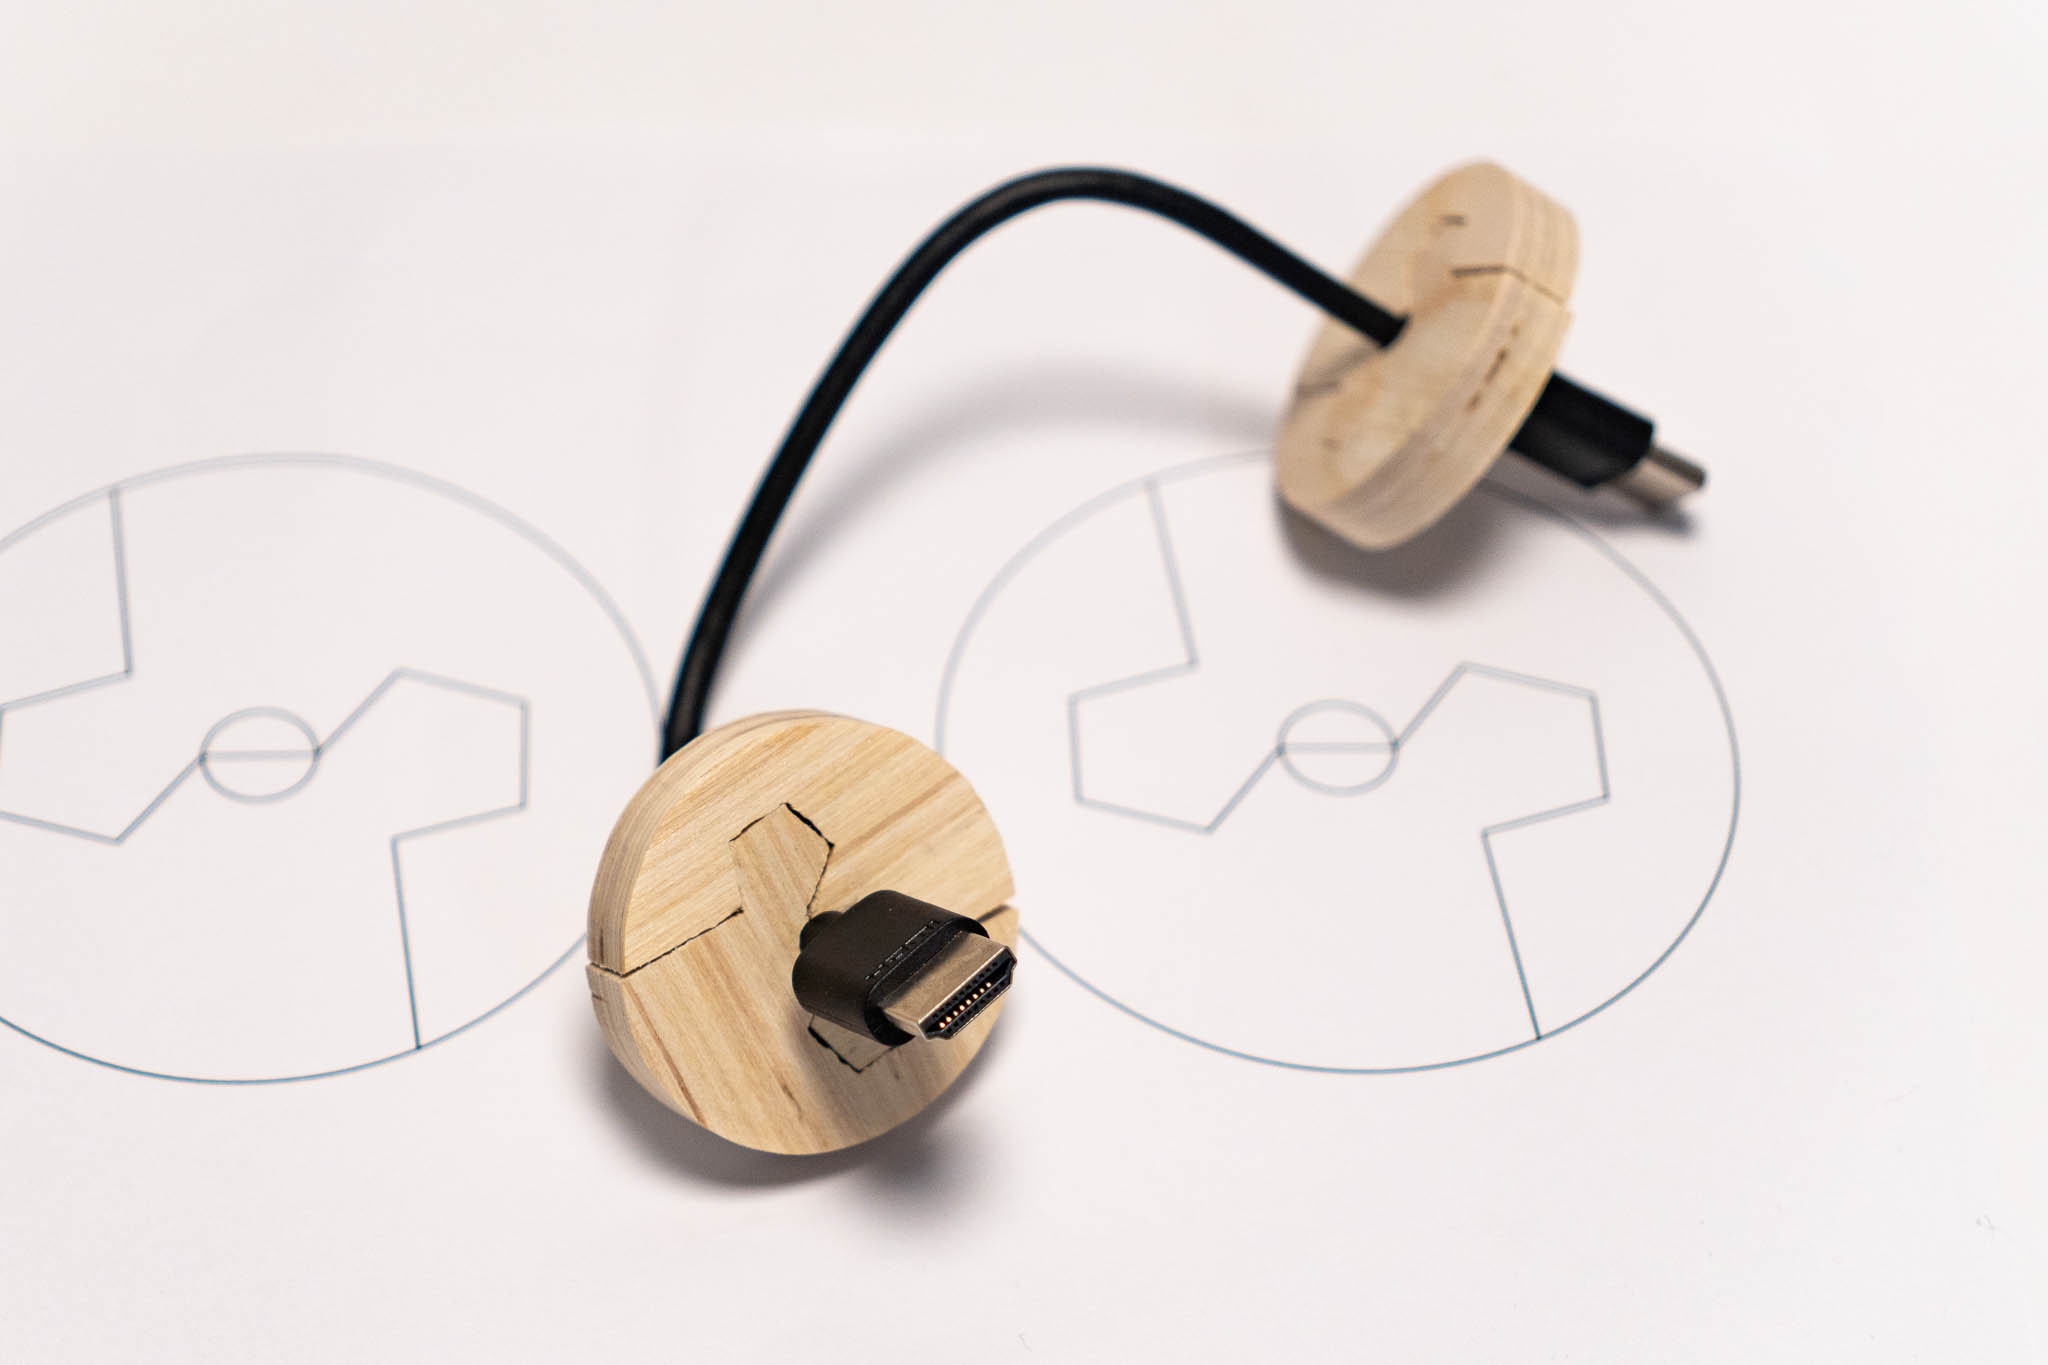
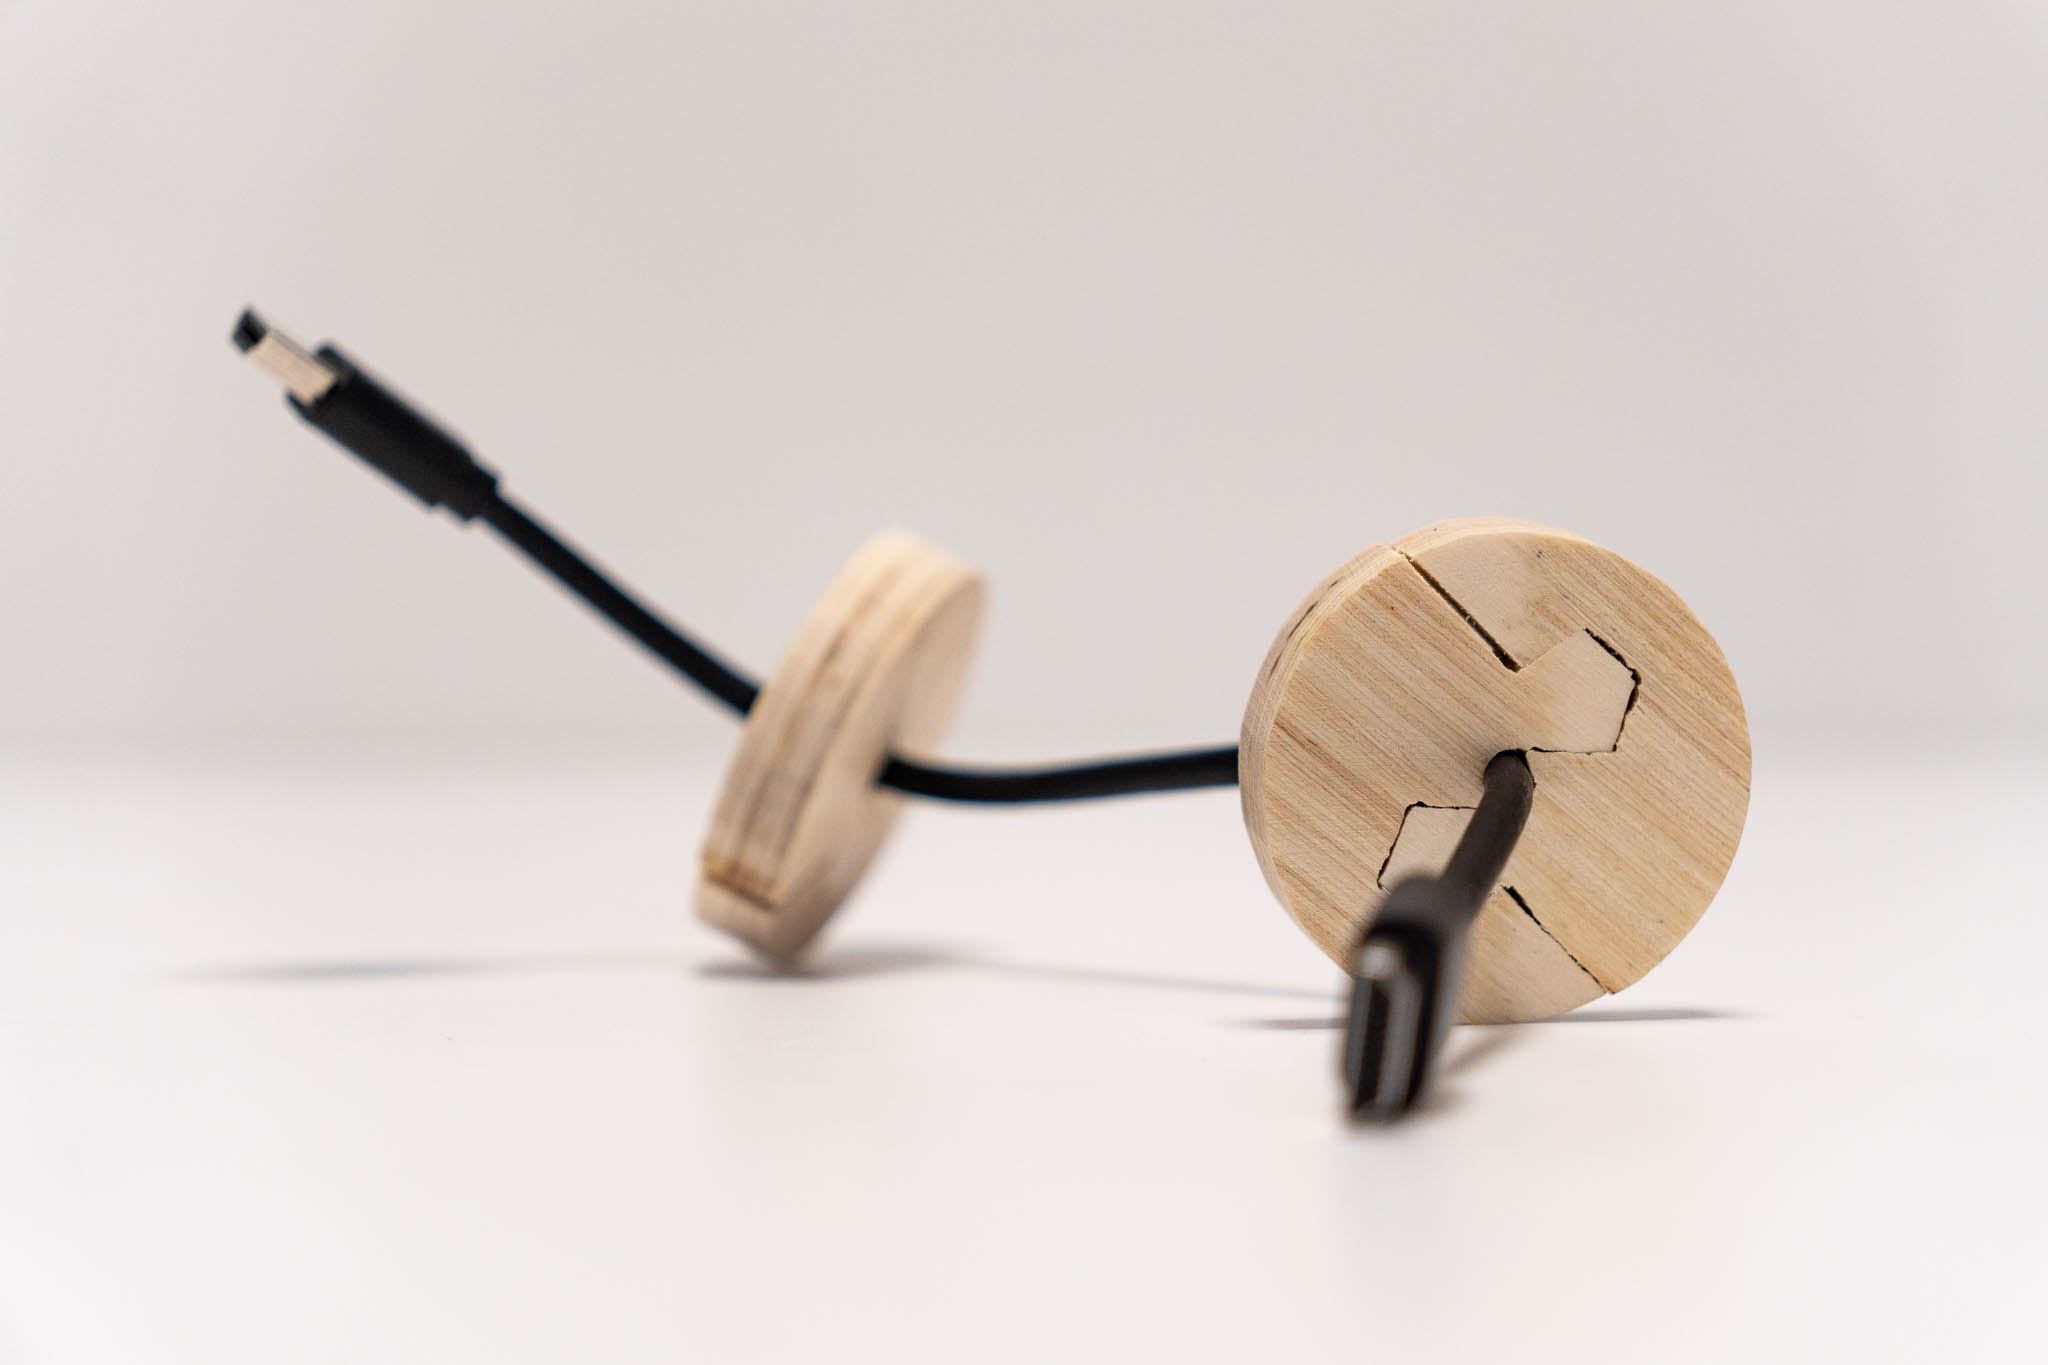
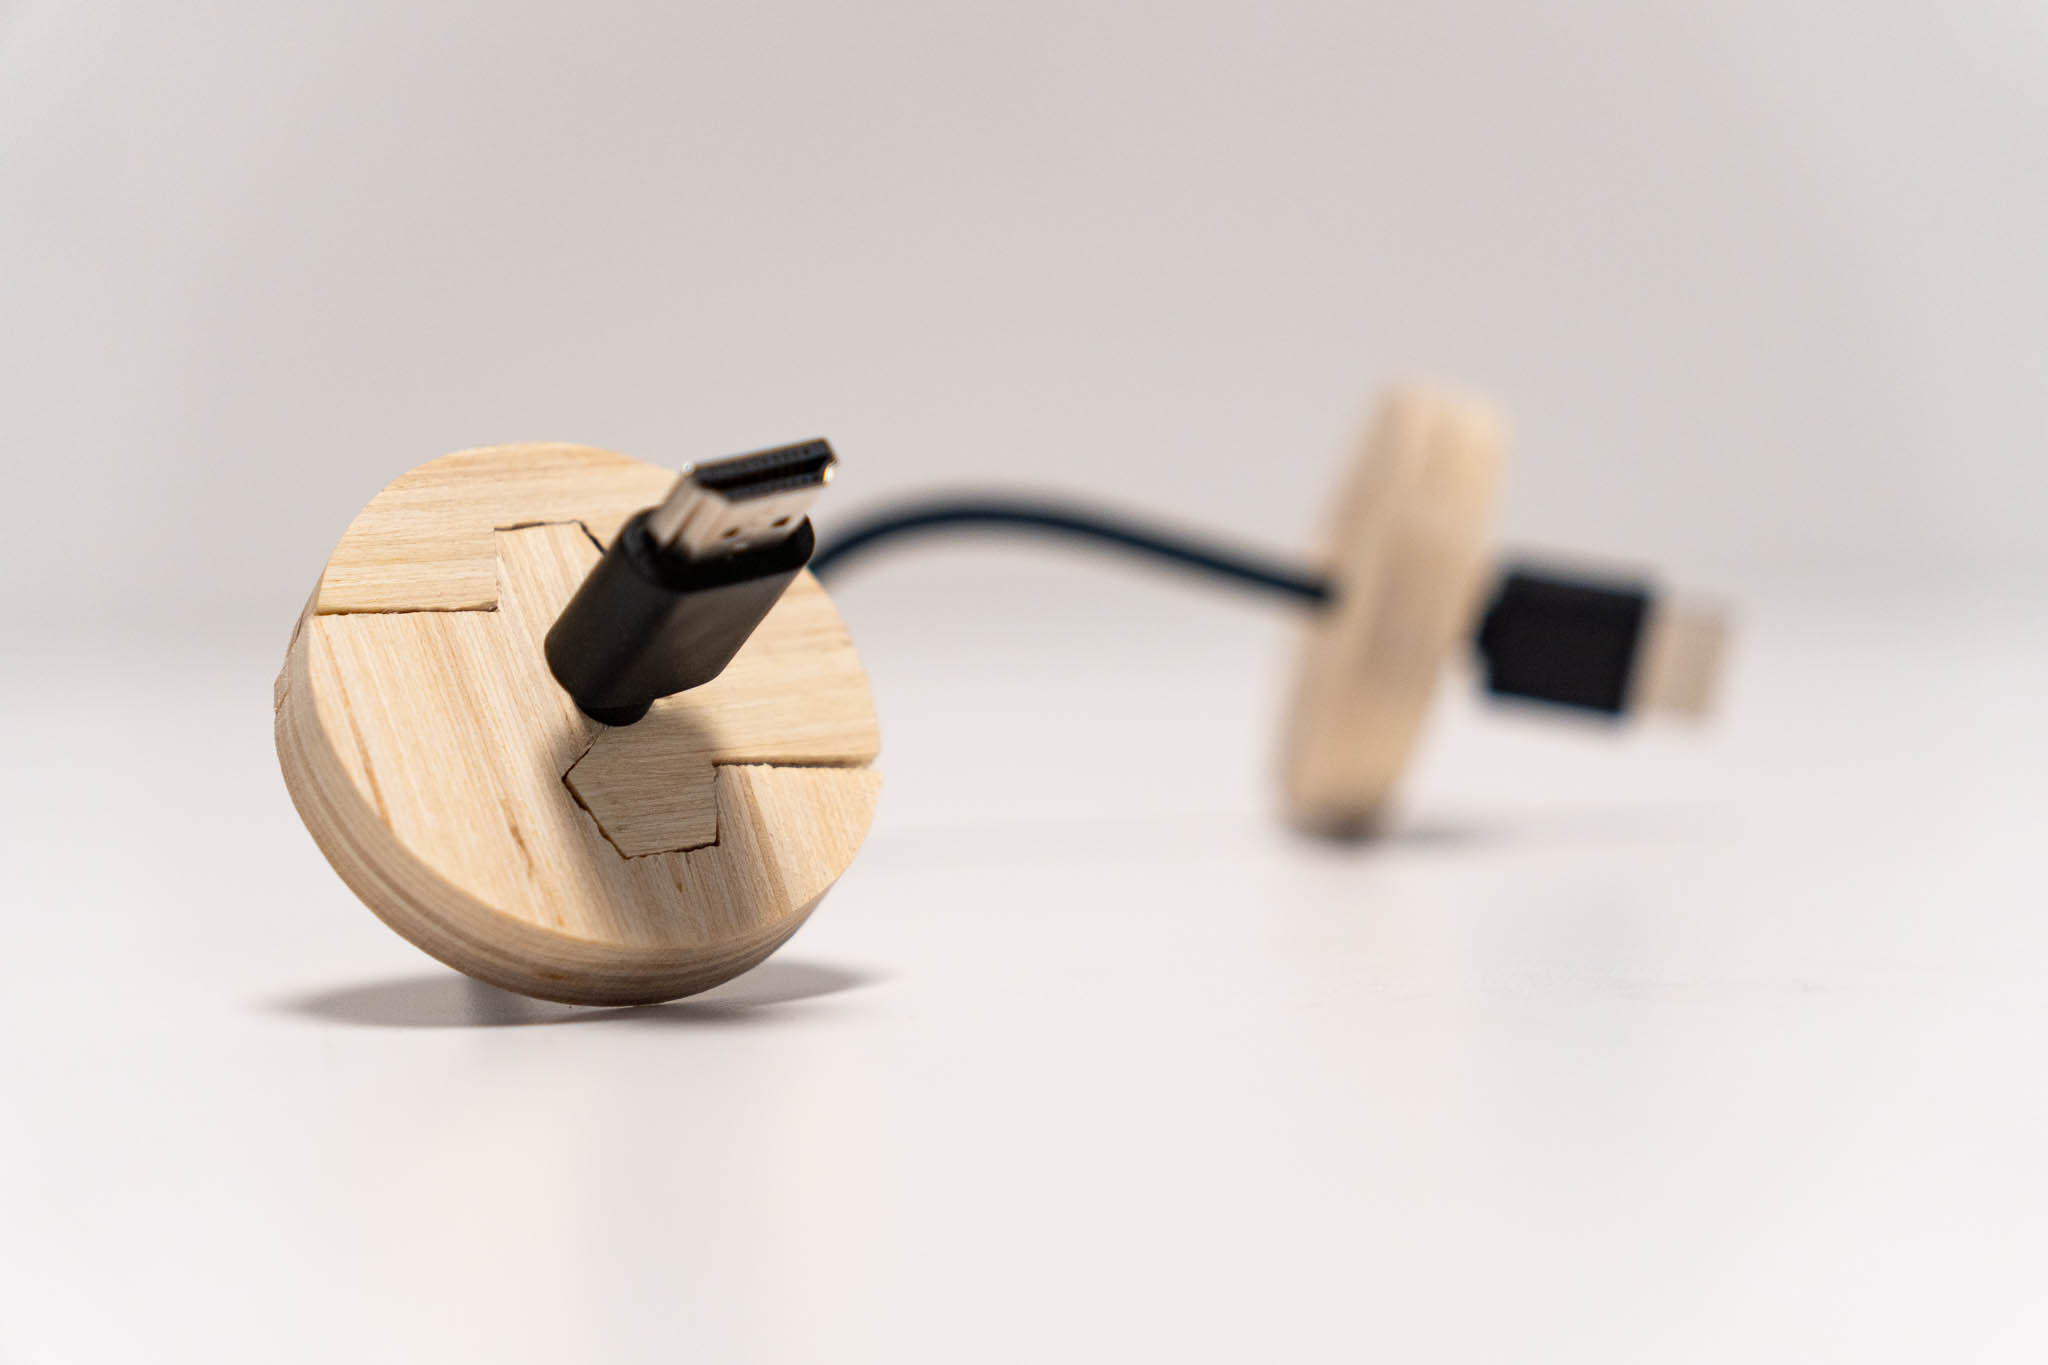
As a part of the assignment, I was supposed to use some material other than wood. I turned my eyes to ITP’s junk shelf, and I found many, many short HDMI cables. They seemed to be the perfect companion for original joint design, as there was a hole at the center.
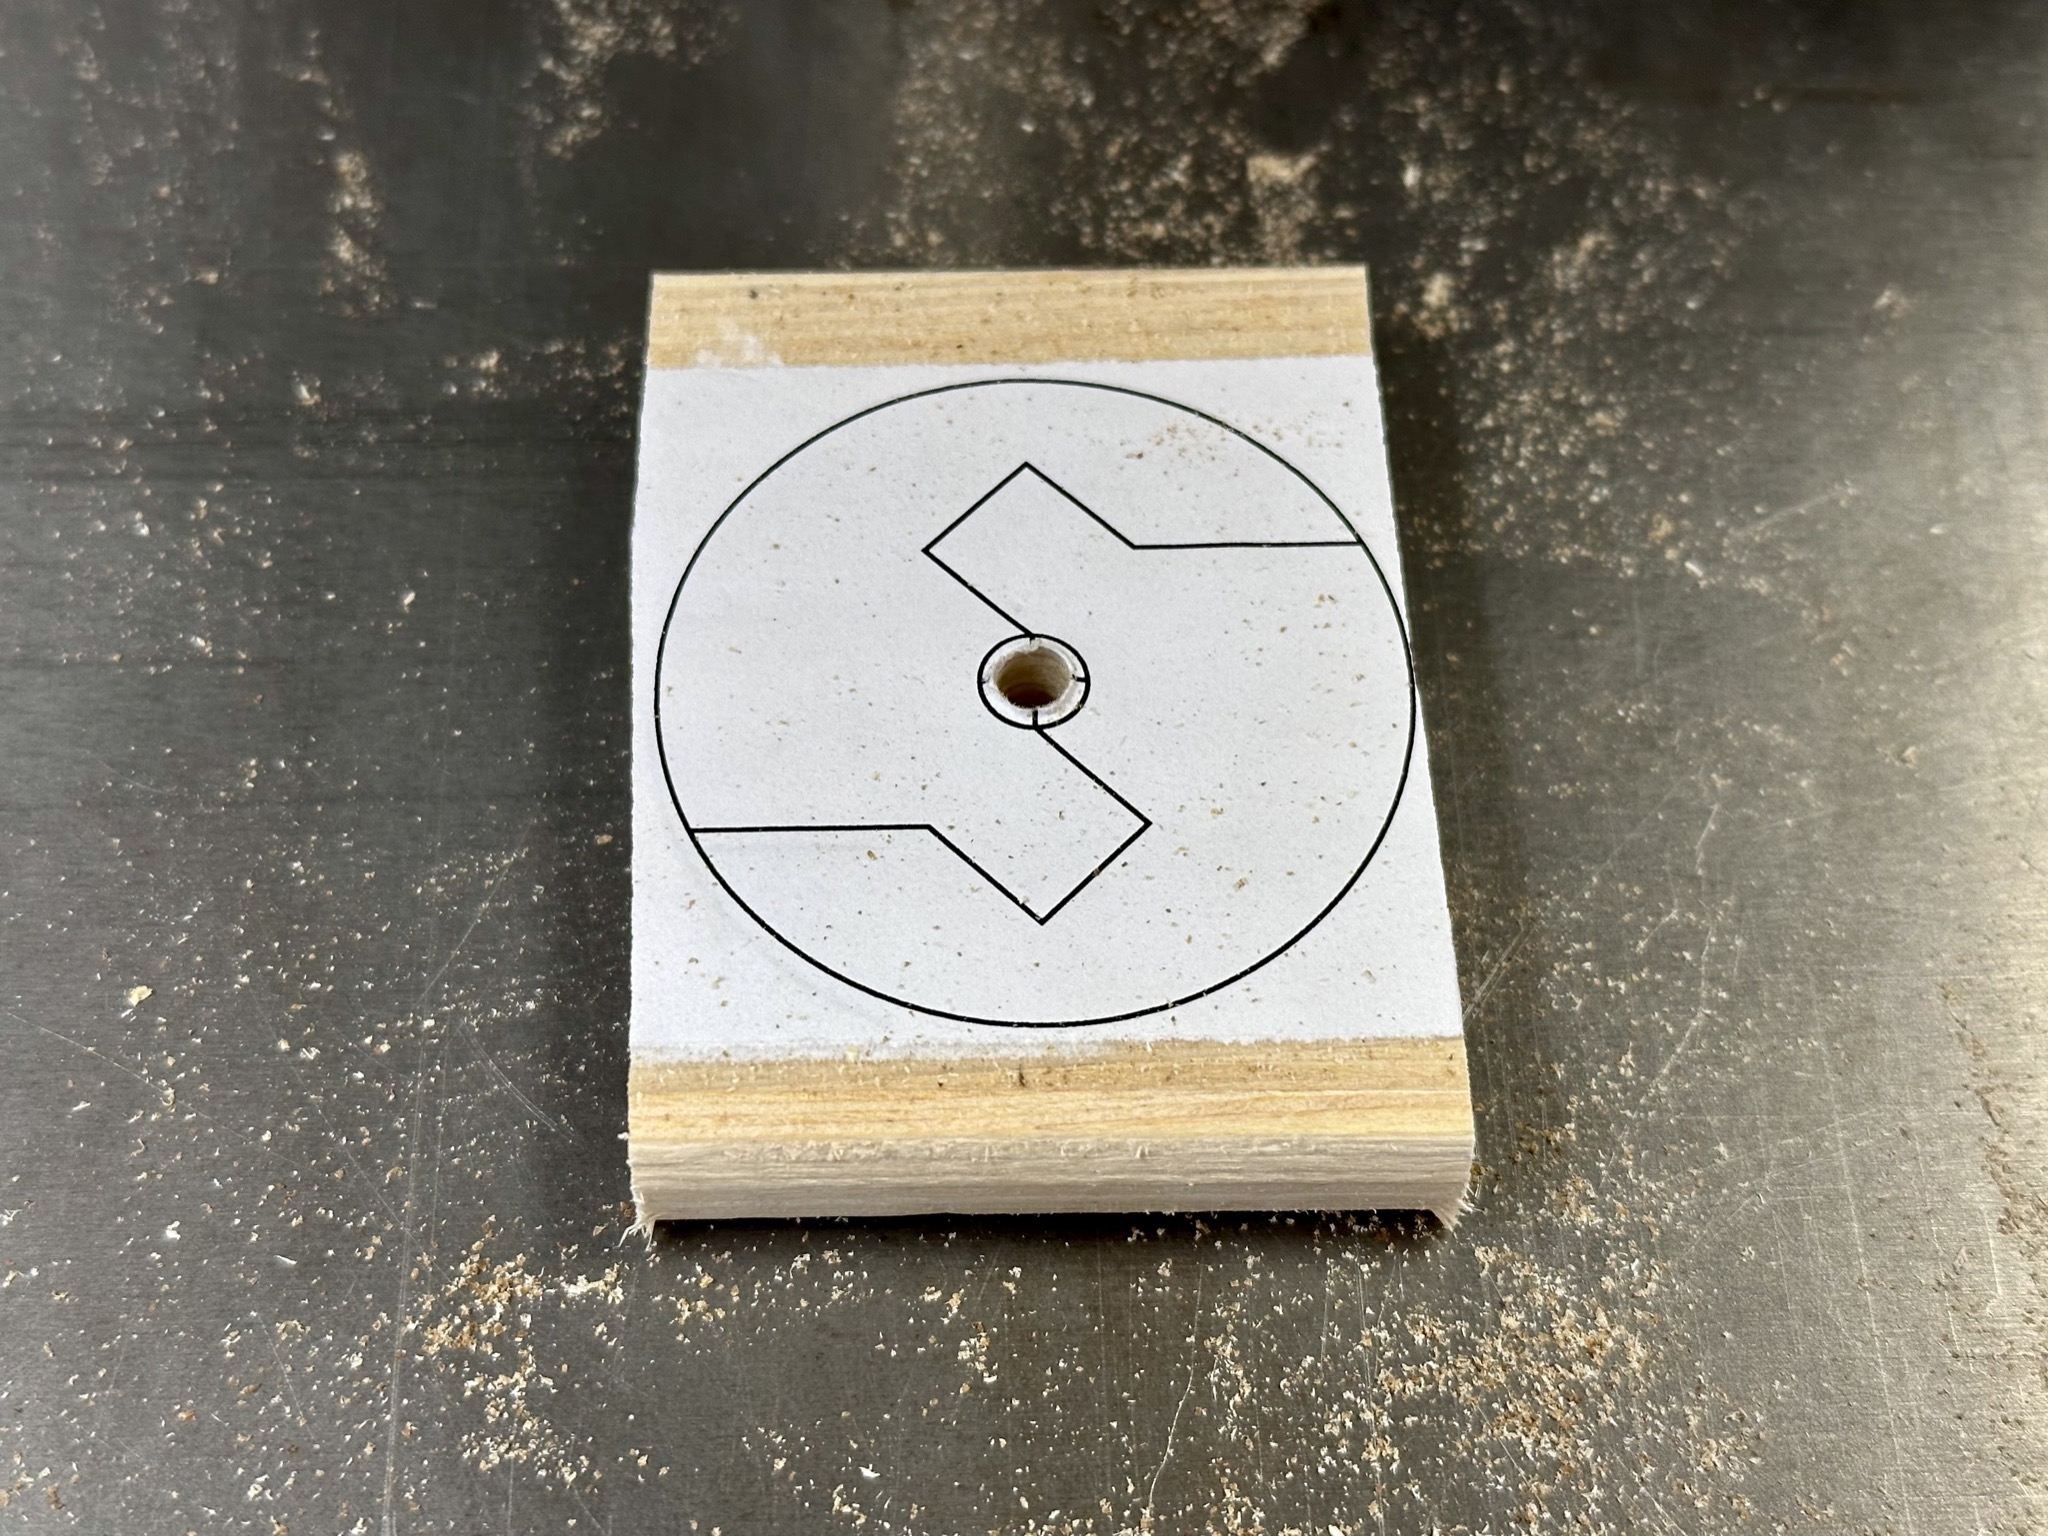
I tweaked the design a bit to give it a more interesting and even look.
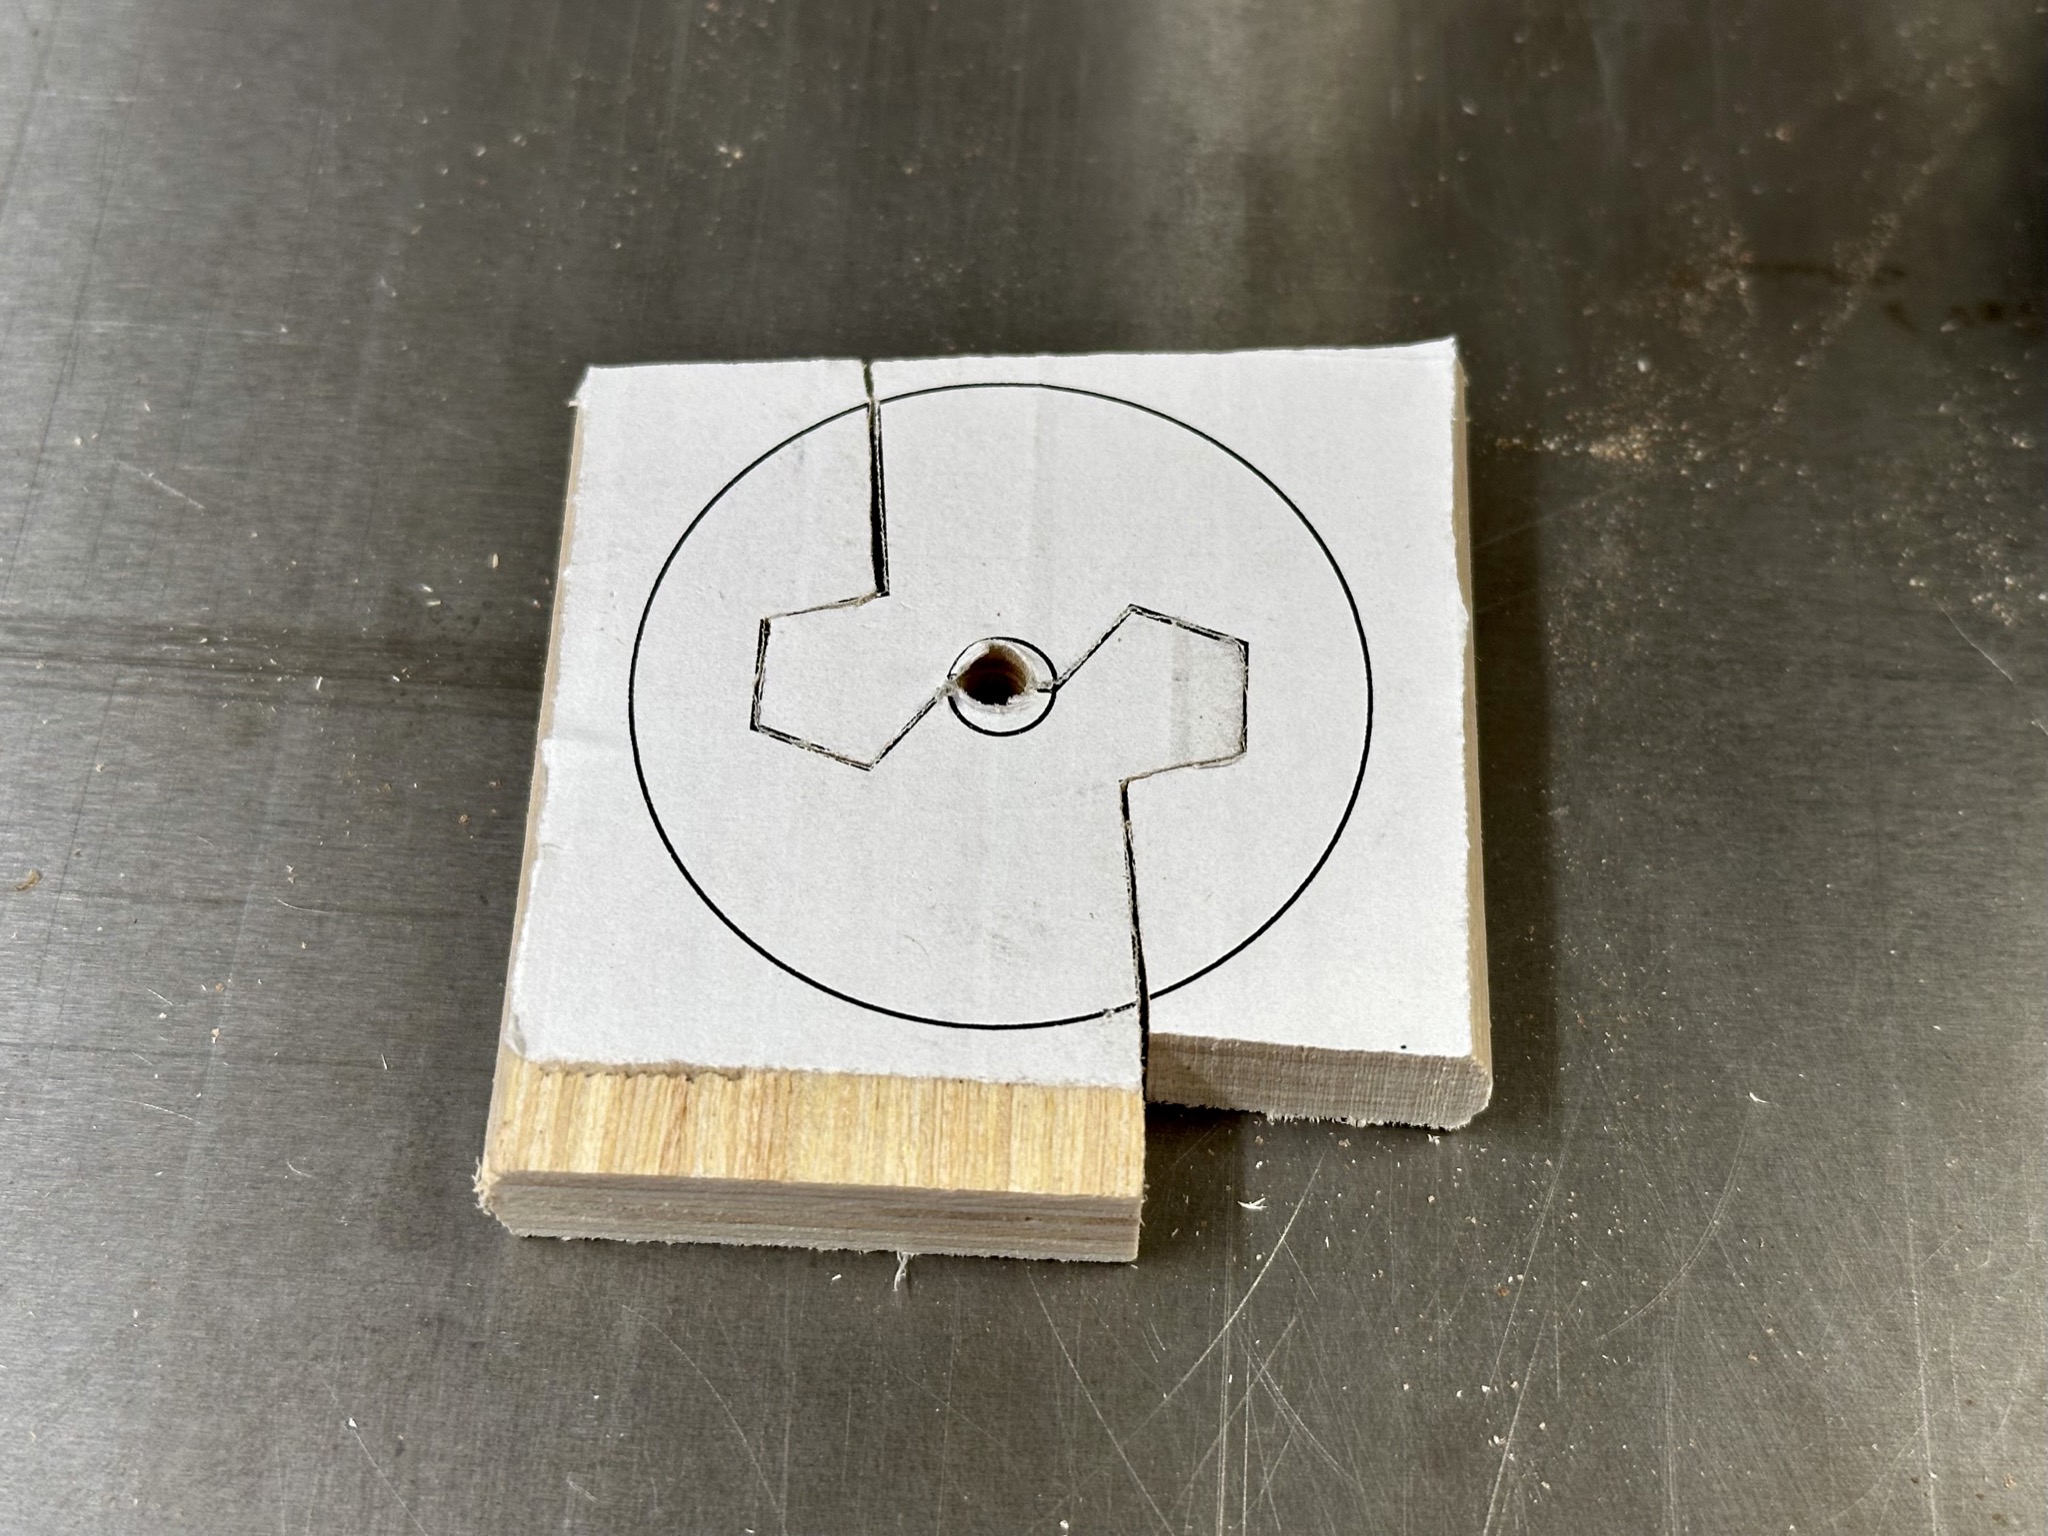
In Adobe Illustrator, I made some more edits and made the outline circular.
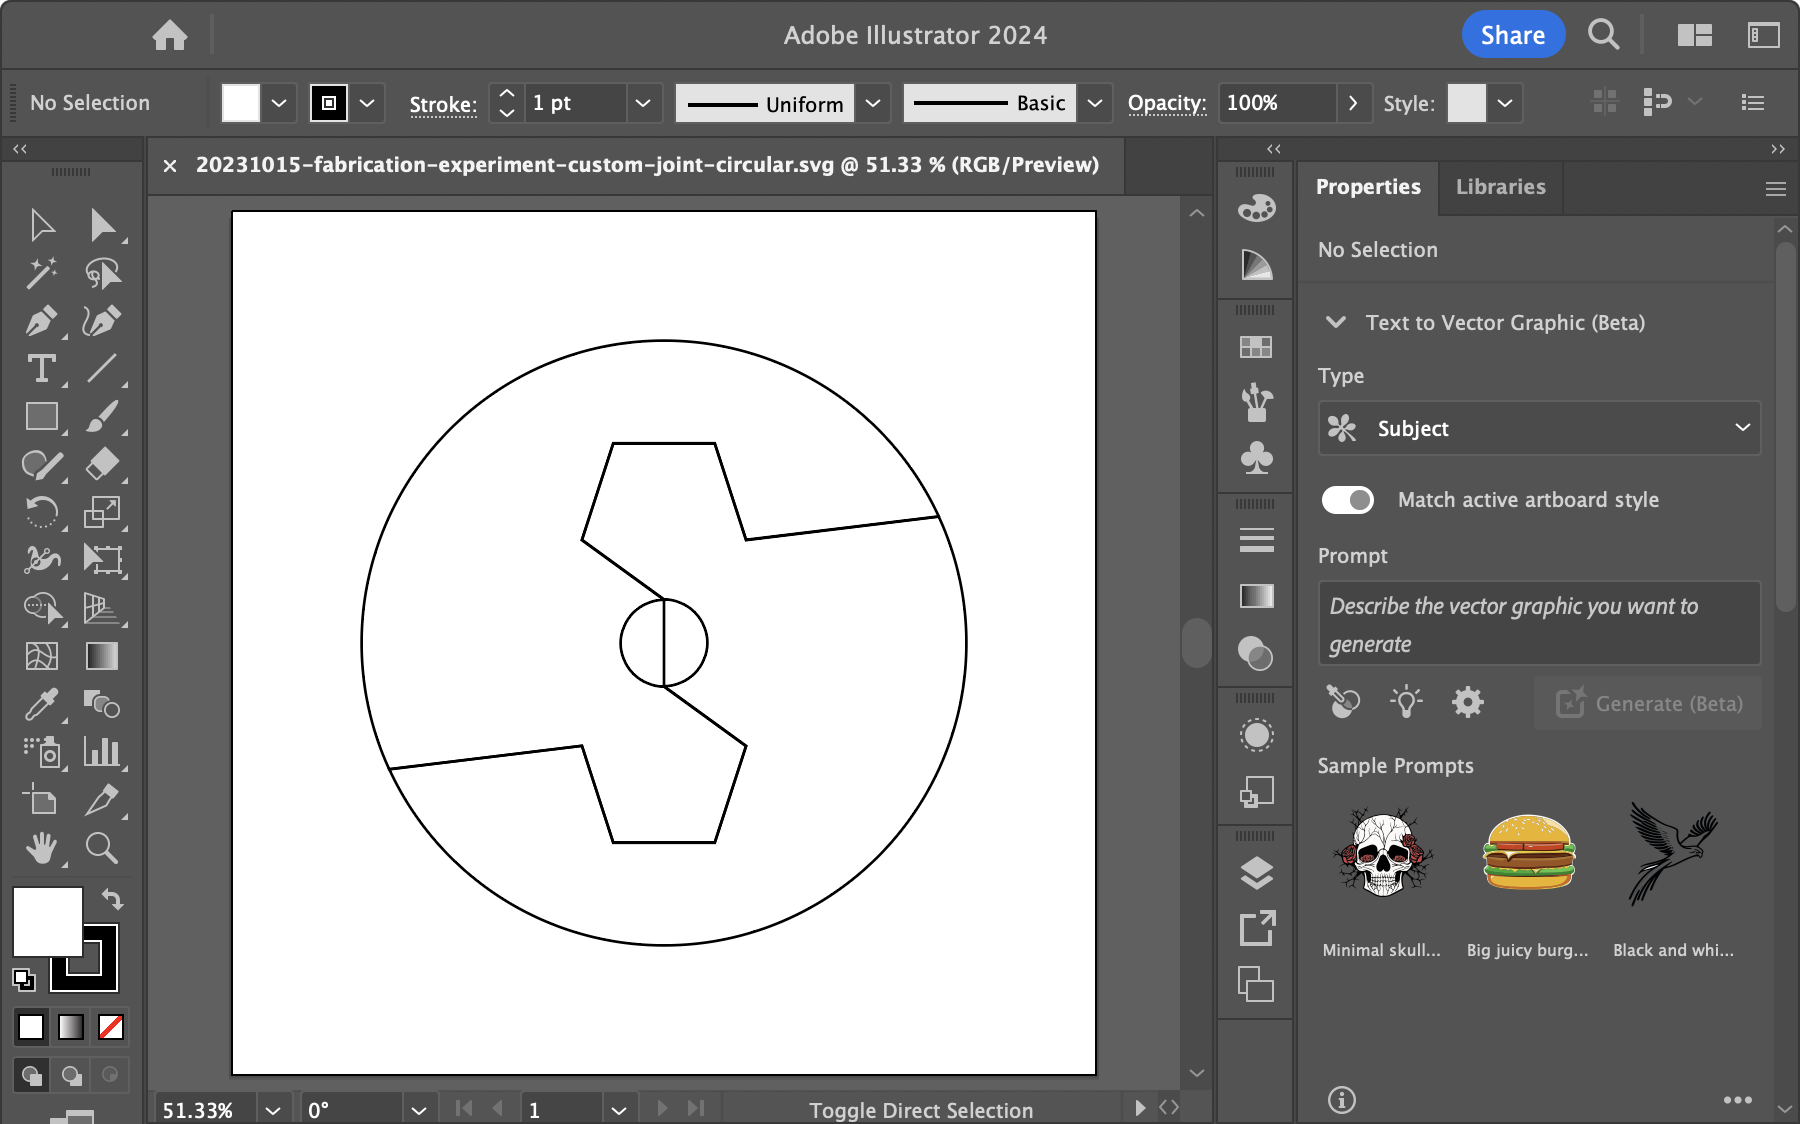
The design was then printed and sticked to a piece of wood.
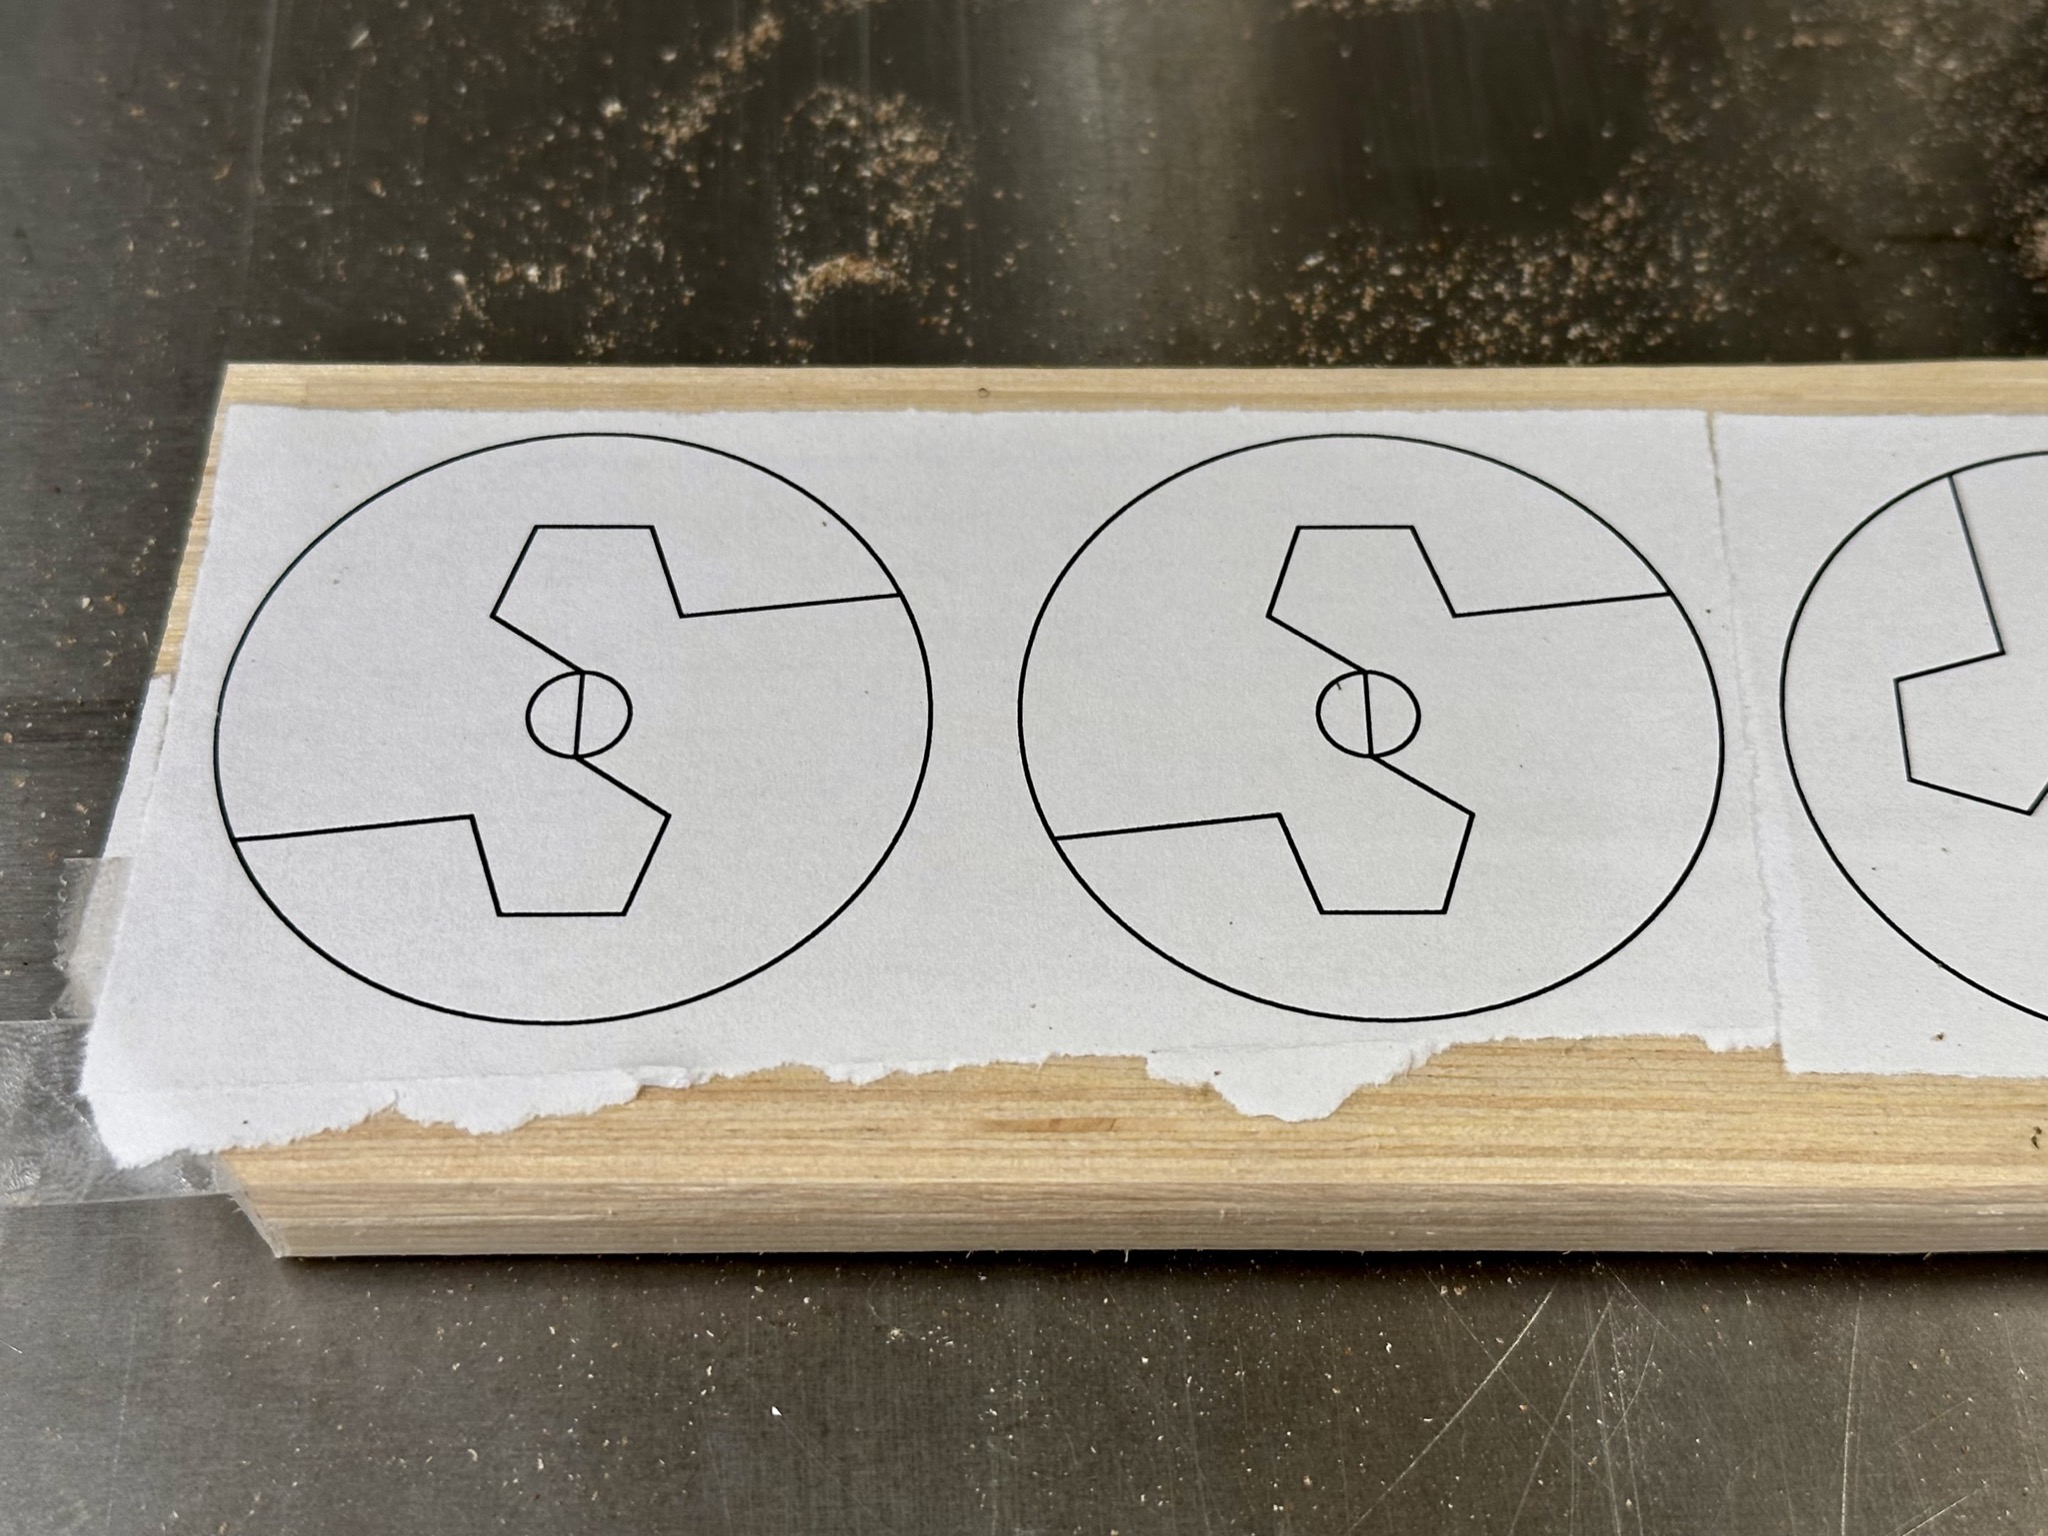
Following the template, I was able to cut out the two parts on a bandsaw. It worked!
 |
 |
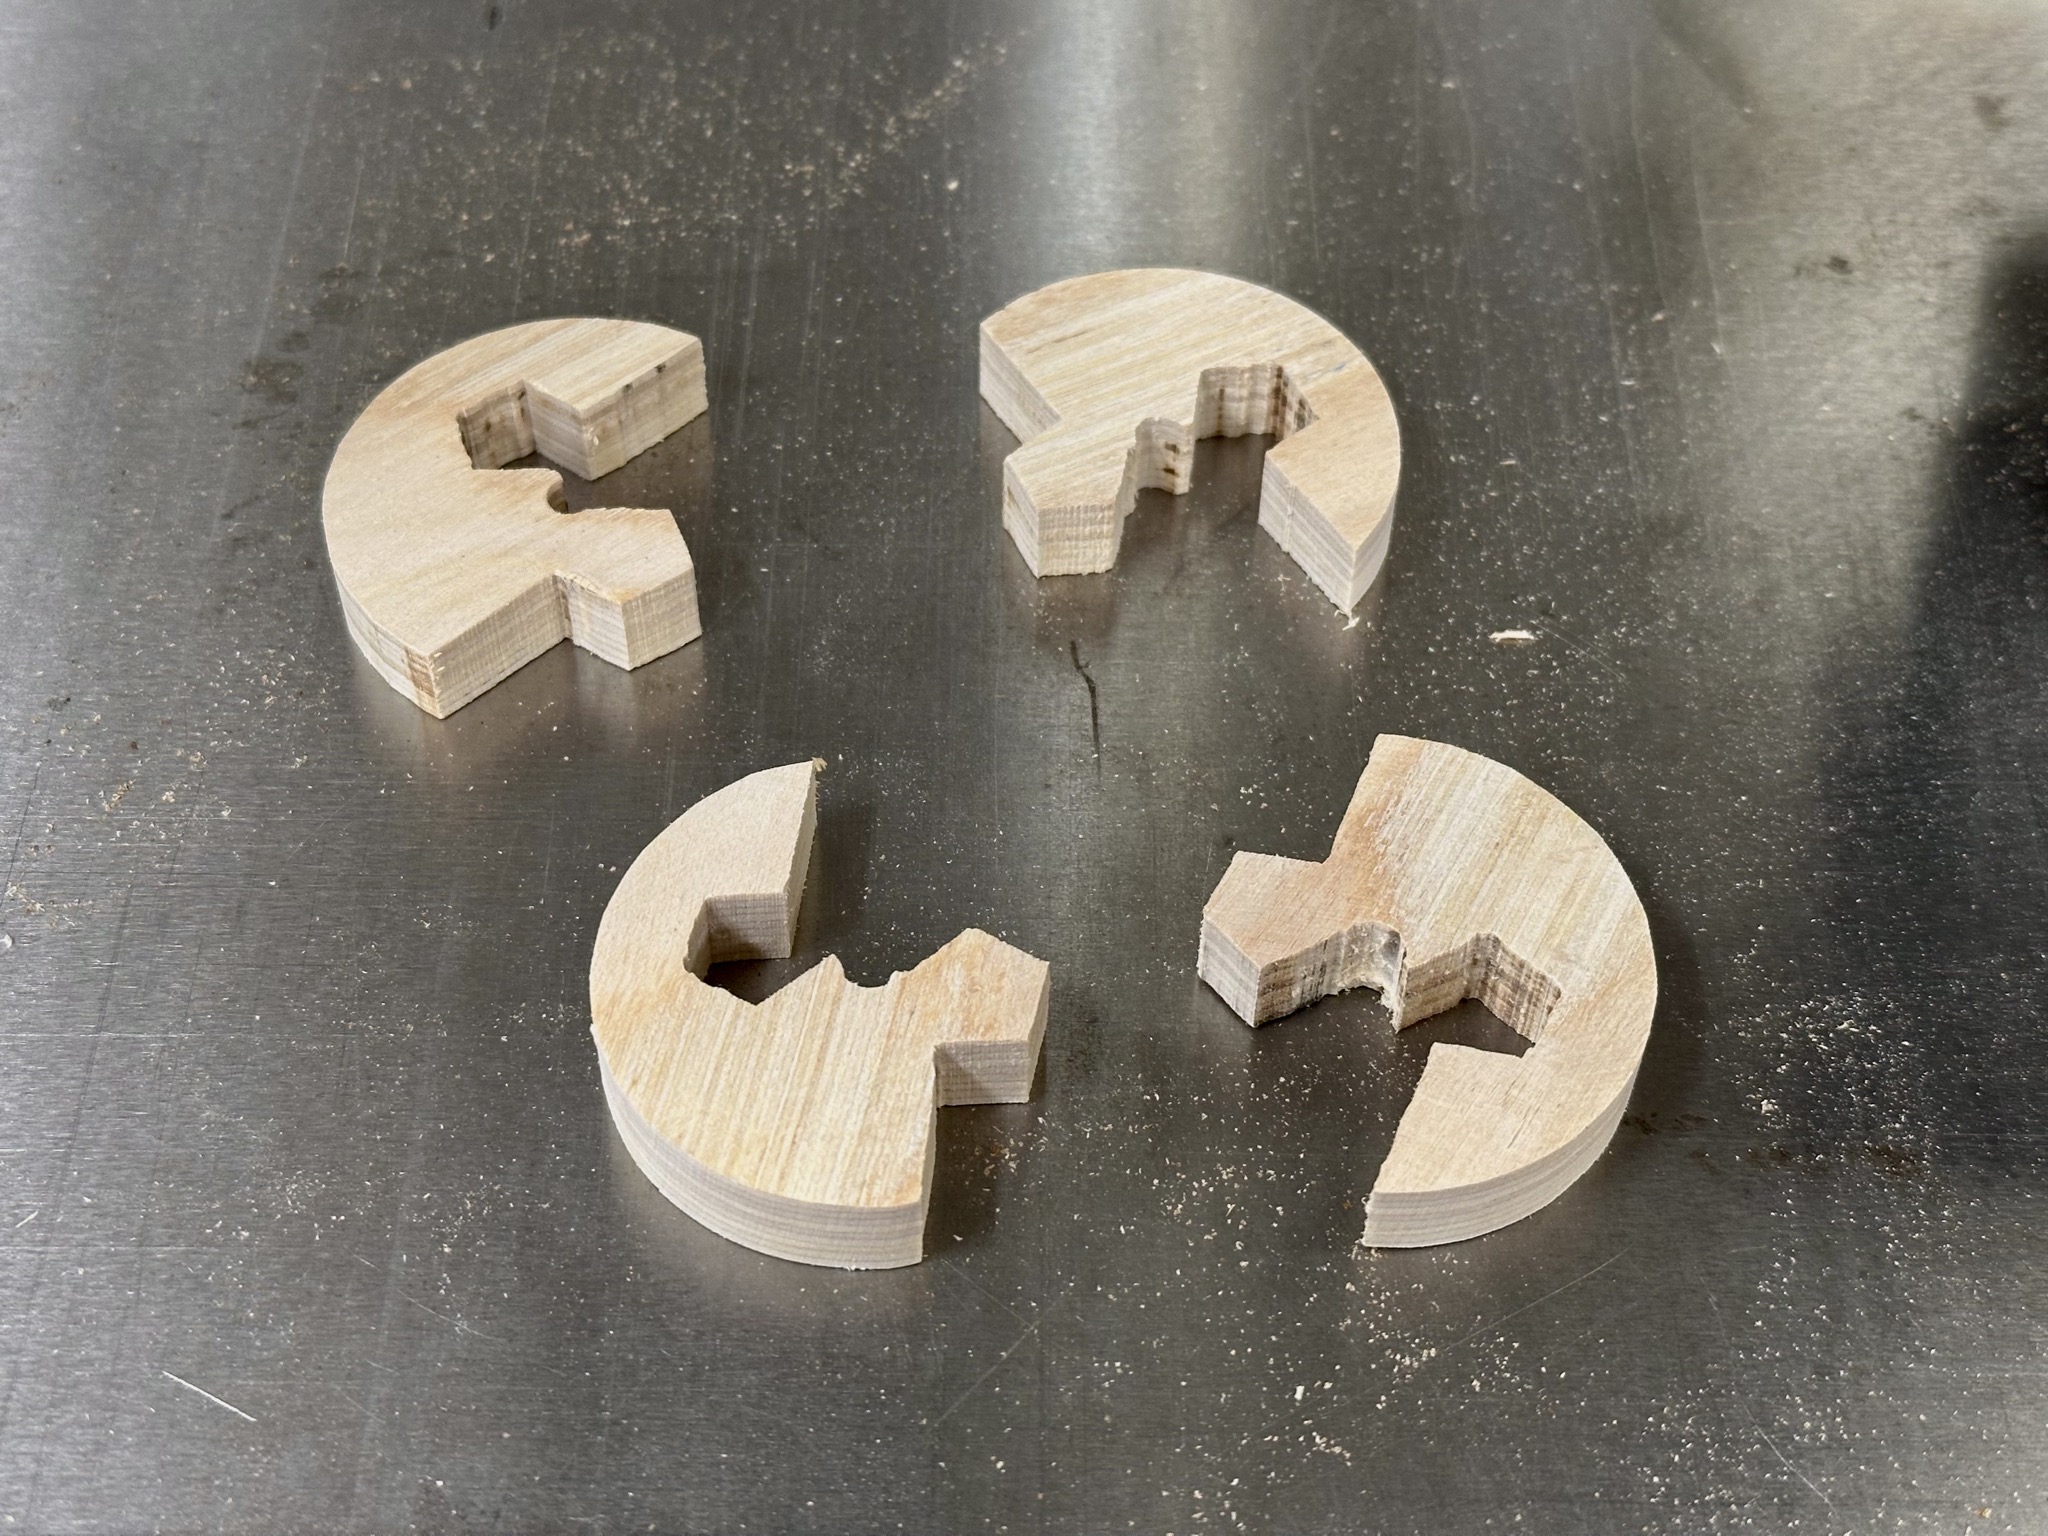
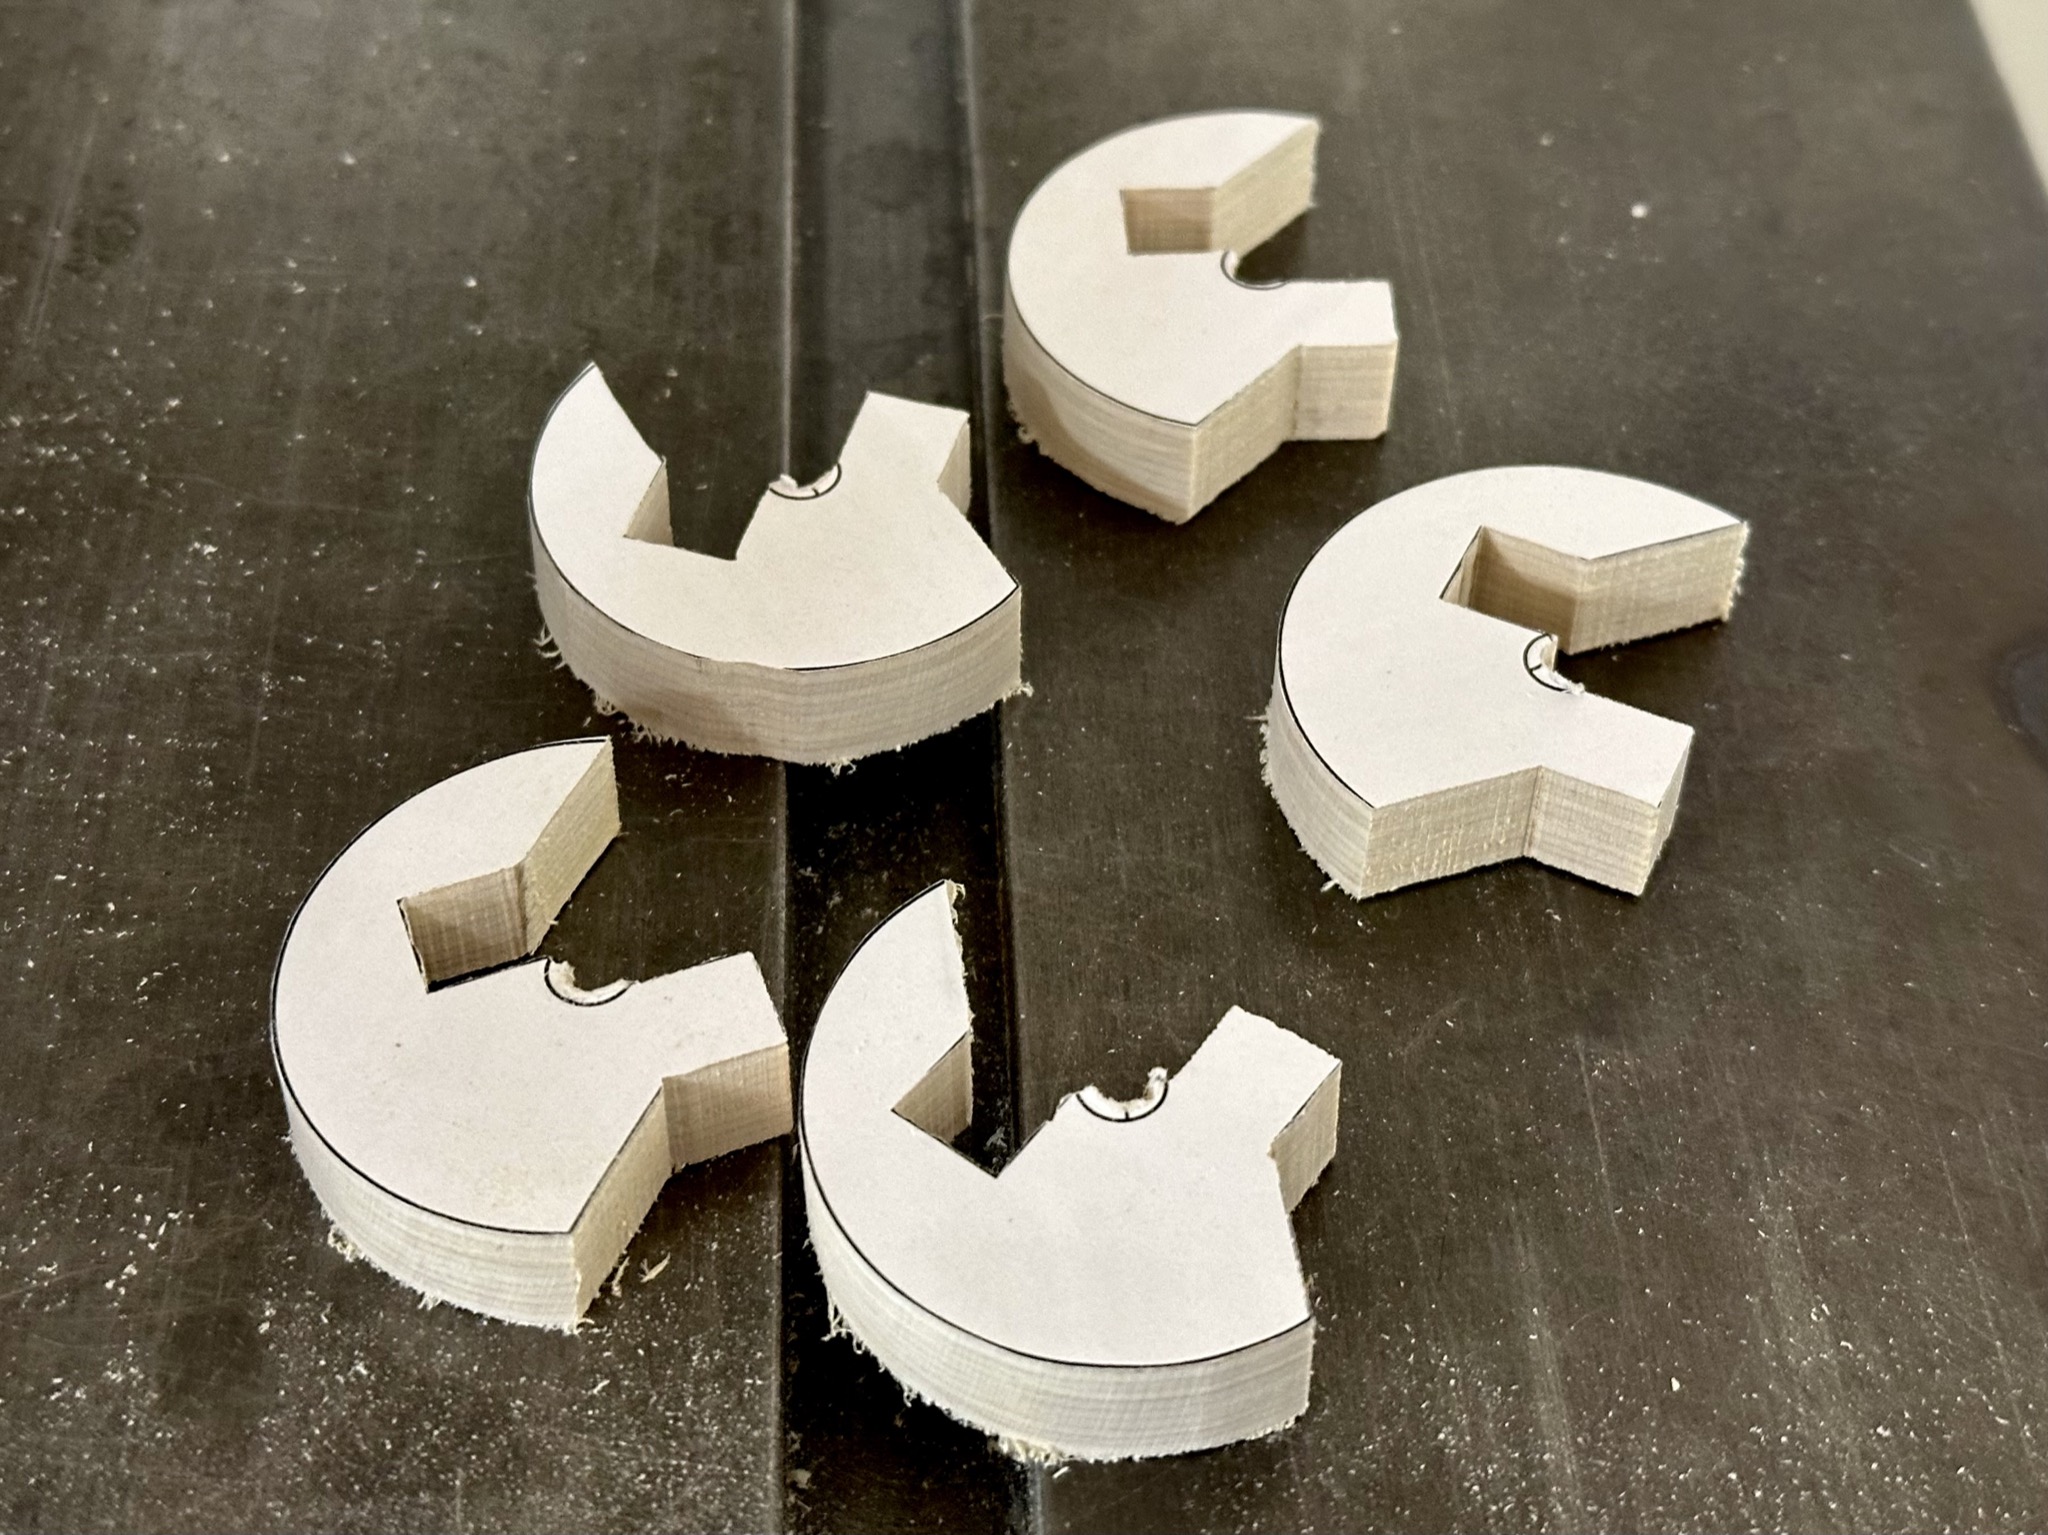
I used a drill press to create the hole because the cable was thinner than the small circle at the center.
Following the same steps, I made four pieces in total.
Finally, it was assemble time.
Similarly, I experimented with a different version to see if they can hold together. This time, I drilled the holes first.
Afterwards, I followed the template closely to cut all pieces, including a spare piece.
 |
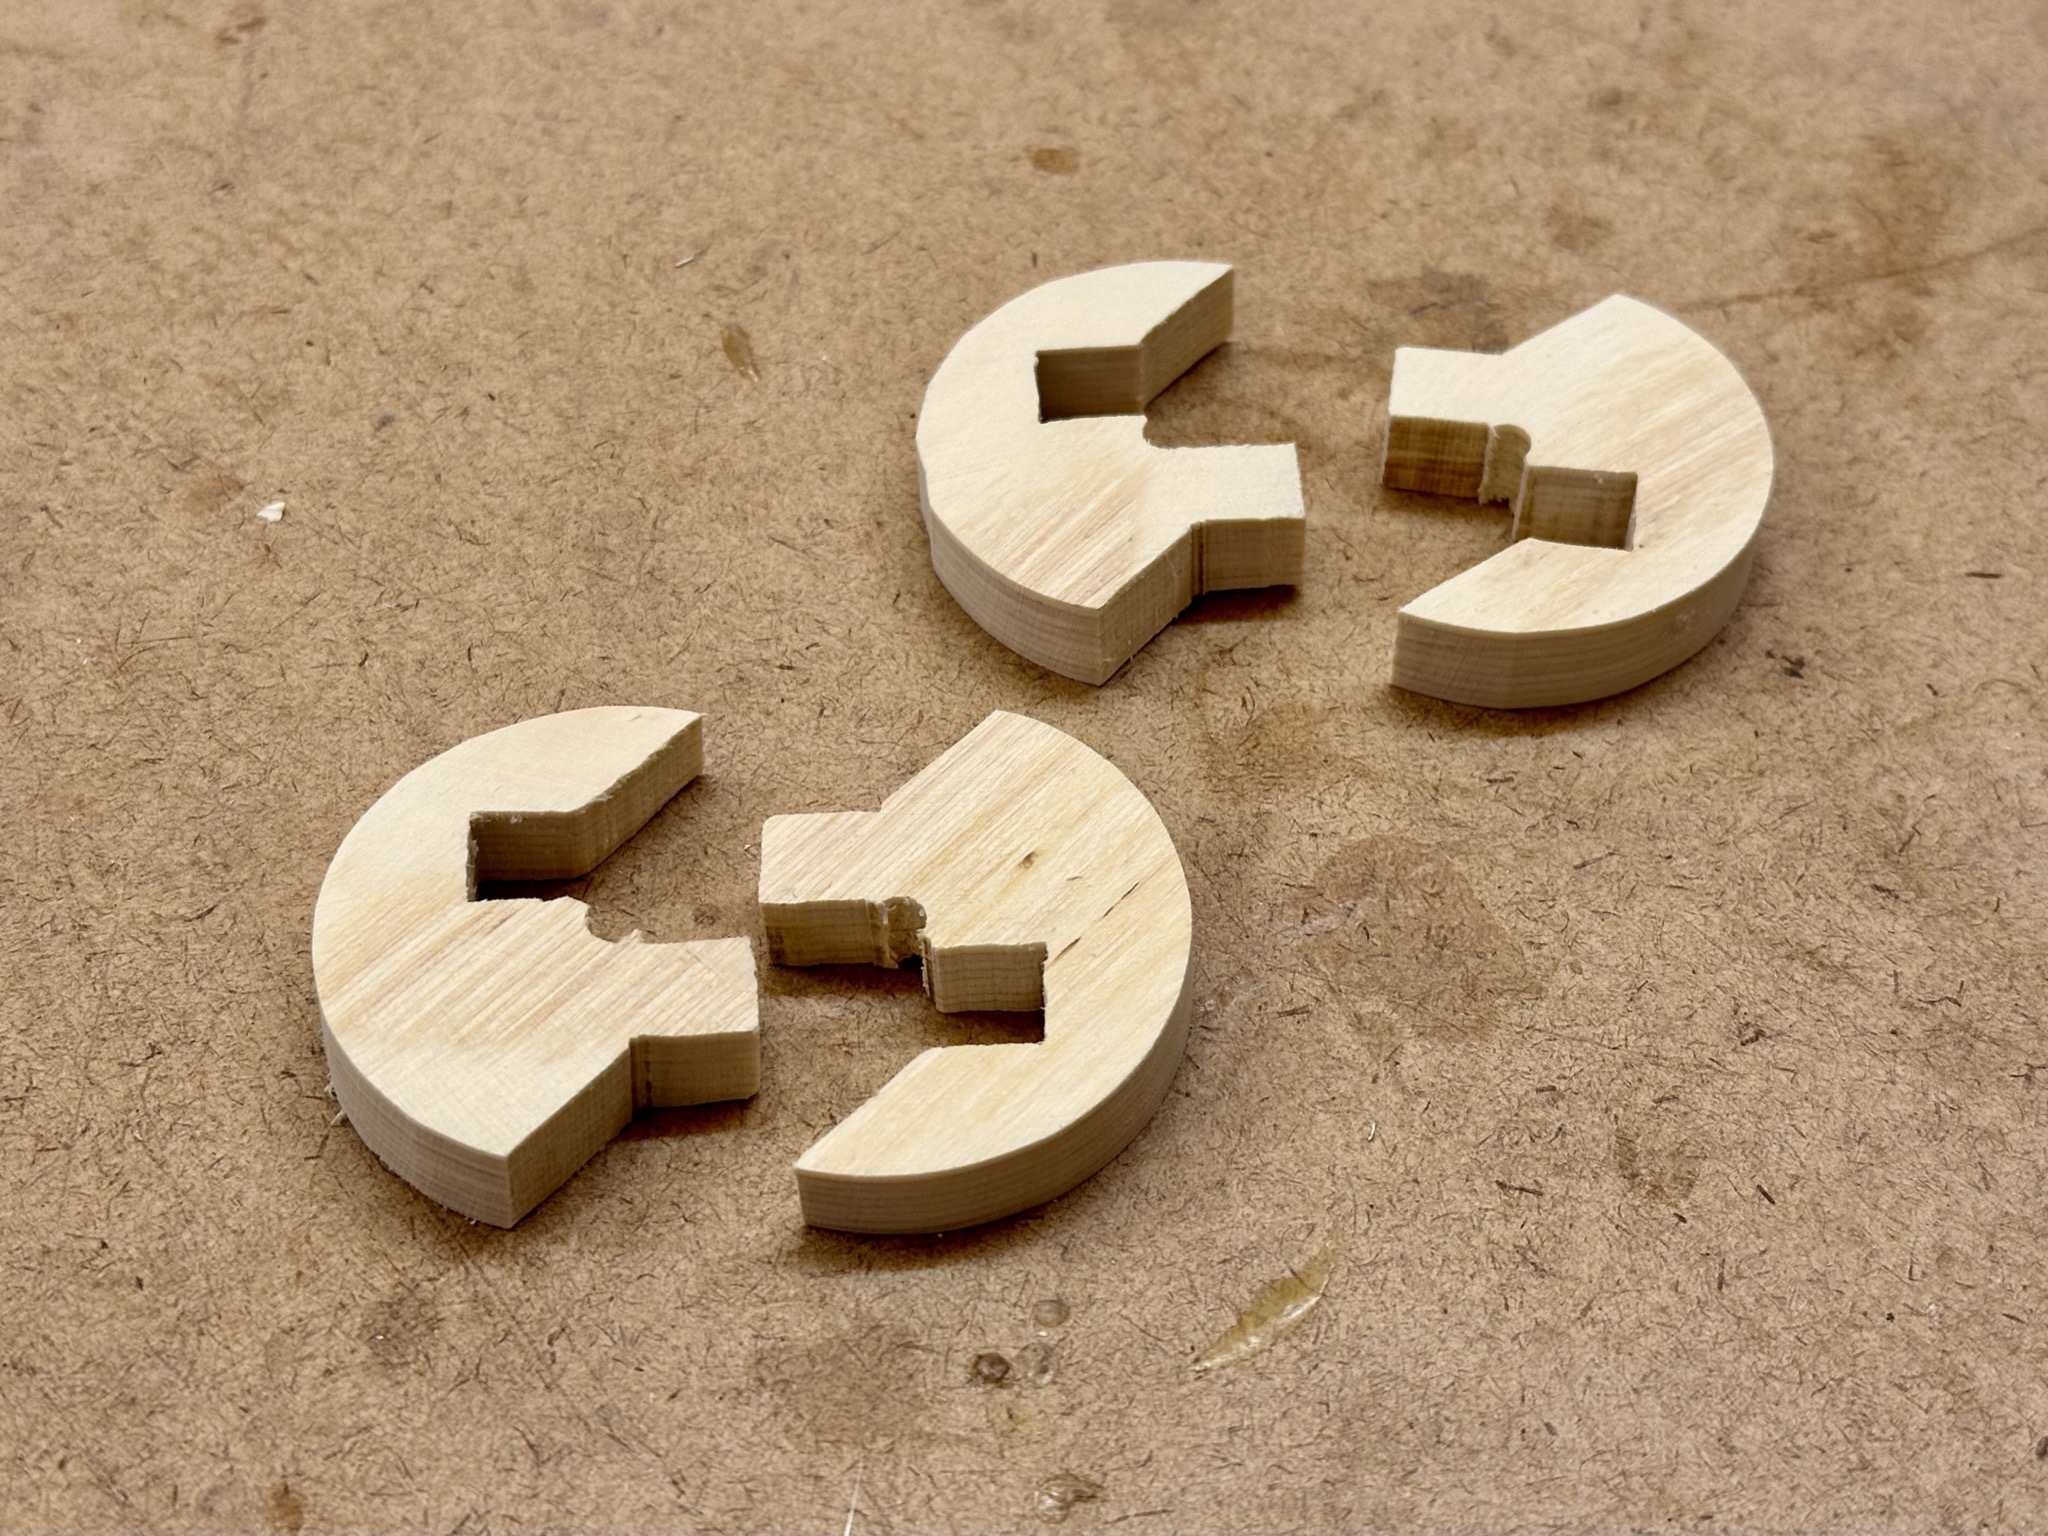 |
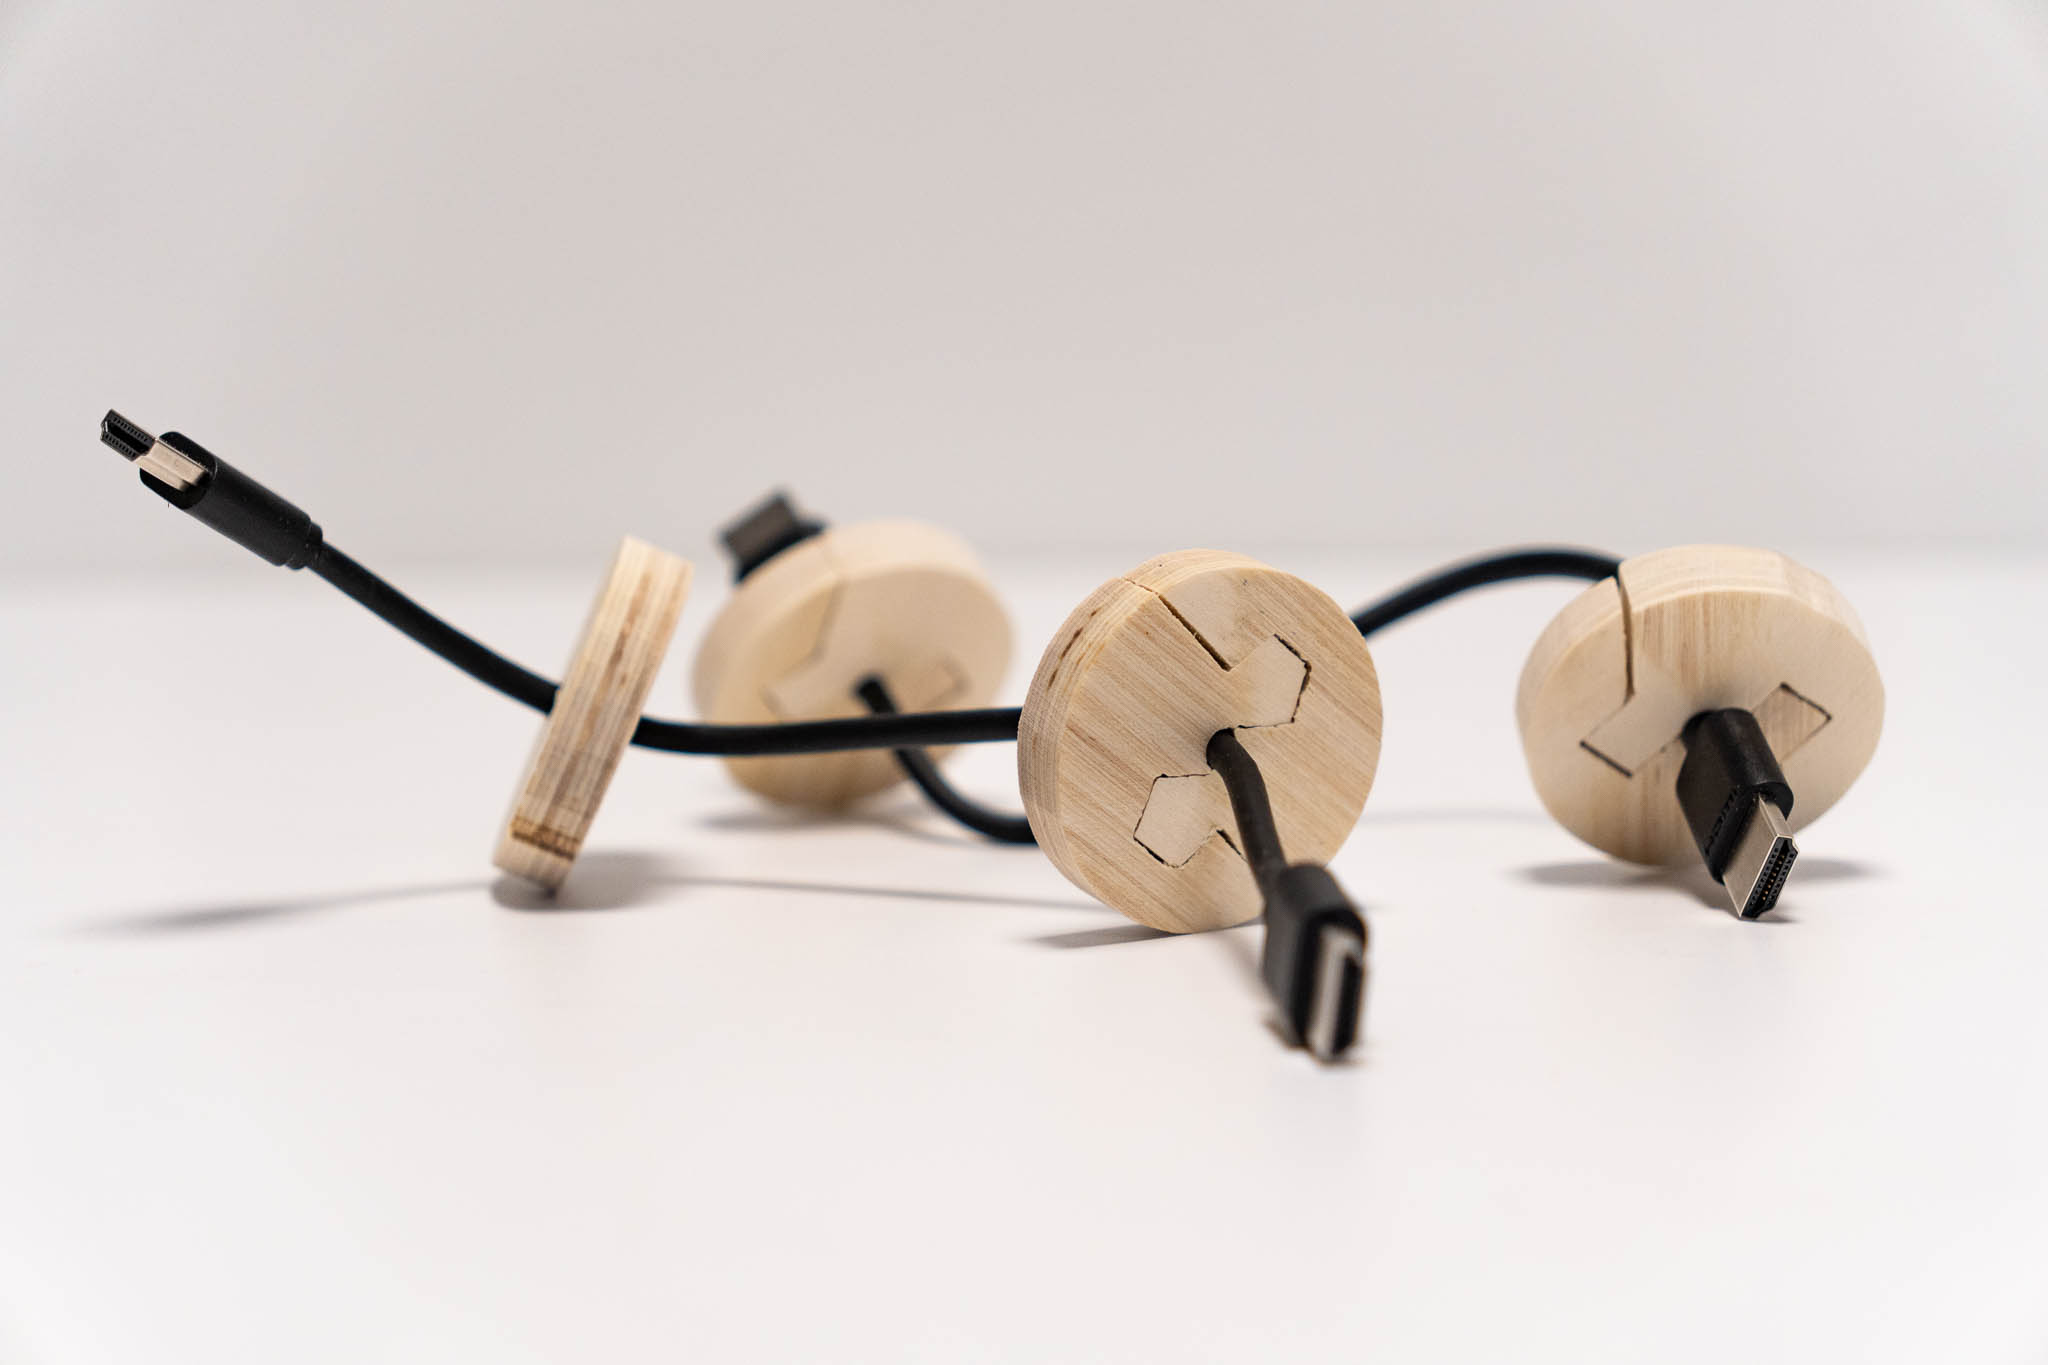
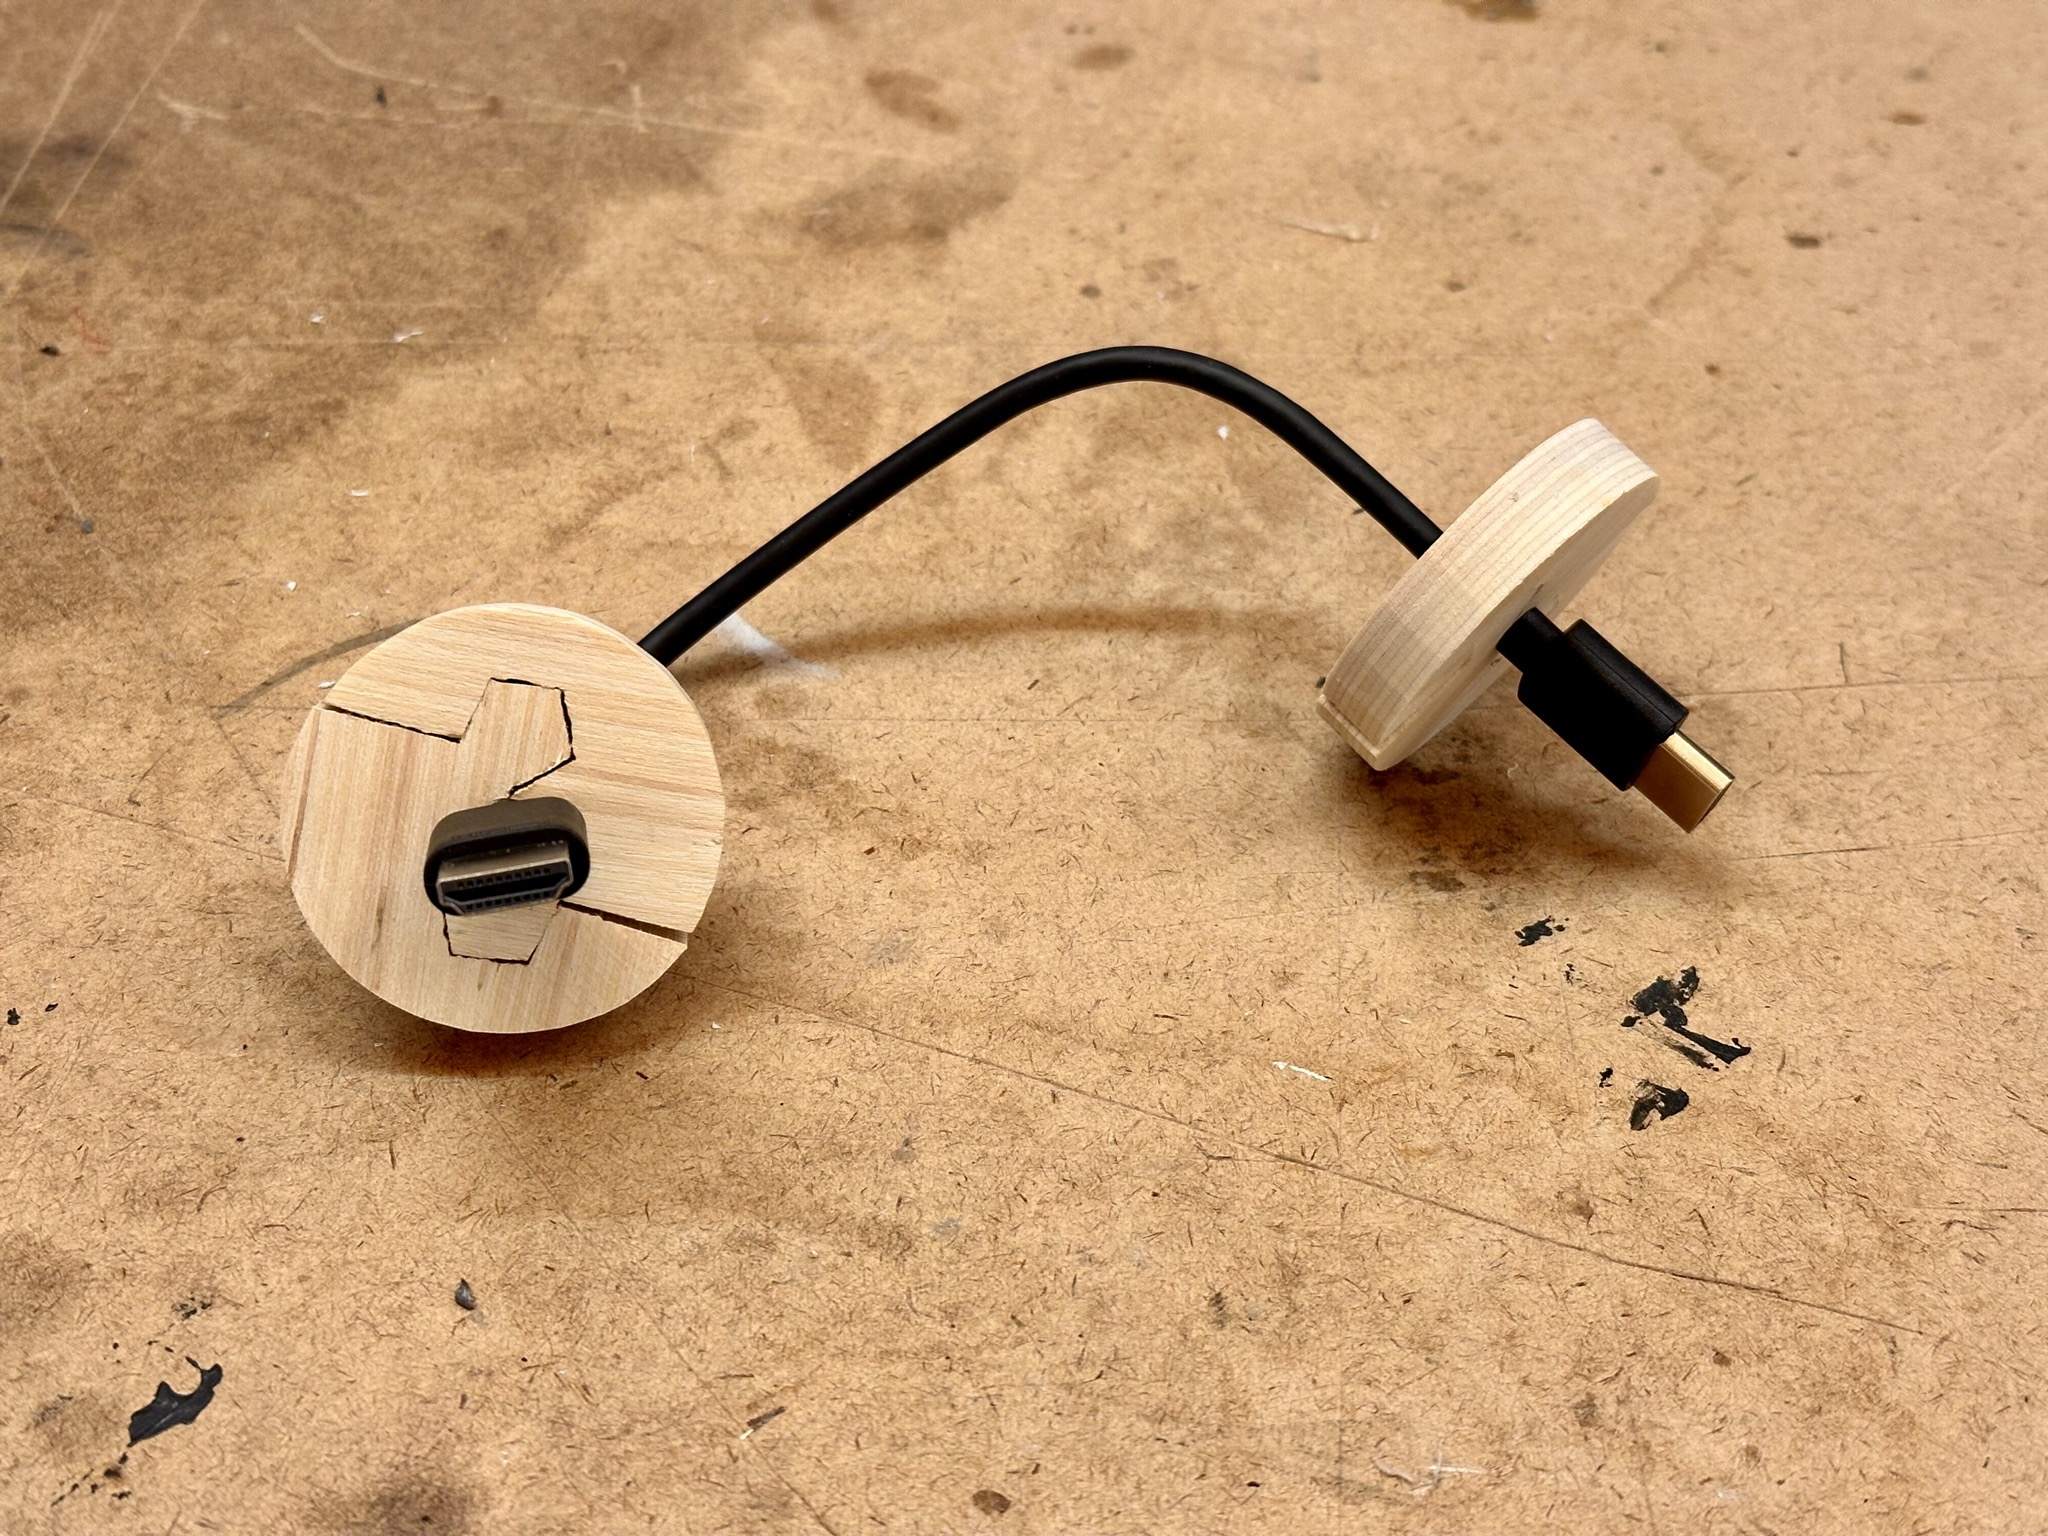
They turned out to hold together, mostly by the friction between the two.
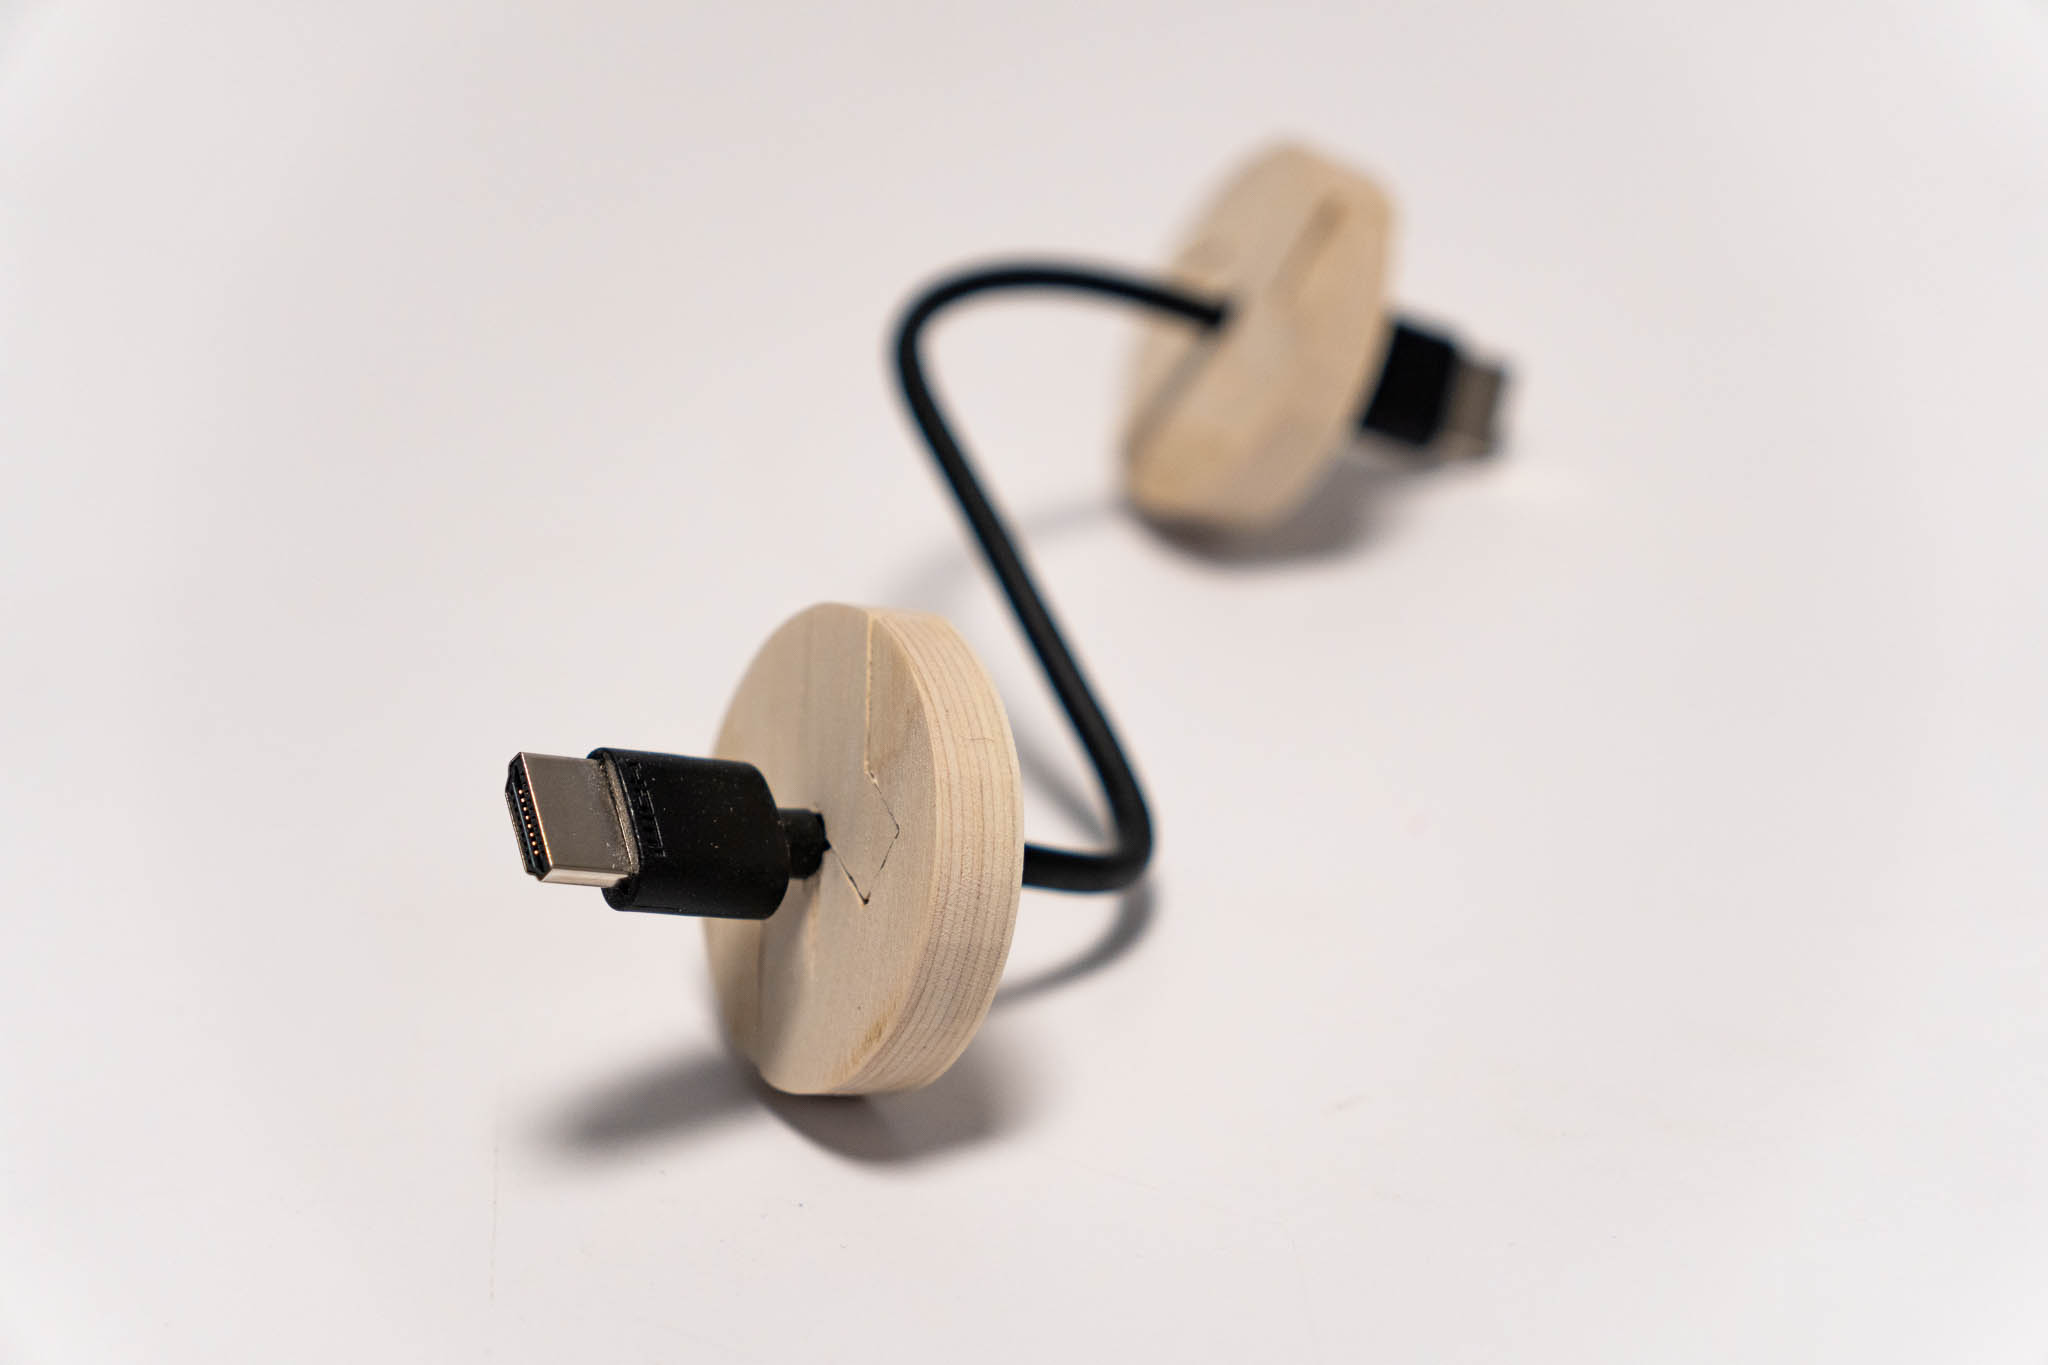
Below are some more photos showcasing the final work.
 |
 |