Laser Cutting Experiments #itp #introduction-to-fabrication
This week, I have been experimenting with laser cutting. I wanted to continue incorporating computational thinking into my process, so the first thing I thought of was to create a p5.js sketch for the laser cutter. Although raster files can be used for etching, I think it would be more interesting to generate a vector path for the laser cutter.
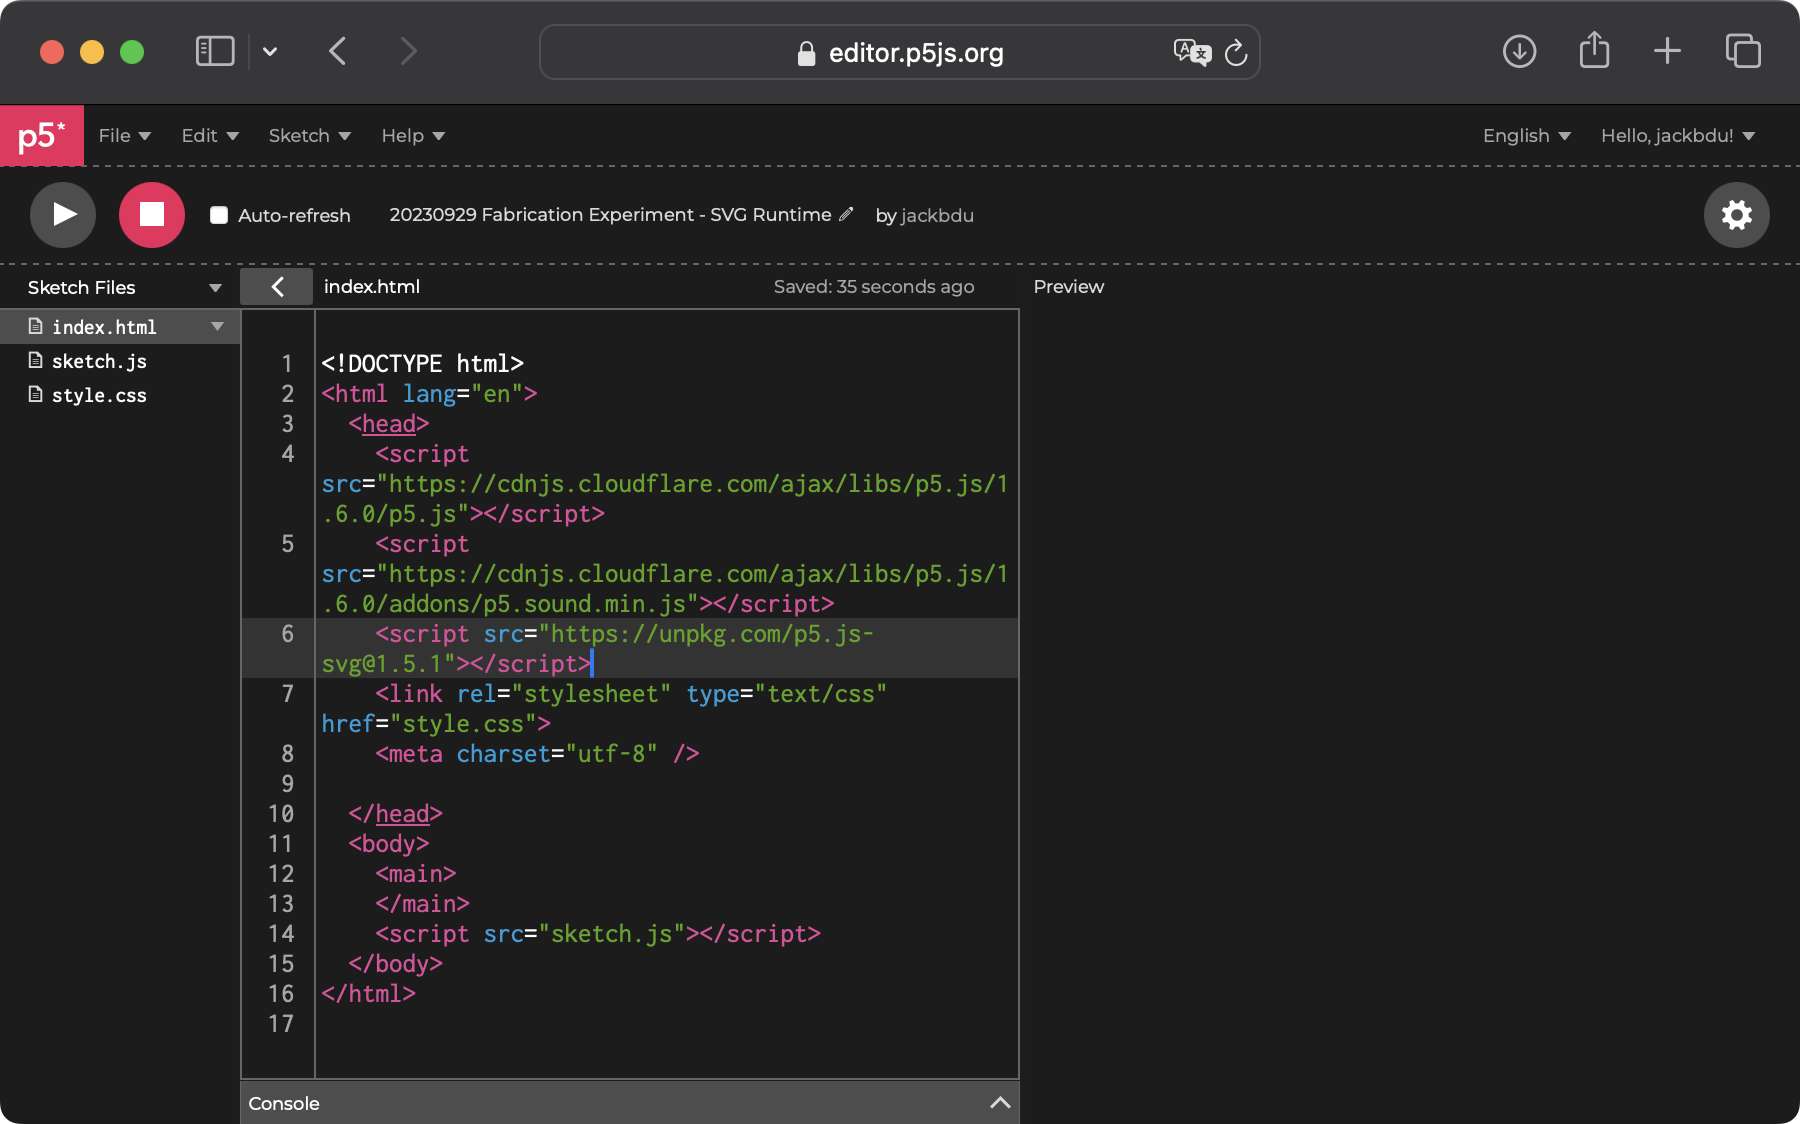
After some research, I found an open-source project that provides a SVG runtime for p5.js. In order to use it in a p5.js project, first include <script src="https://unpkg.com/p5.js-svg@1.5.1"></script> in the index.html file.
Then specify SVG as the renderer in createCanvas().
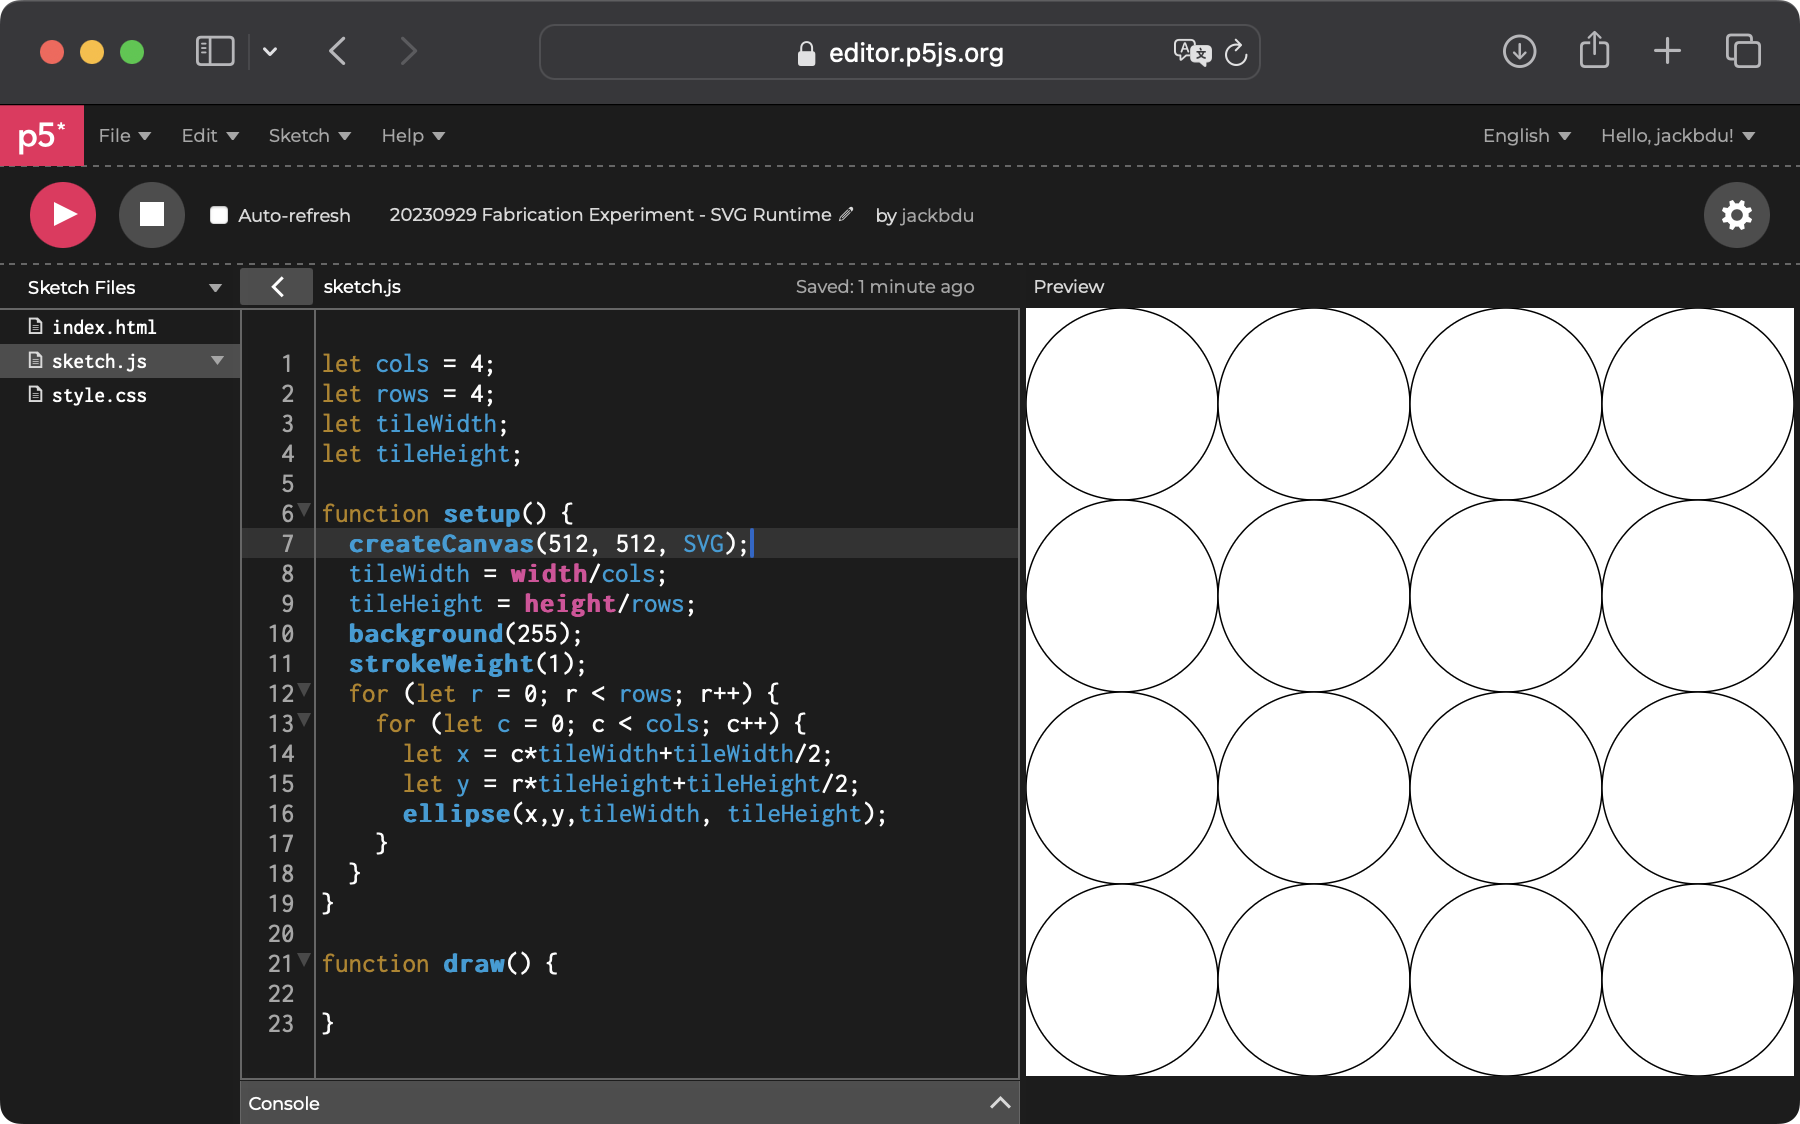
Now, everything we draw in p5.js will be rendered as an SVG element.
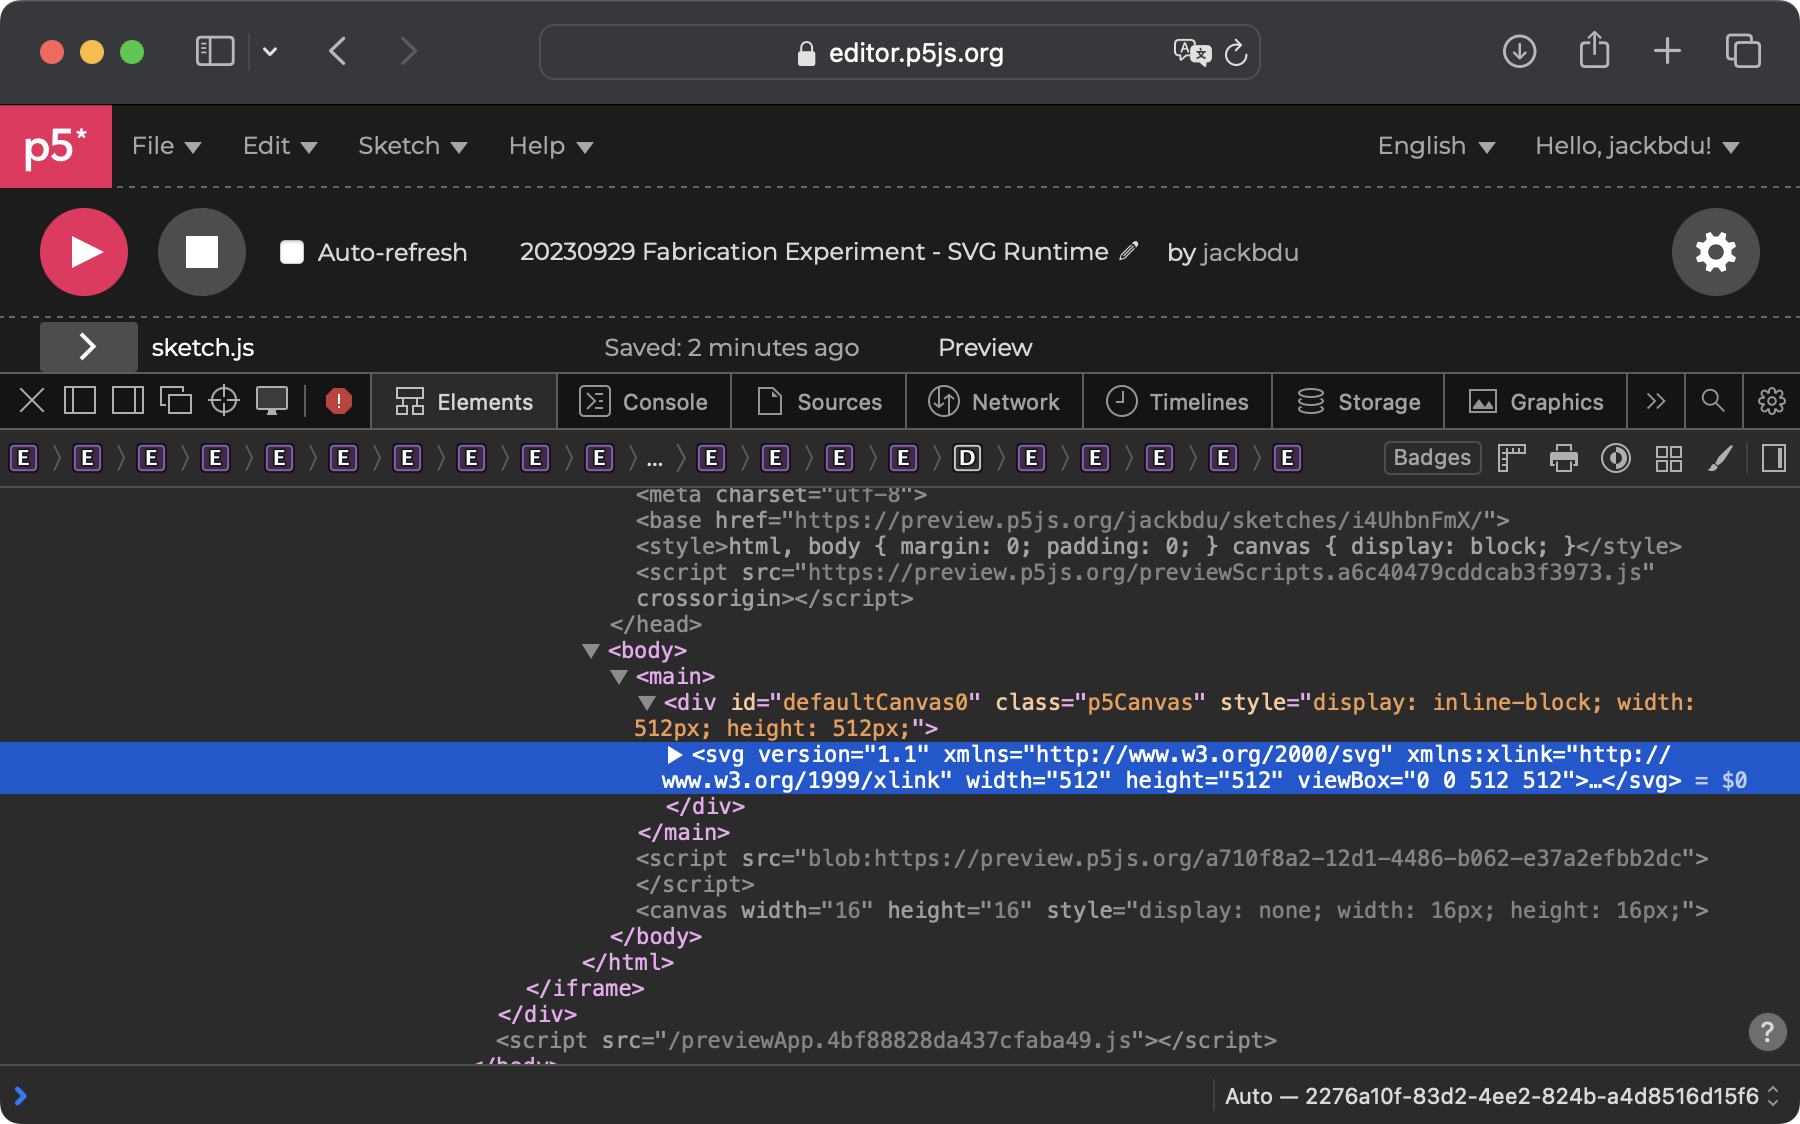
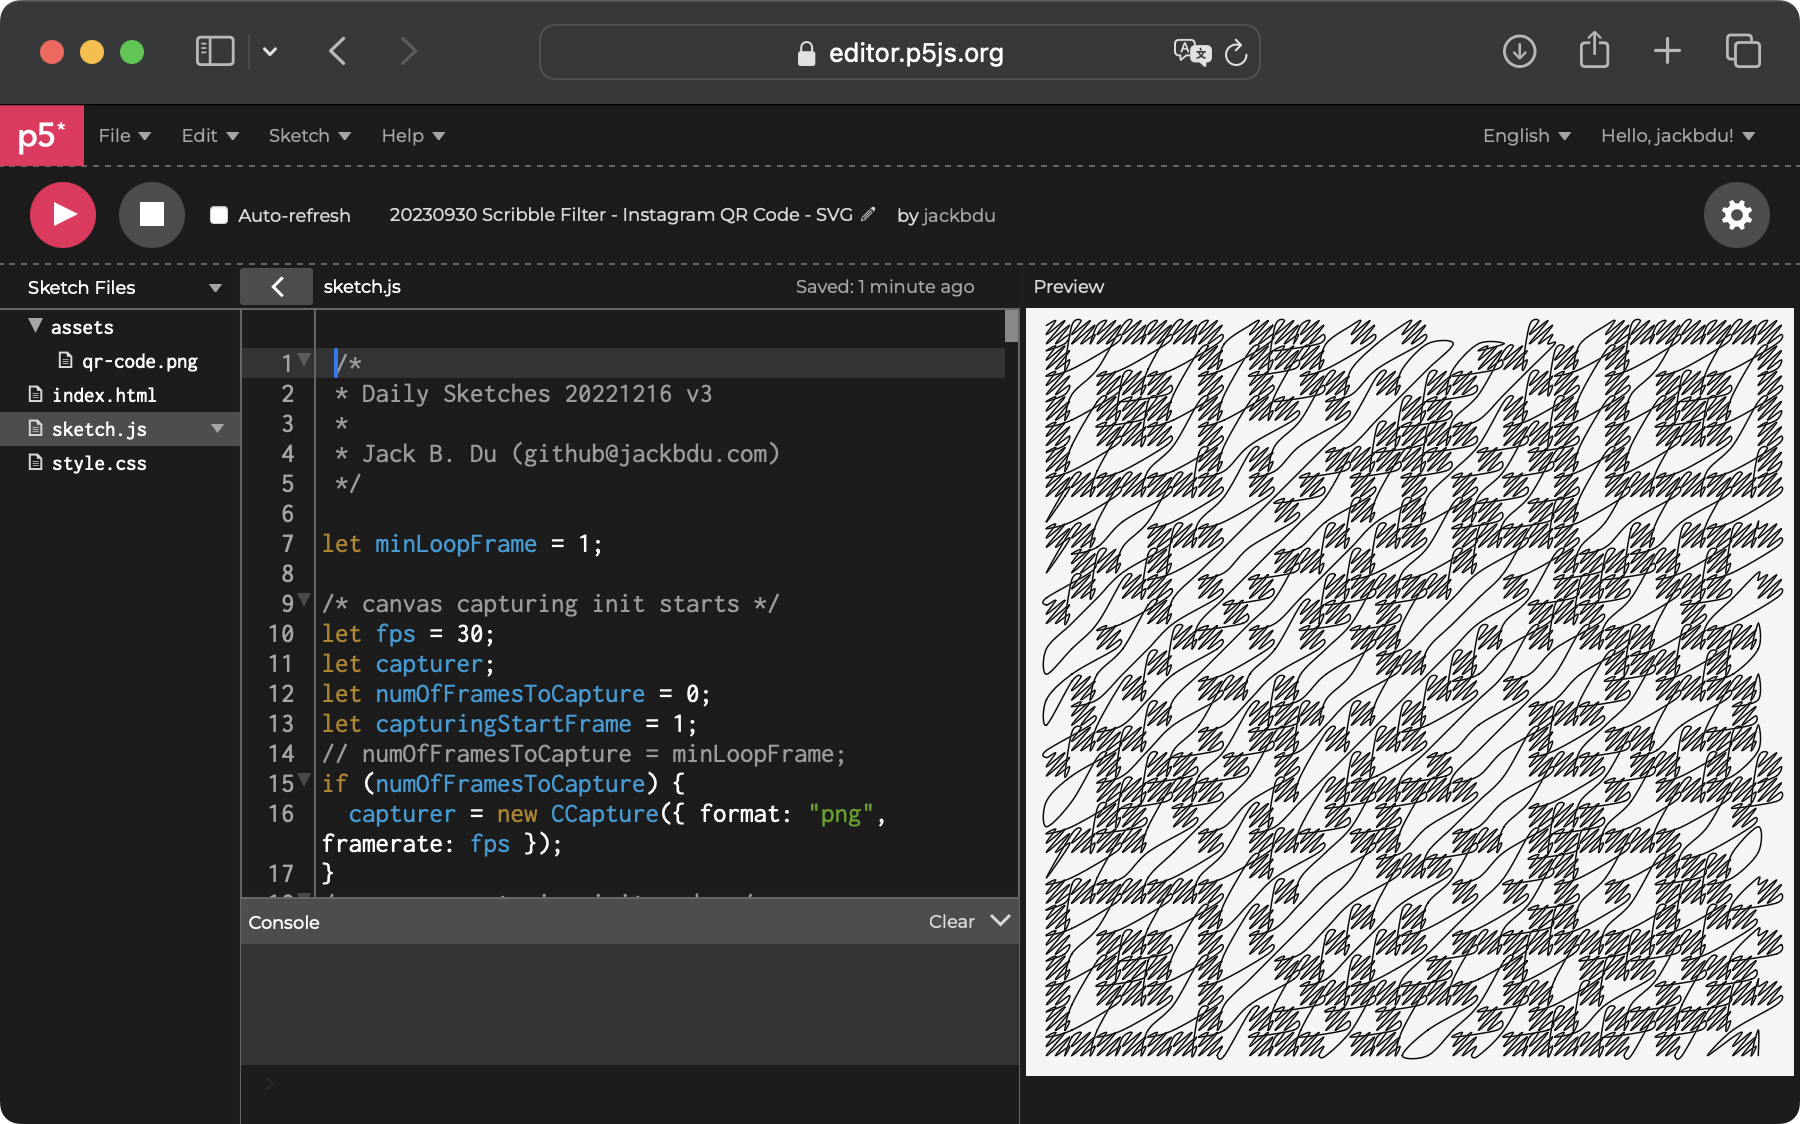
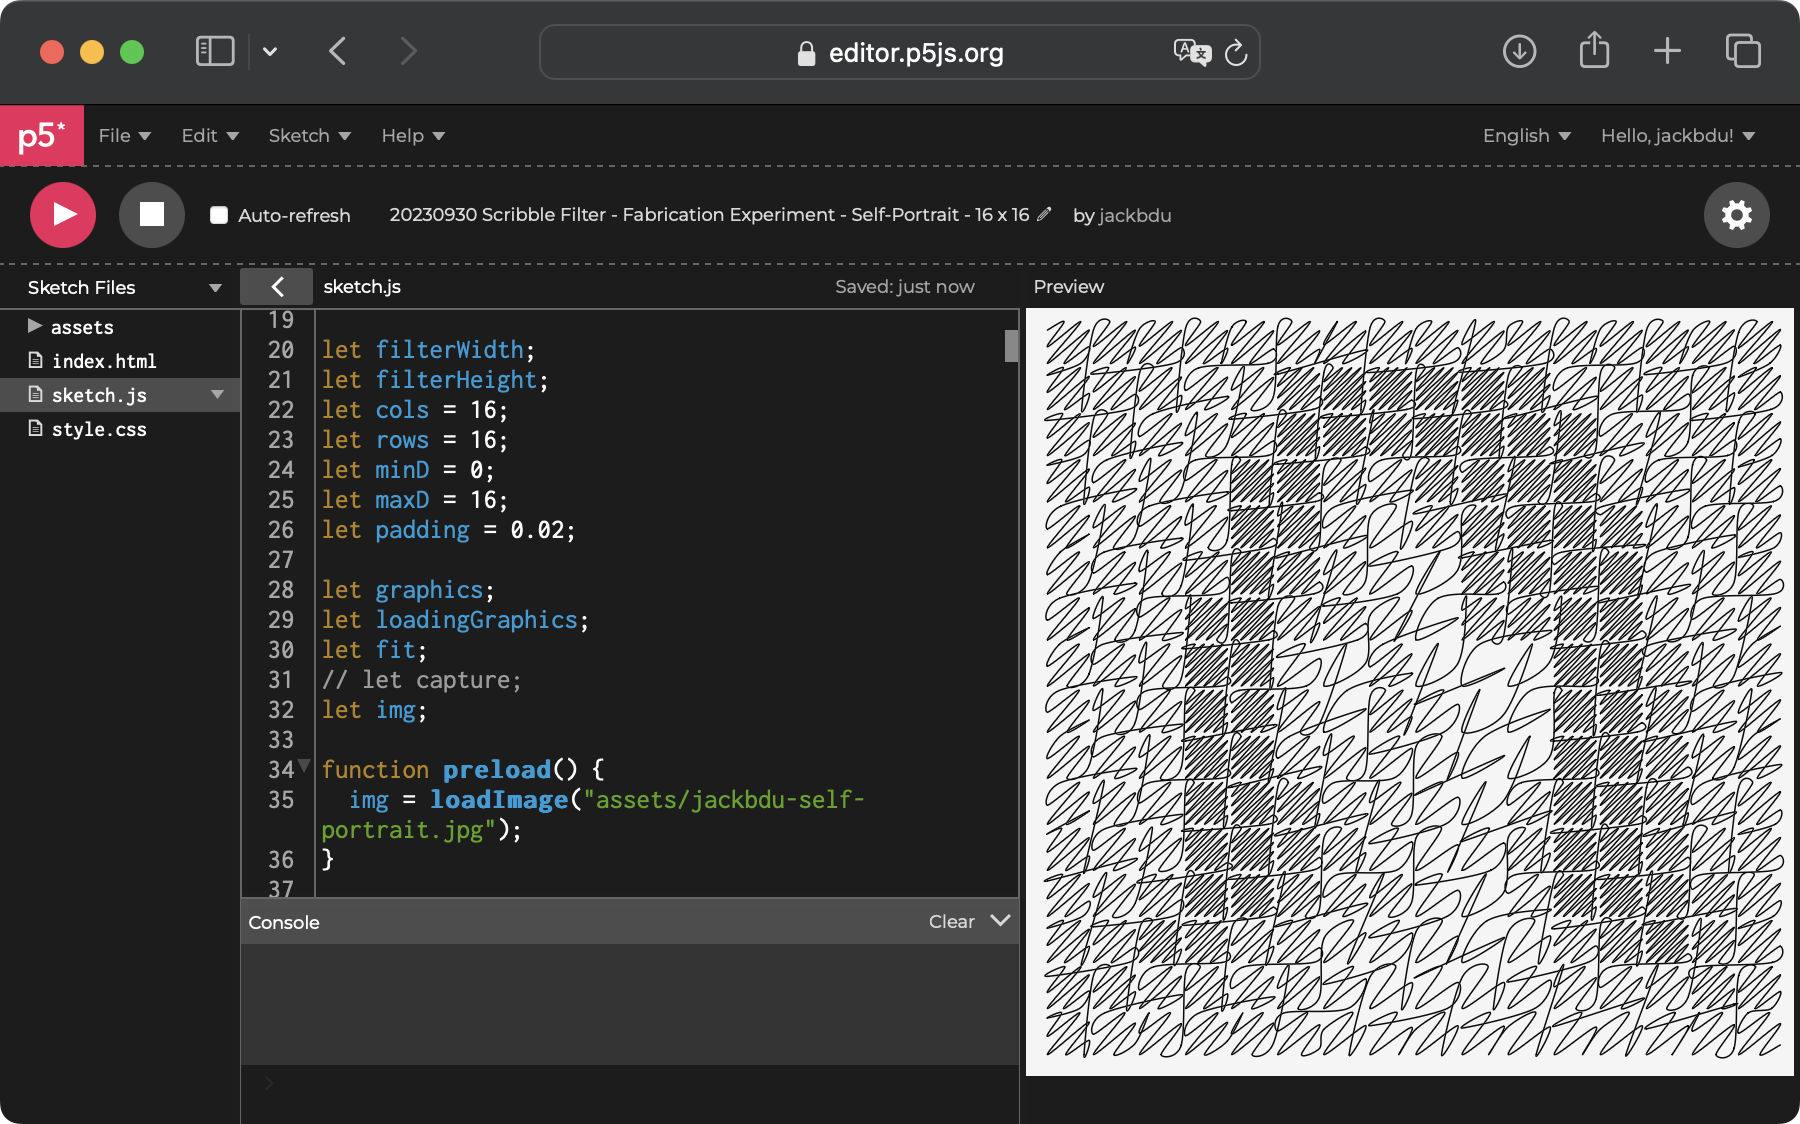
After some initial experiments with the SVG runtime, I decided to test it out with one of my old sketches, which could convert any reference image to a drawing formed by scribbles (in the sketch below, the reference image is a QR code). To my surprise, it worked right away after doing the steps above.
I did not yet find any easy way to export the sketch as a SVG file, instead, I grabbed the SVG code directly from the web inspector and pasted it into a blank .svg file. That way, I could do some final edits in Adobe Illustrator.
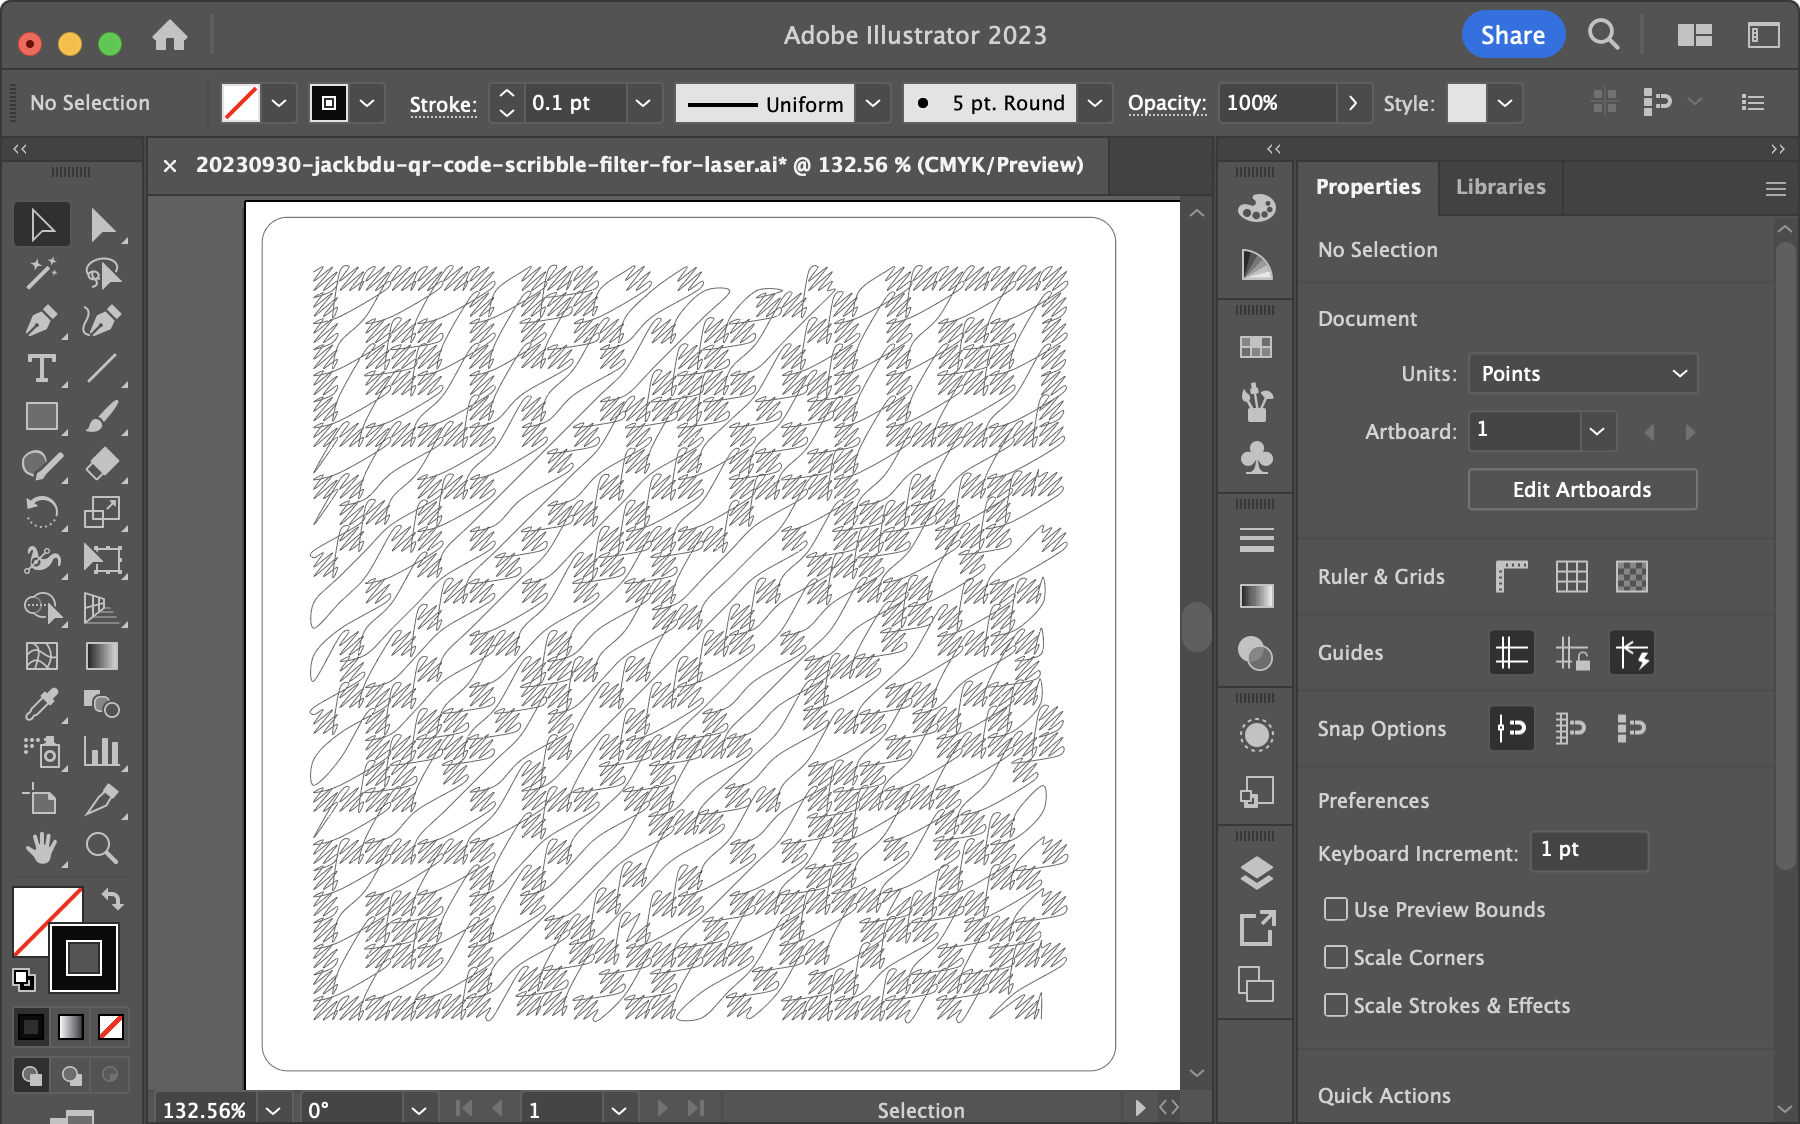
In Adobe Illustrator, I resized the scribble (yes, singular, because it was a single continous scribble) and fitted it onto a 2.125 x 2.125 inch square with rounded corners, which was the short side of a credit card.
Below is a timelapse of the engraving process:
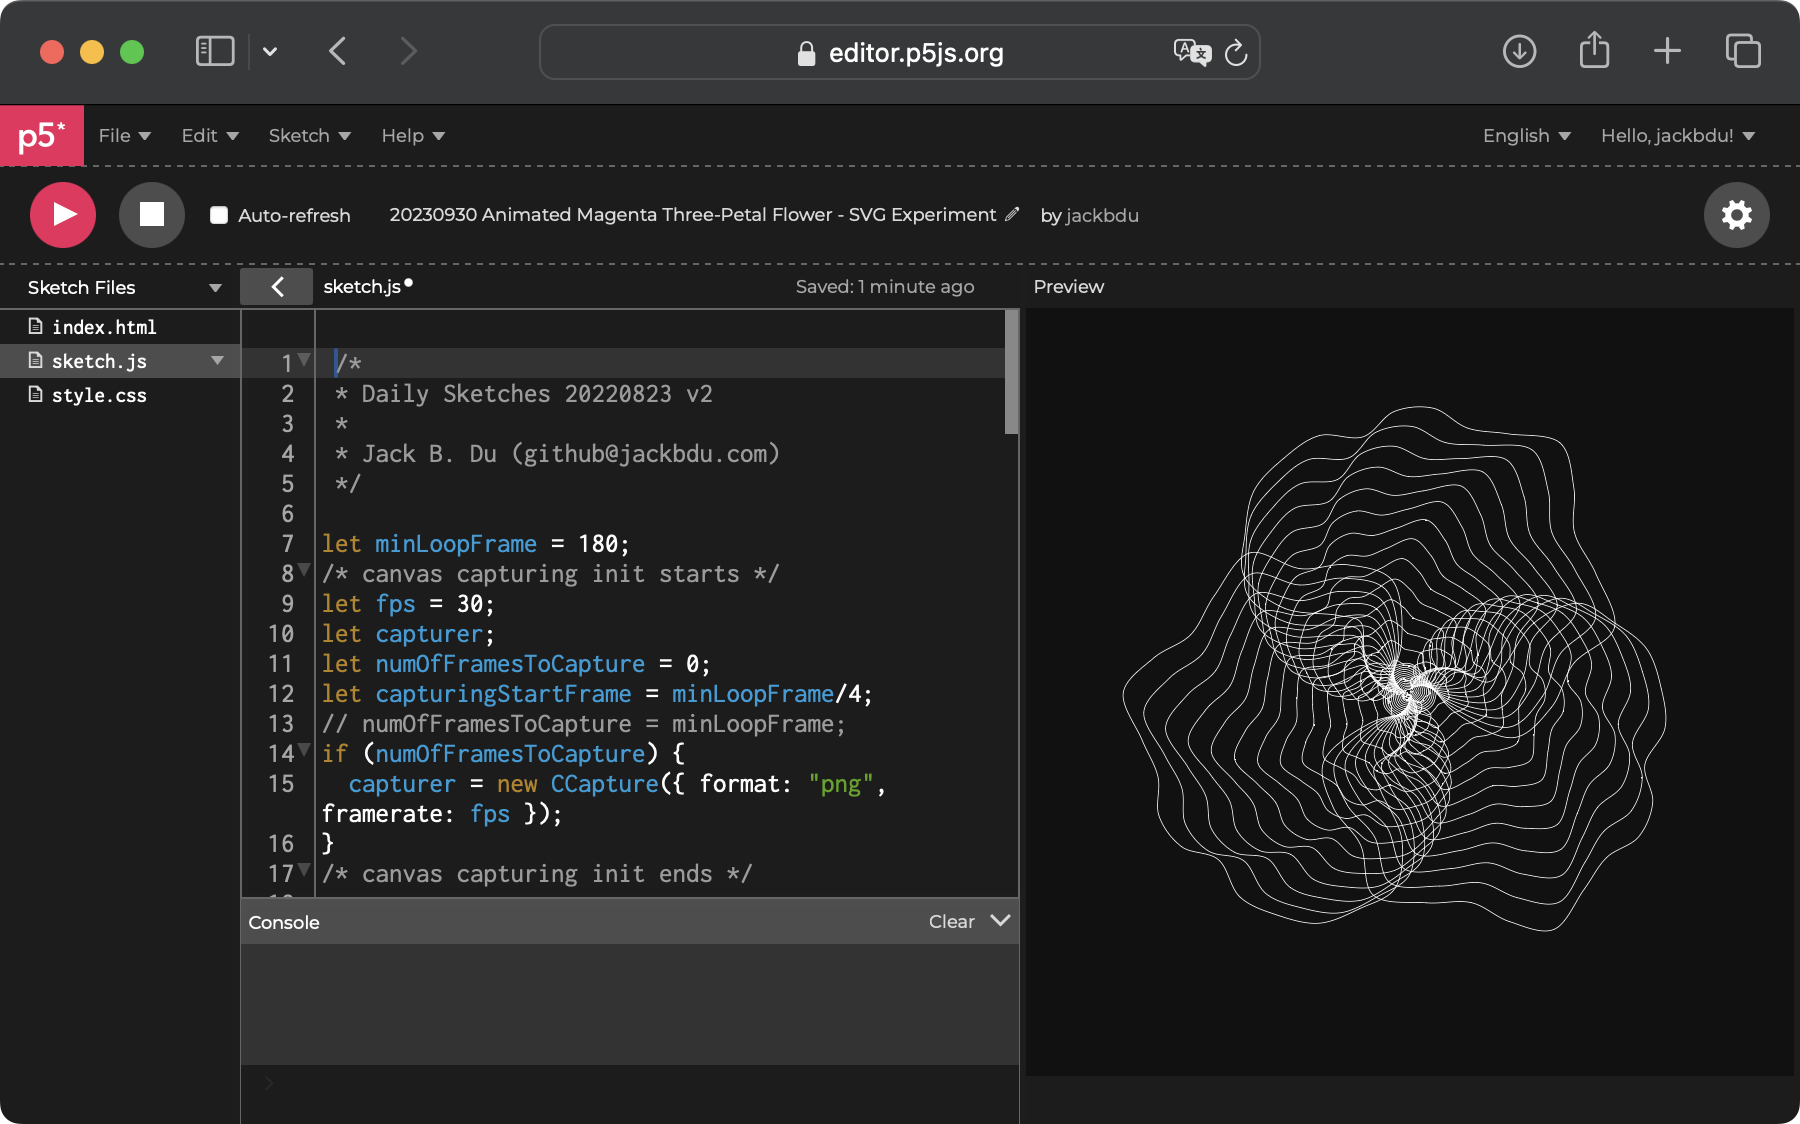
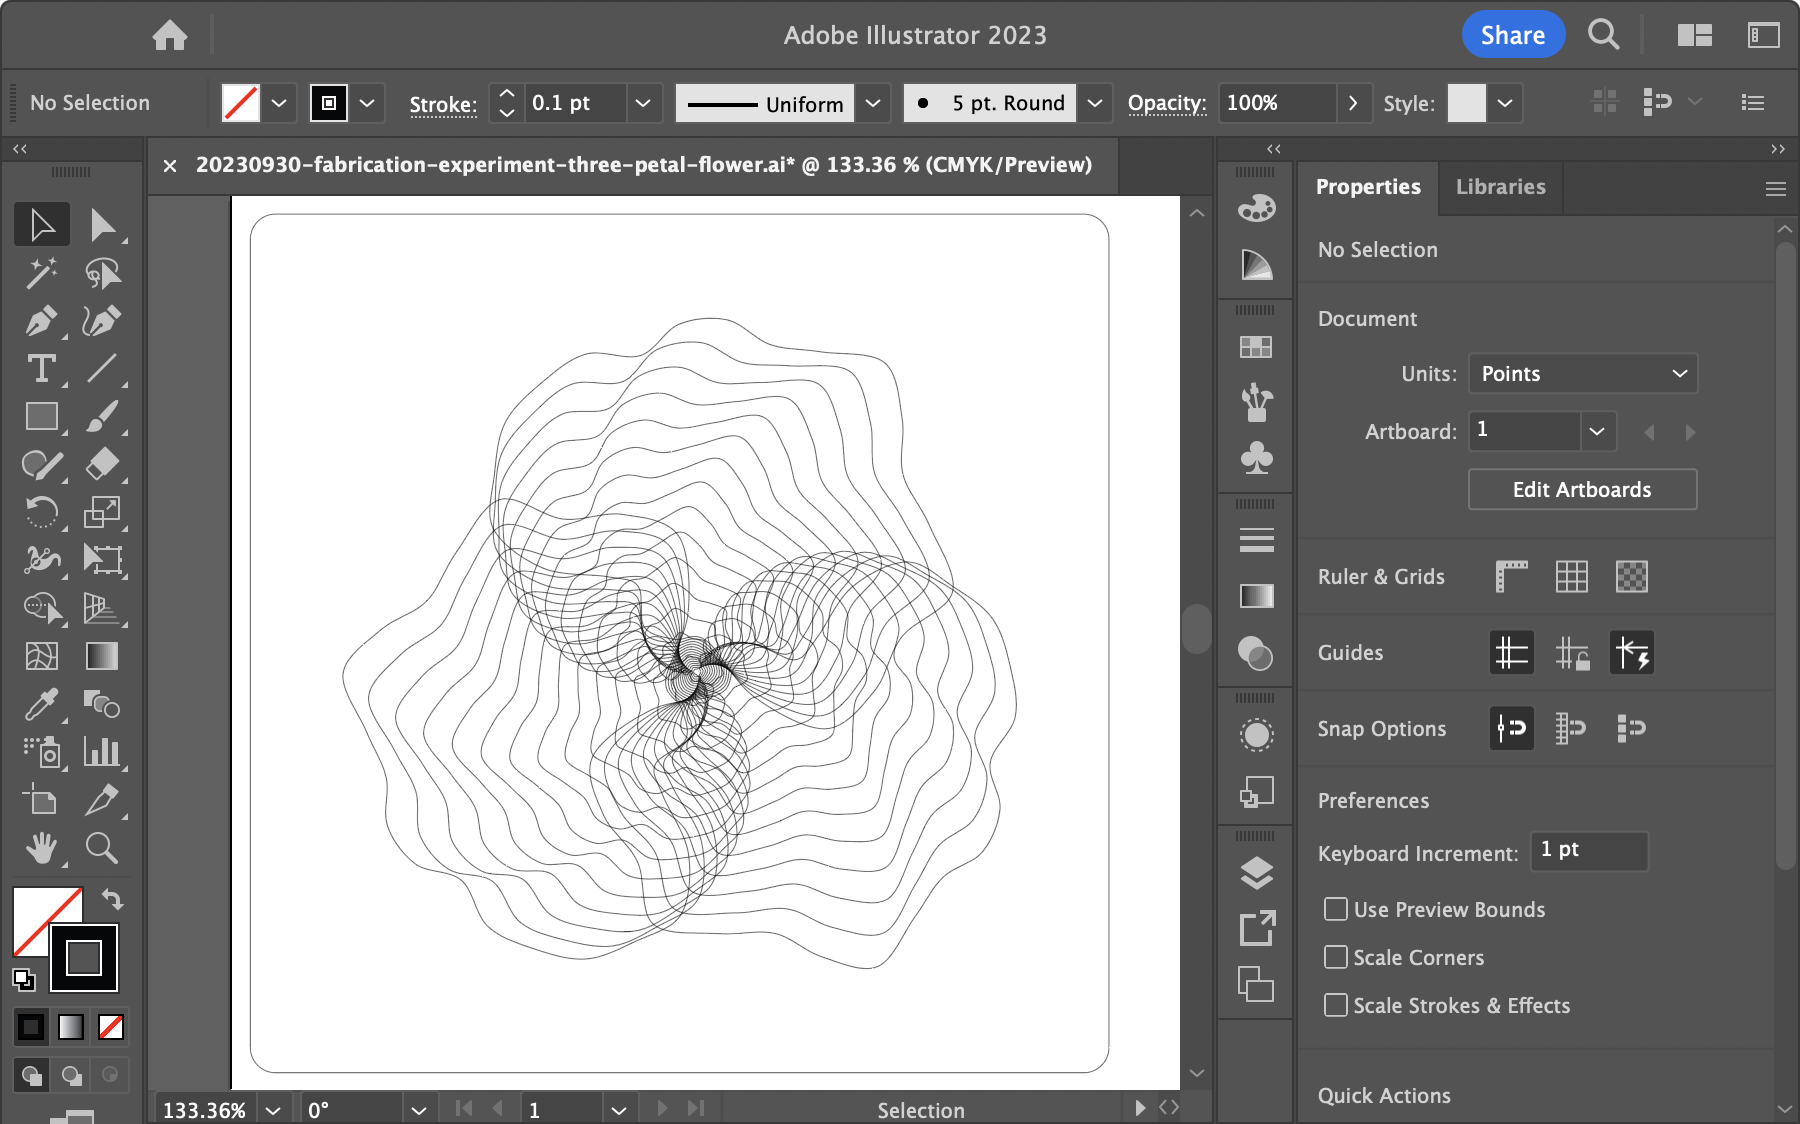
Then I did some more tests with other old sketches. One was a flowery design formed by repeated sprial patterns.
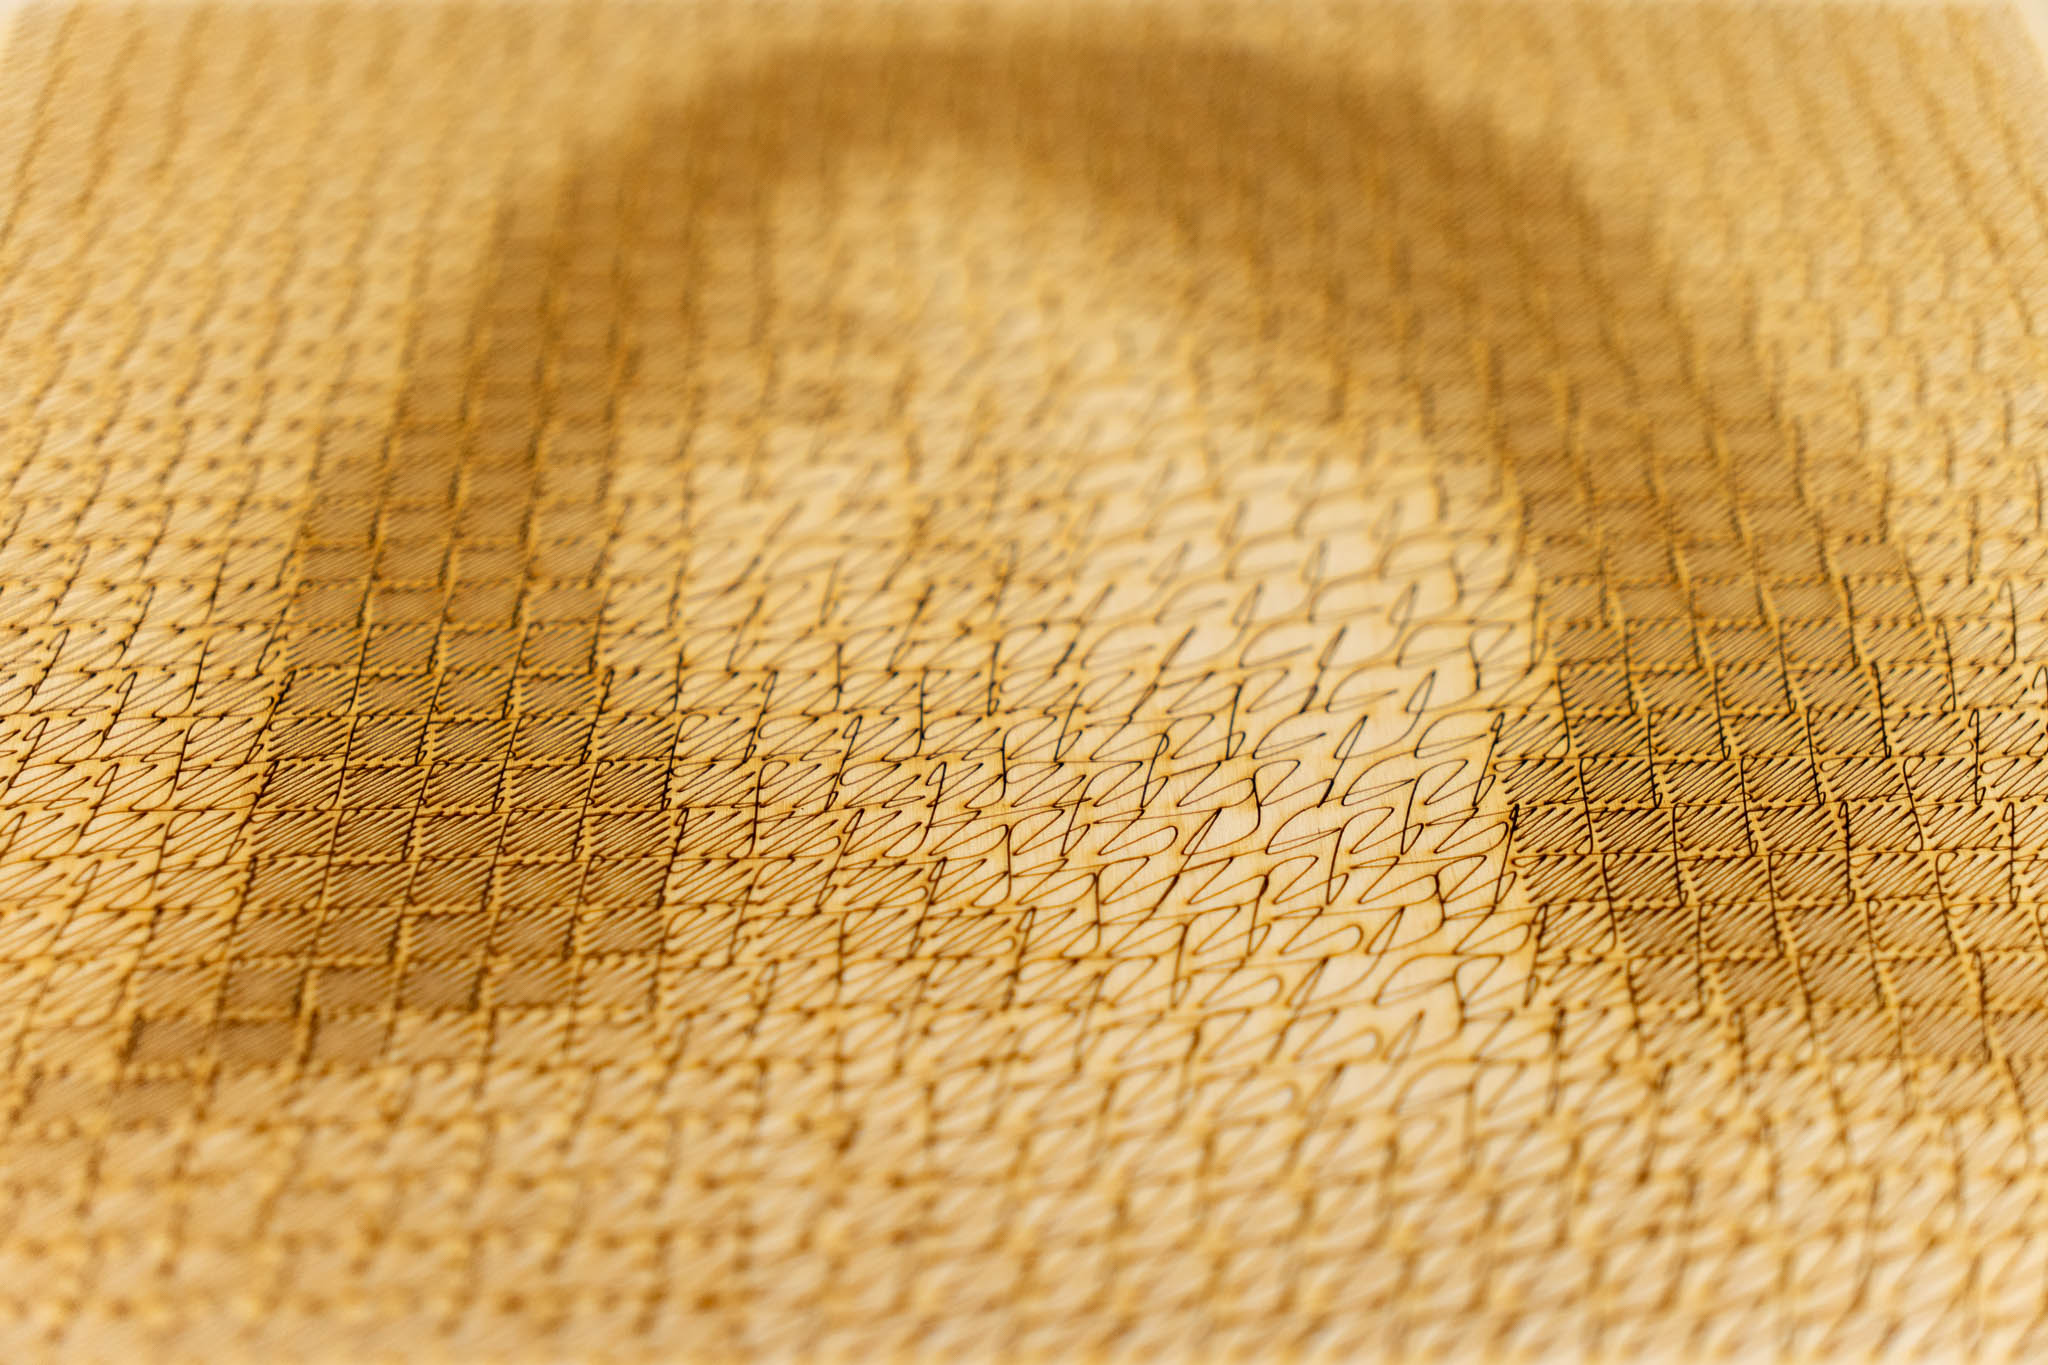
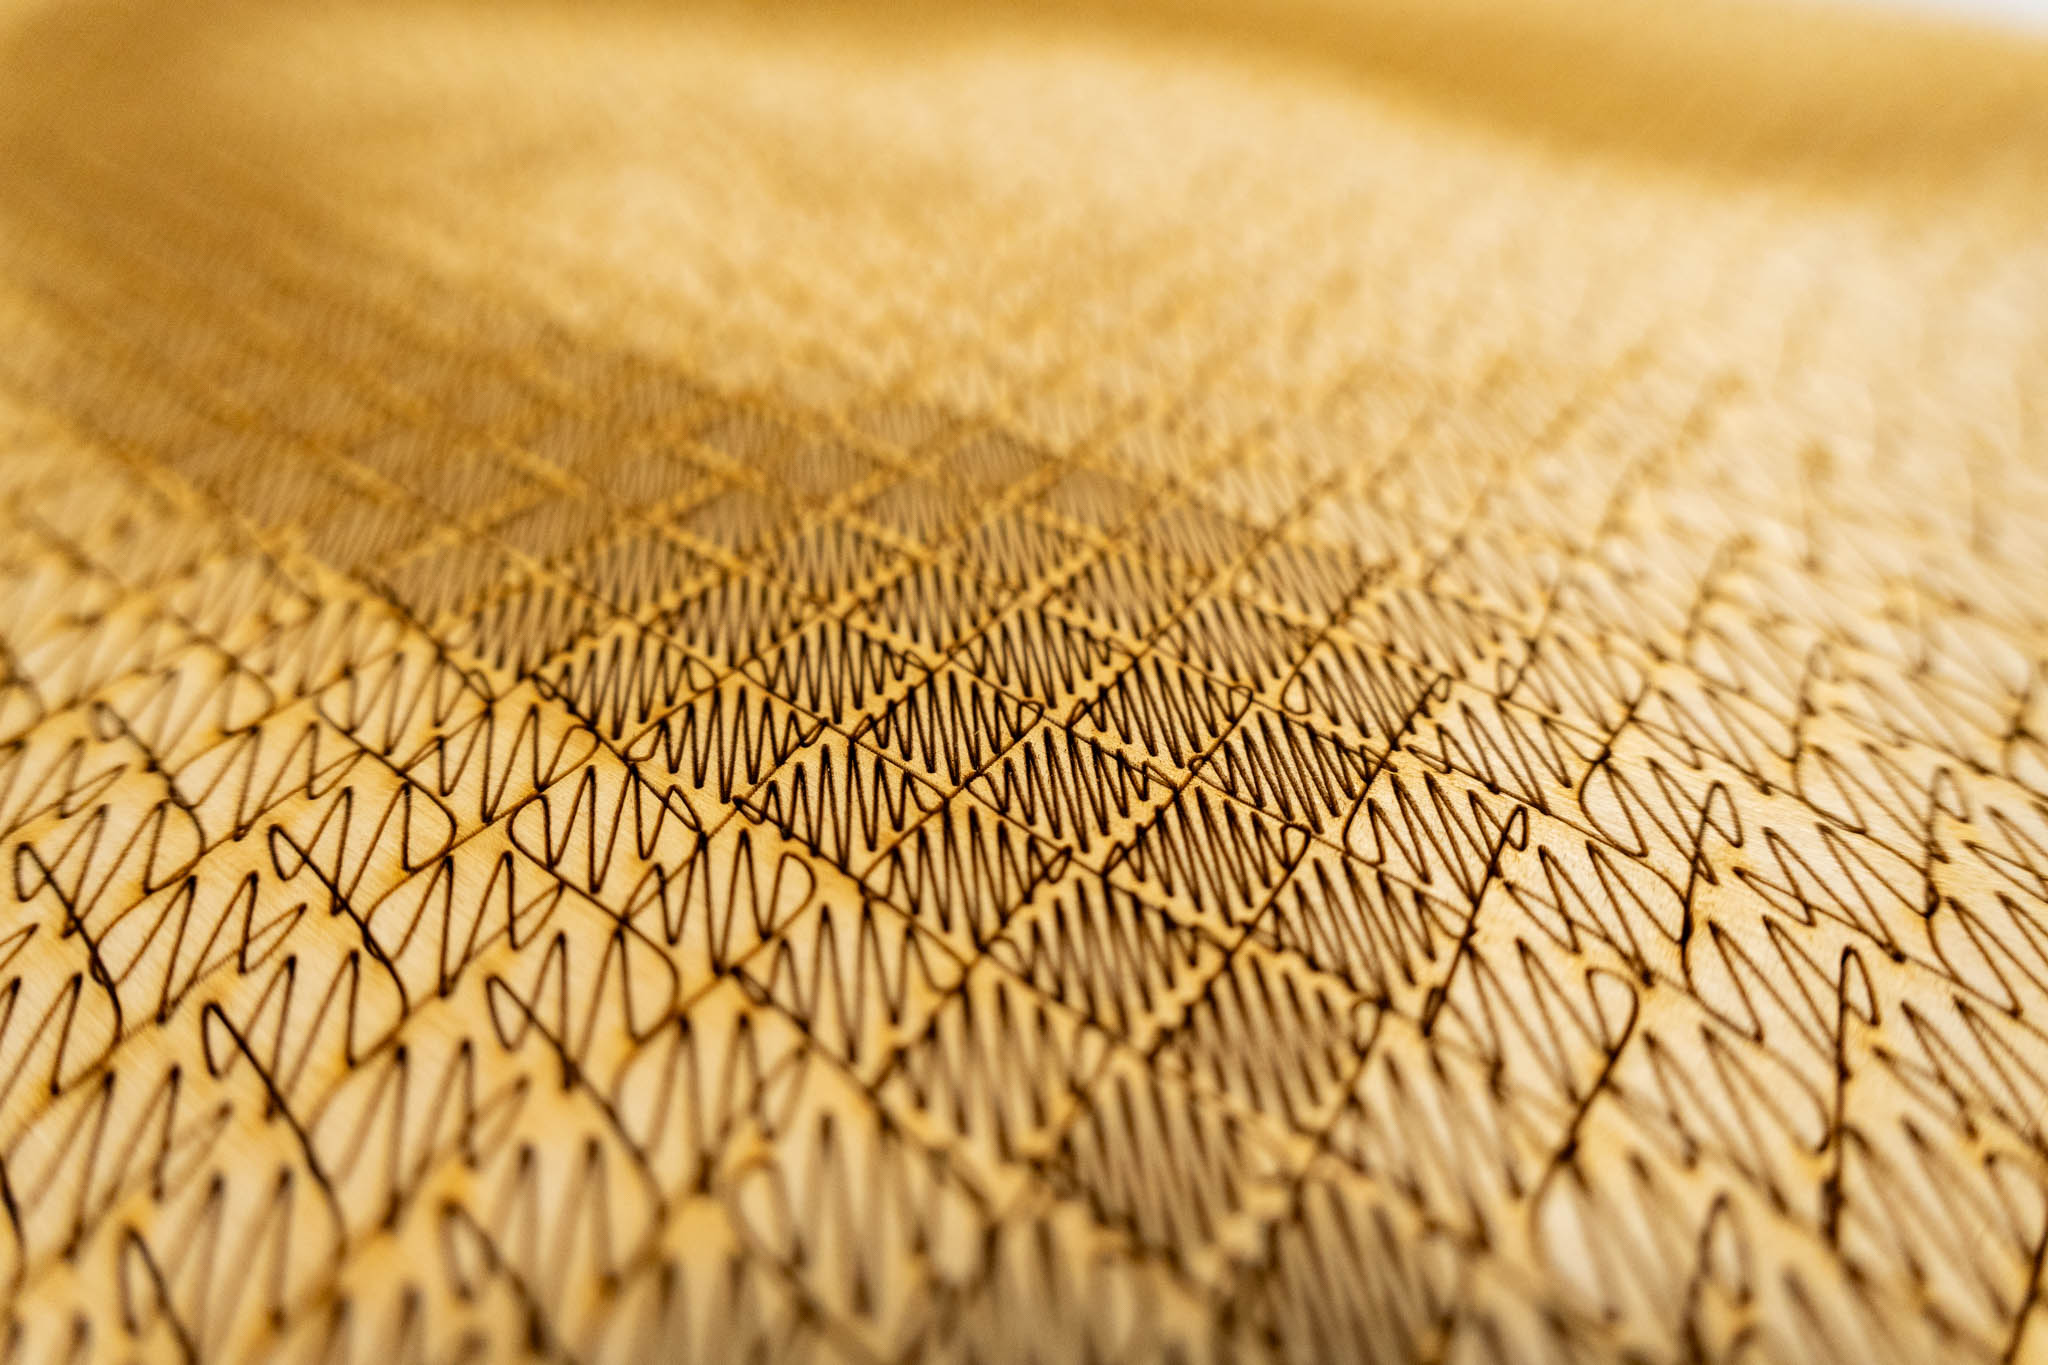
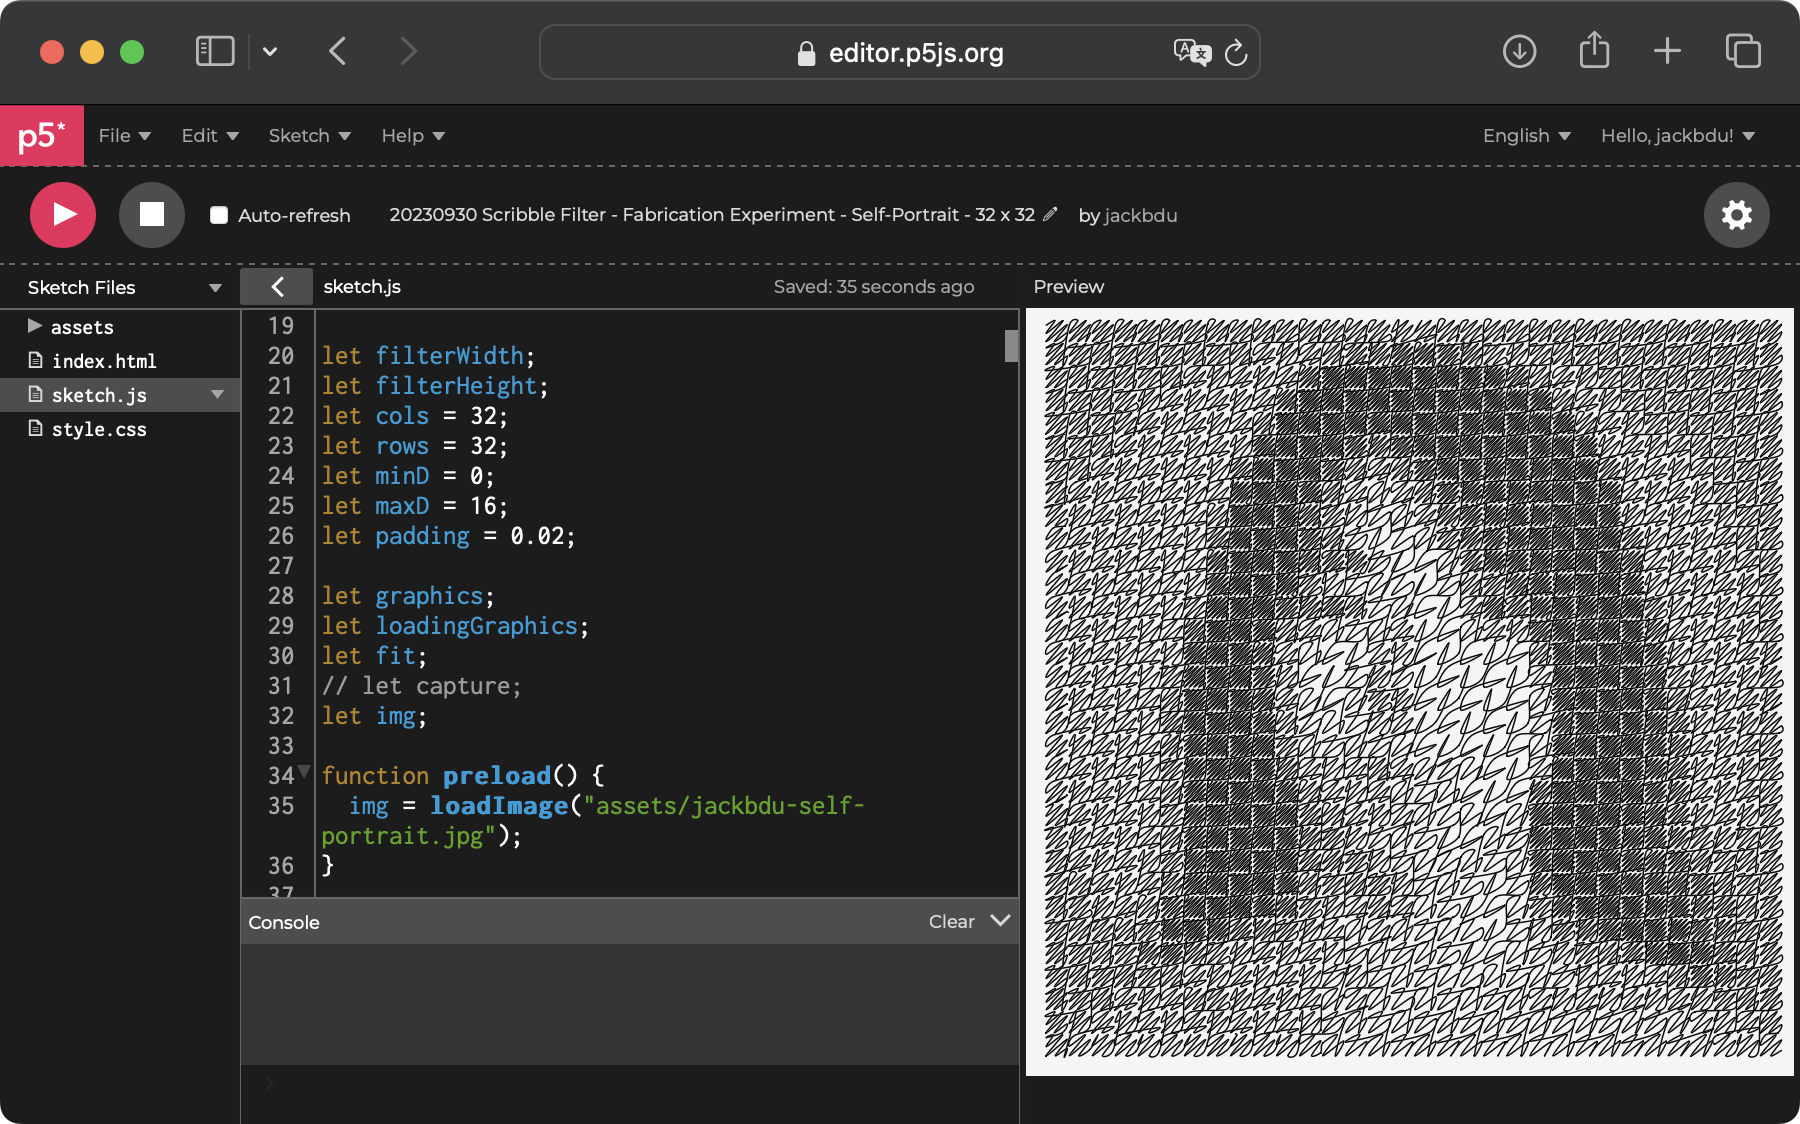
Another one was the same scribble sketch with a self-portrait as the input.
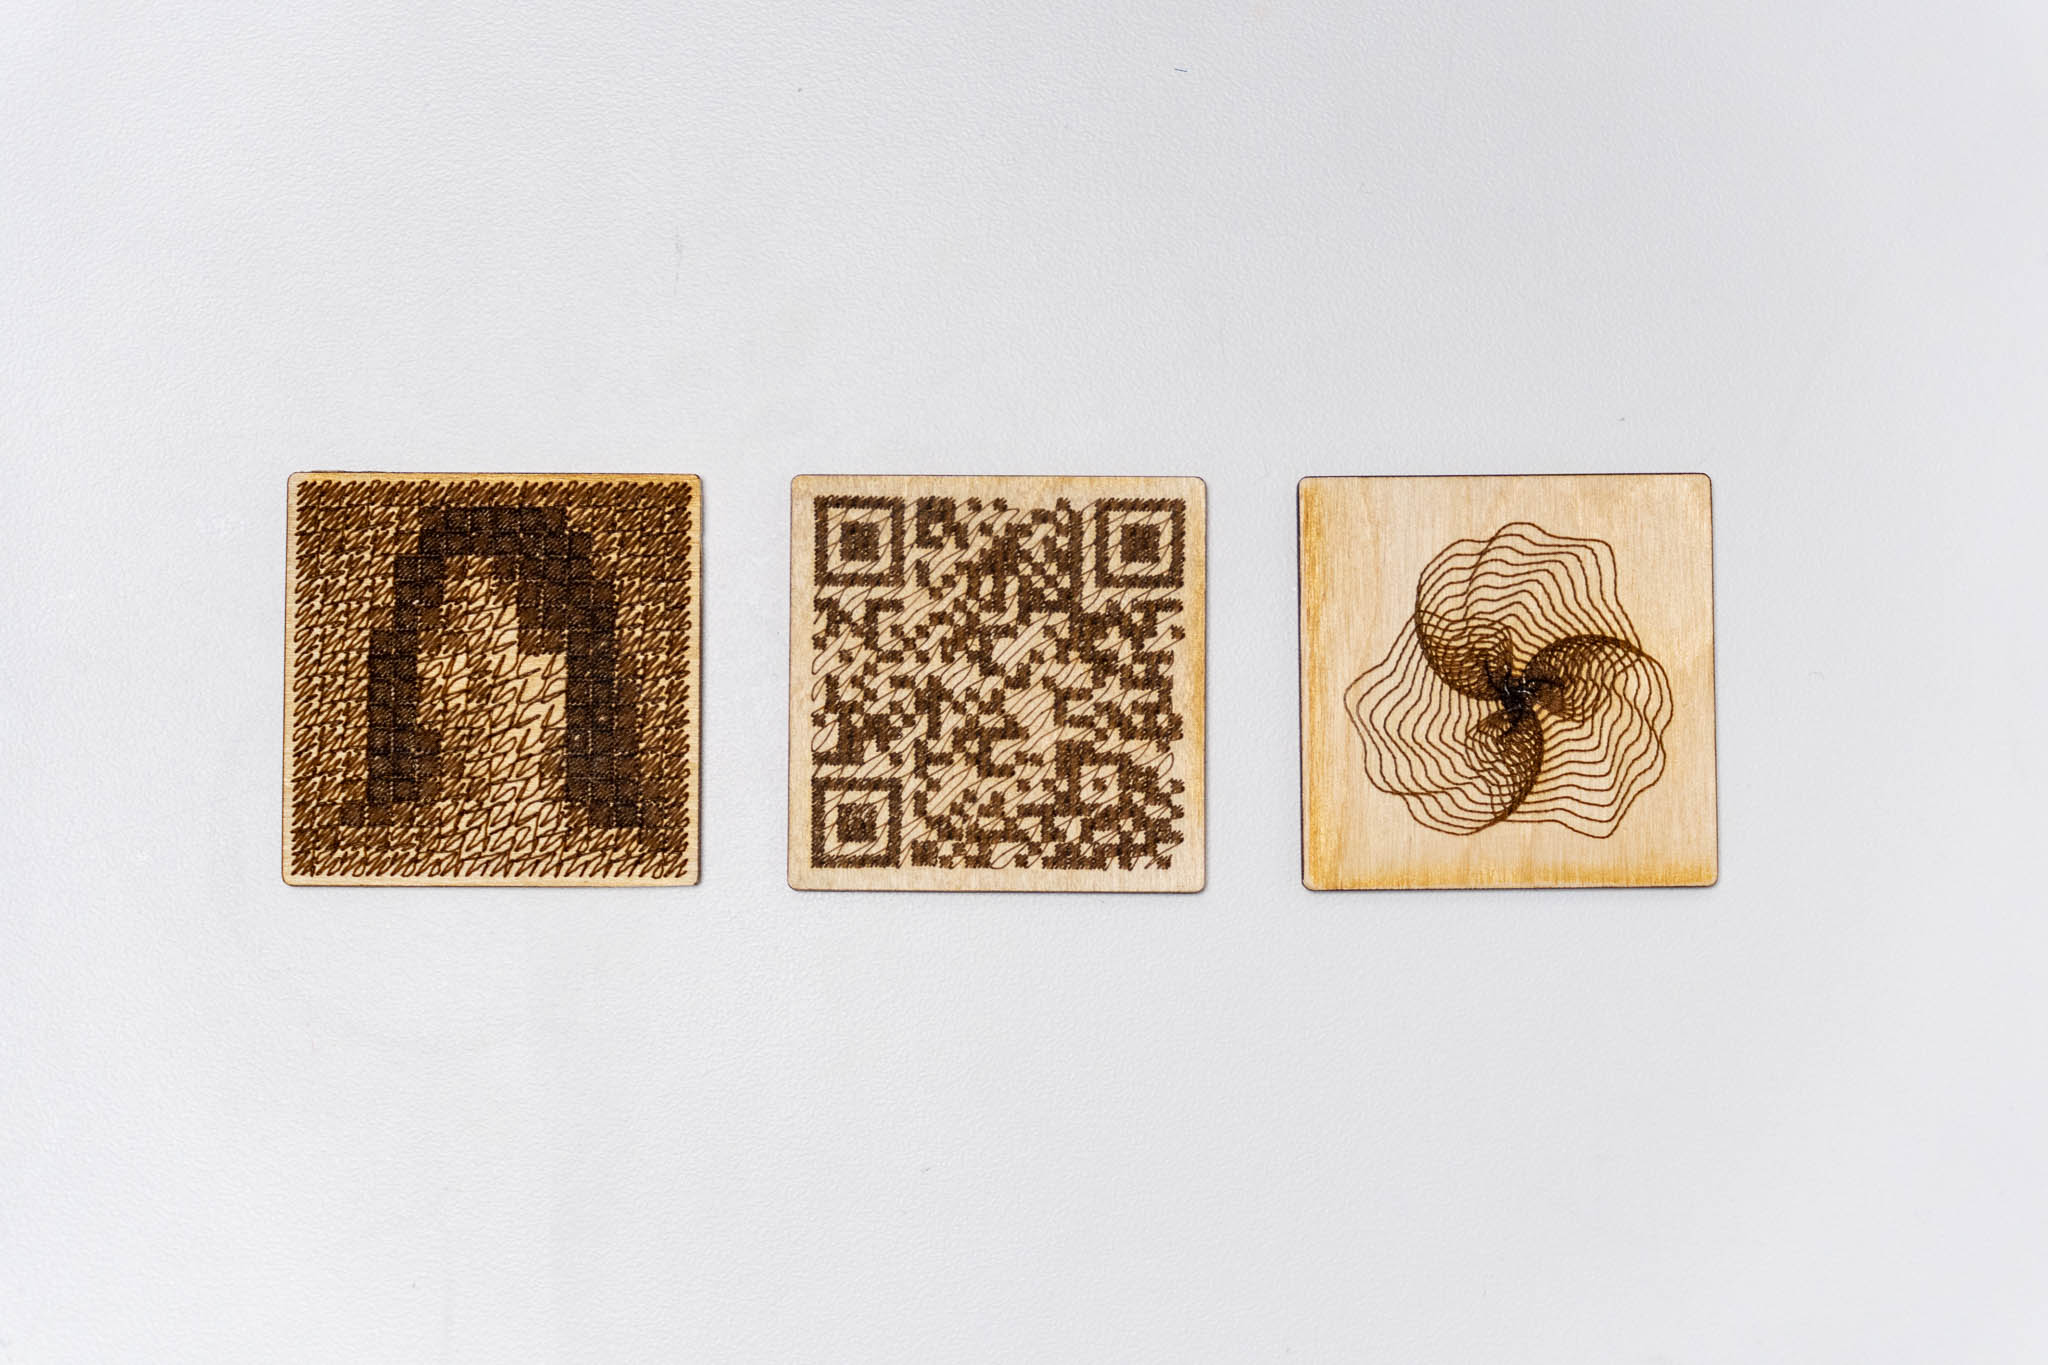
Here are all the small tests I did:
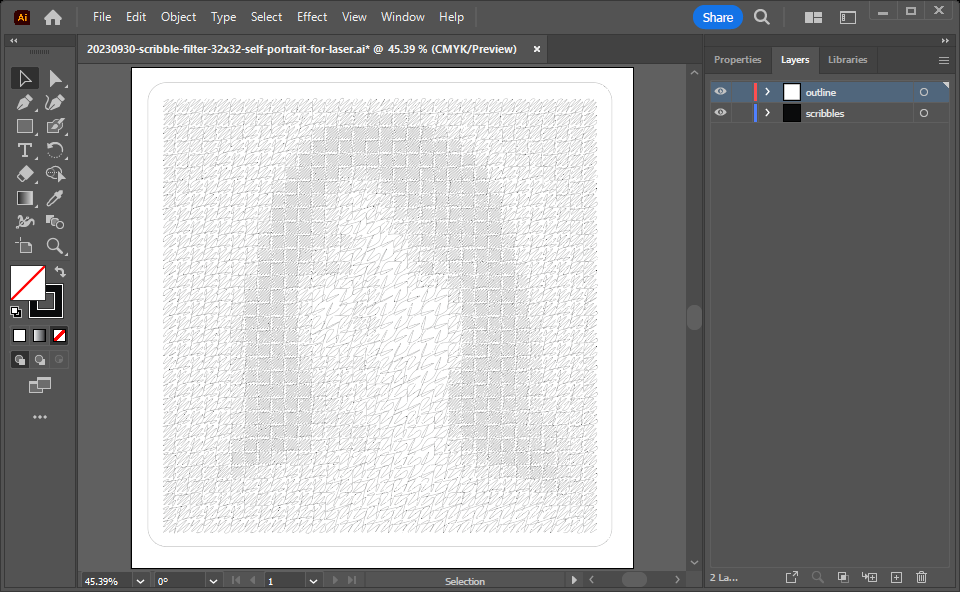
Finally, moving to a design for a larger piece. I decided to use the self-portrait and add more a bit more details to it.
In Adobe Illustrator, I separated the outline and the scribble into two layers.
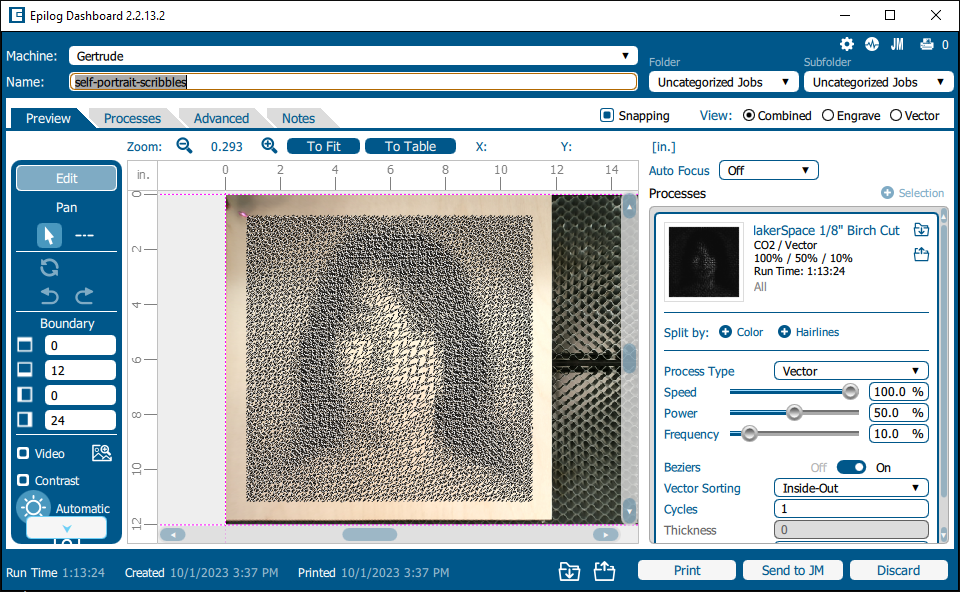
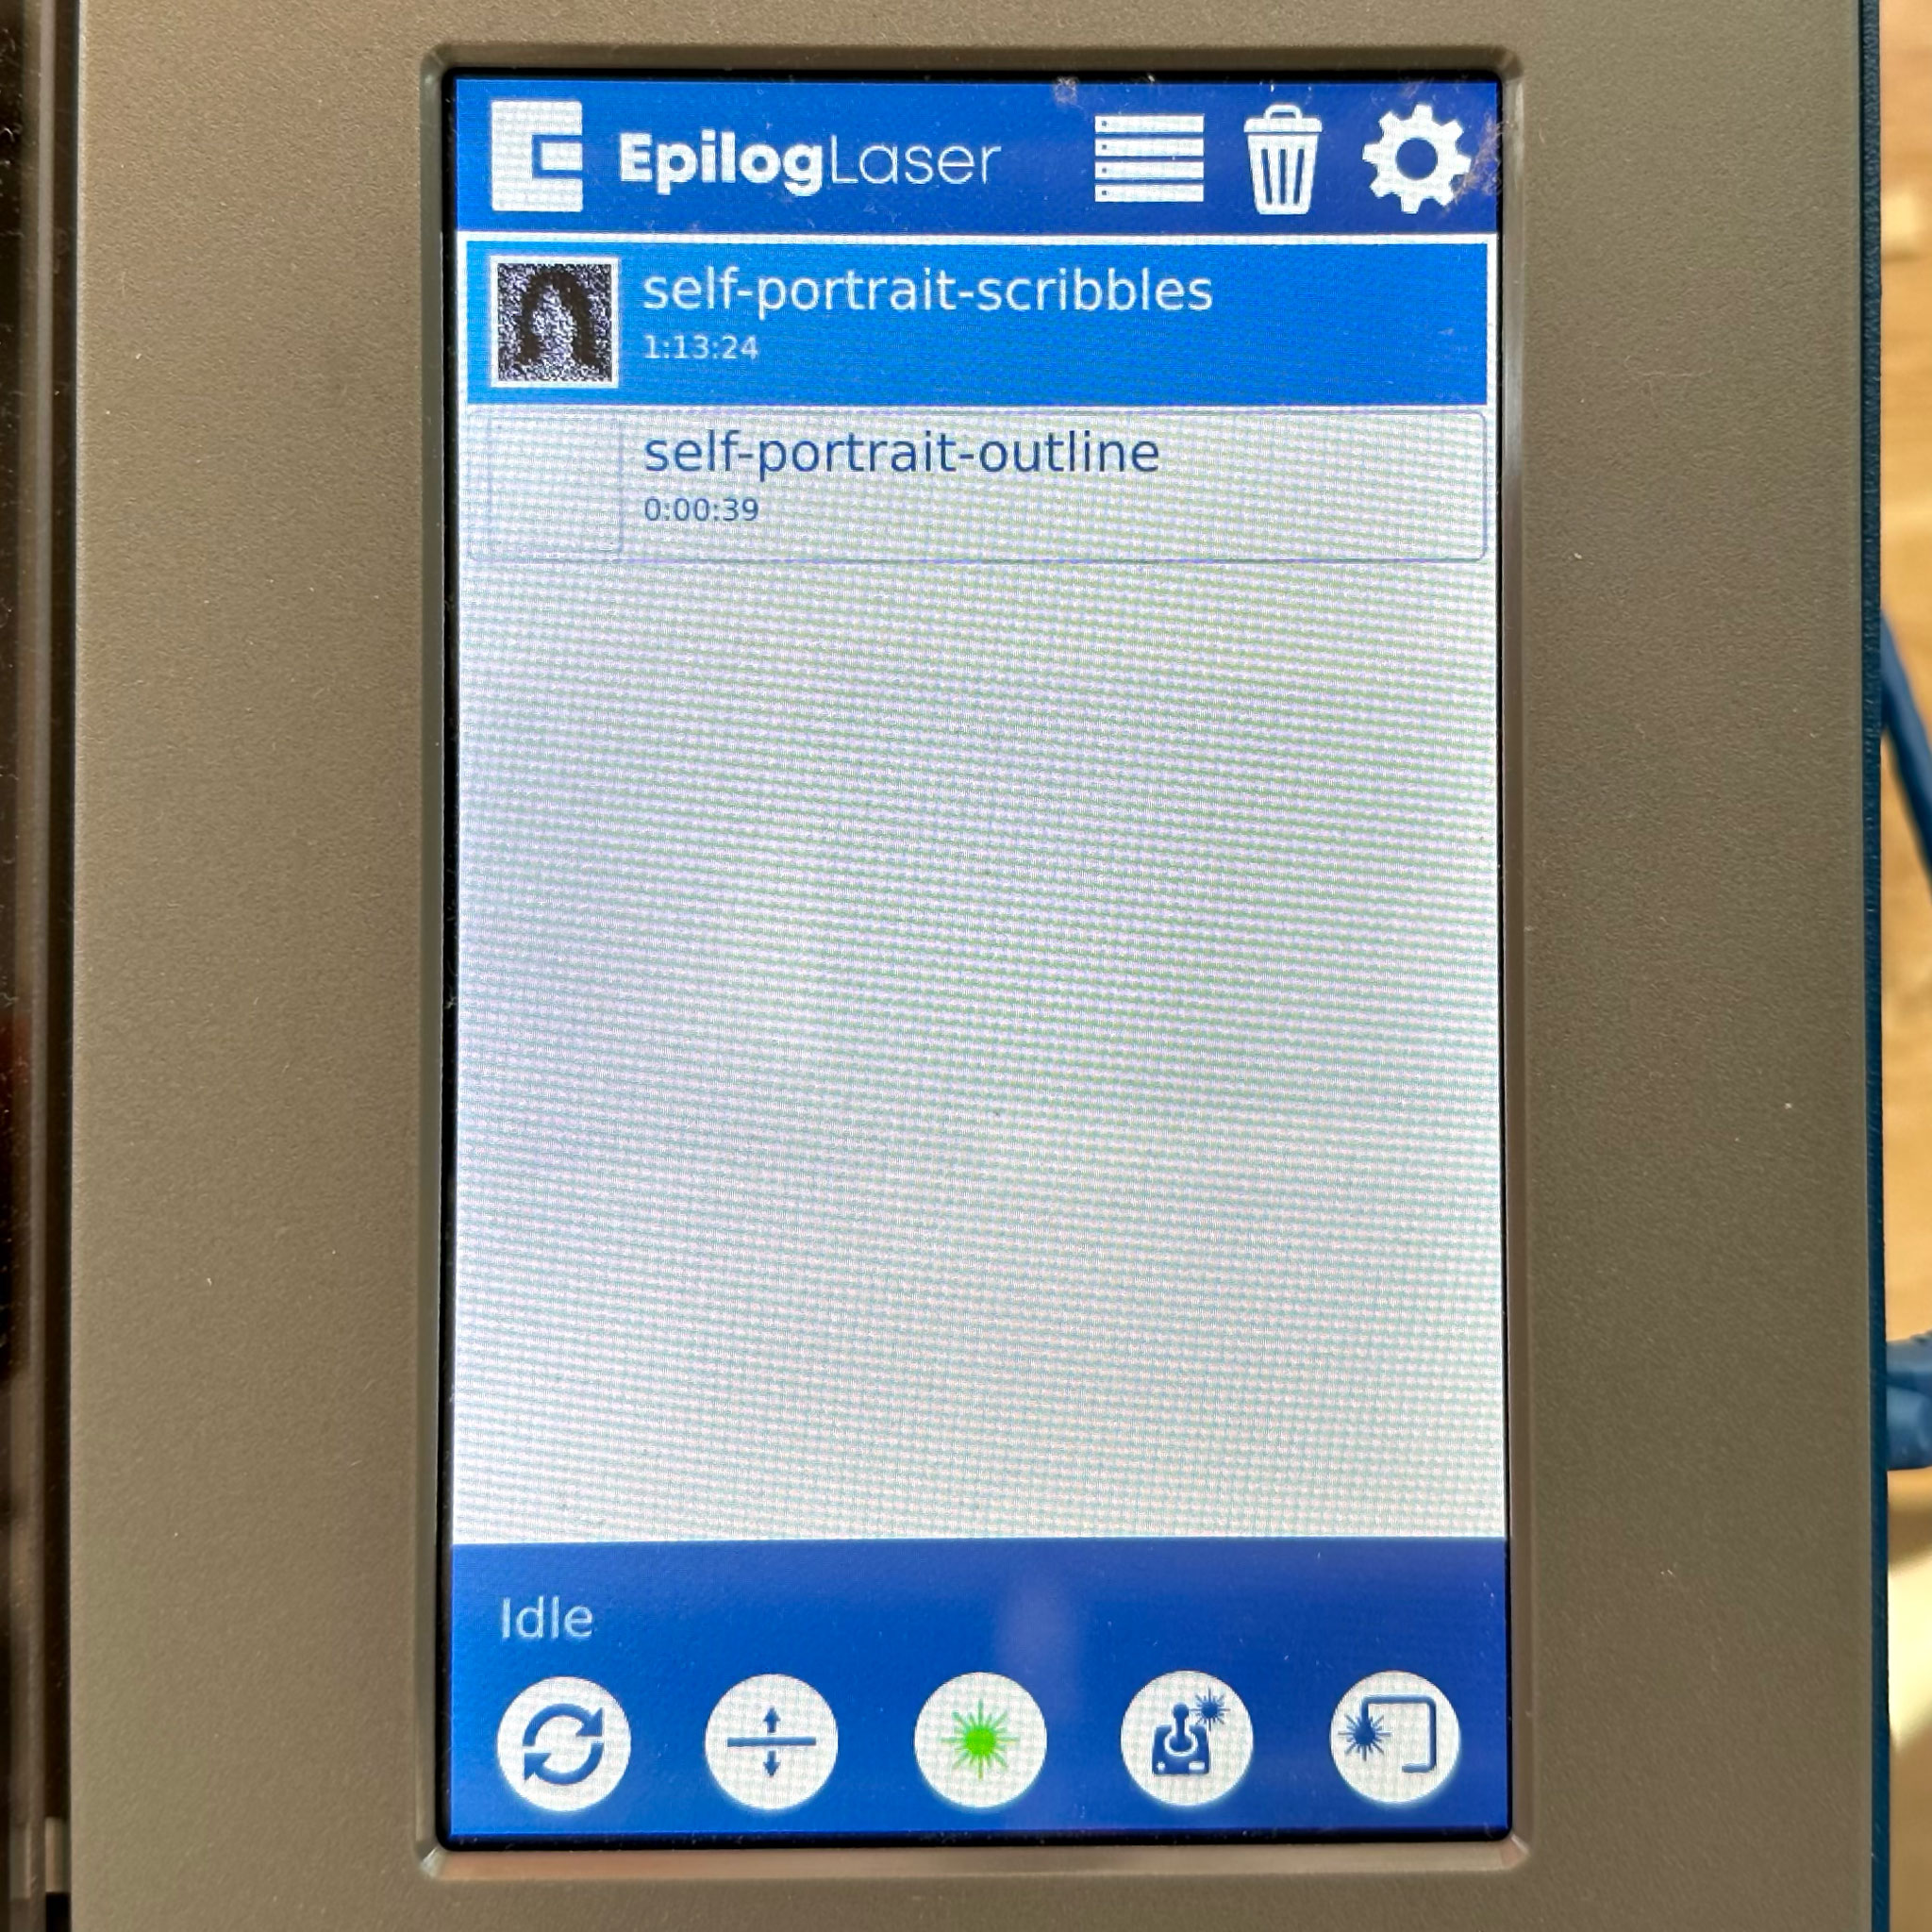
I sent engraving and cutting as two separate jobs to the Epilog Laser Engraver.

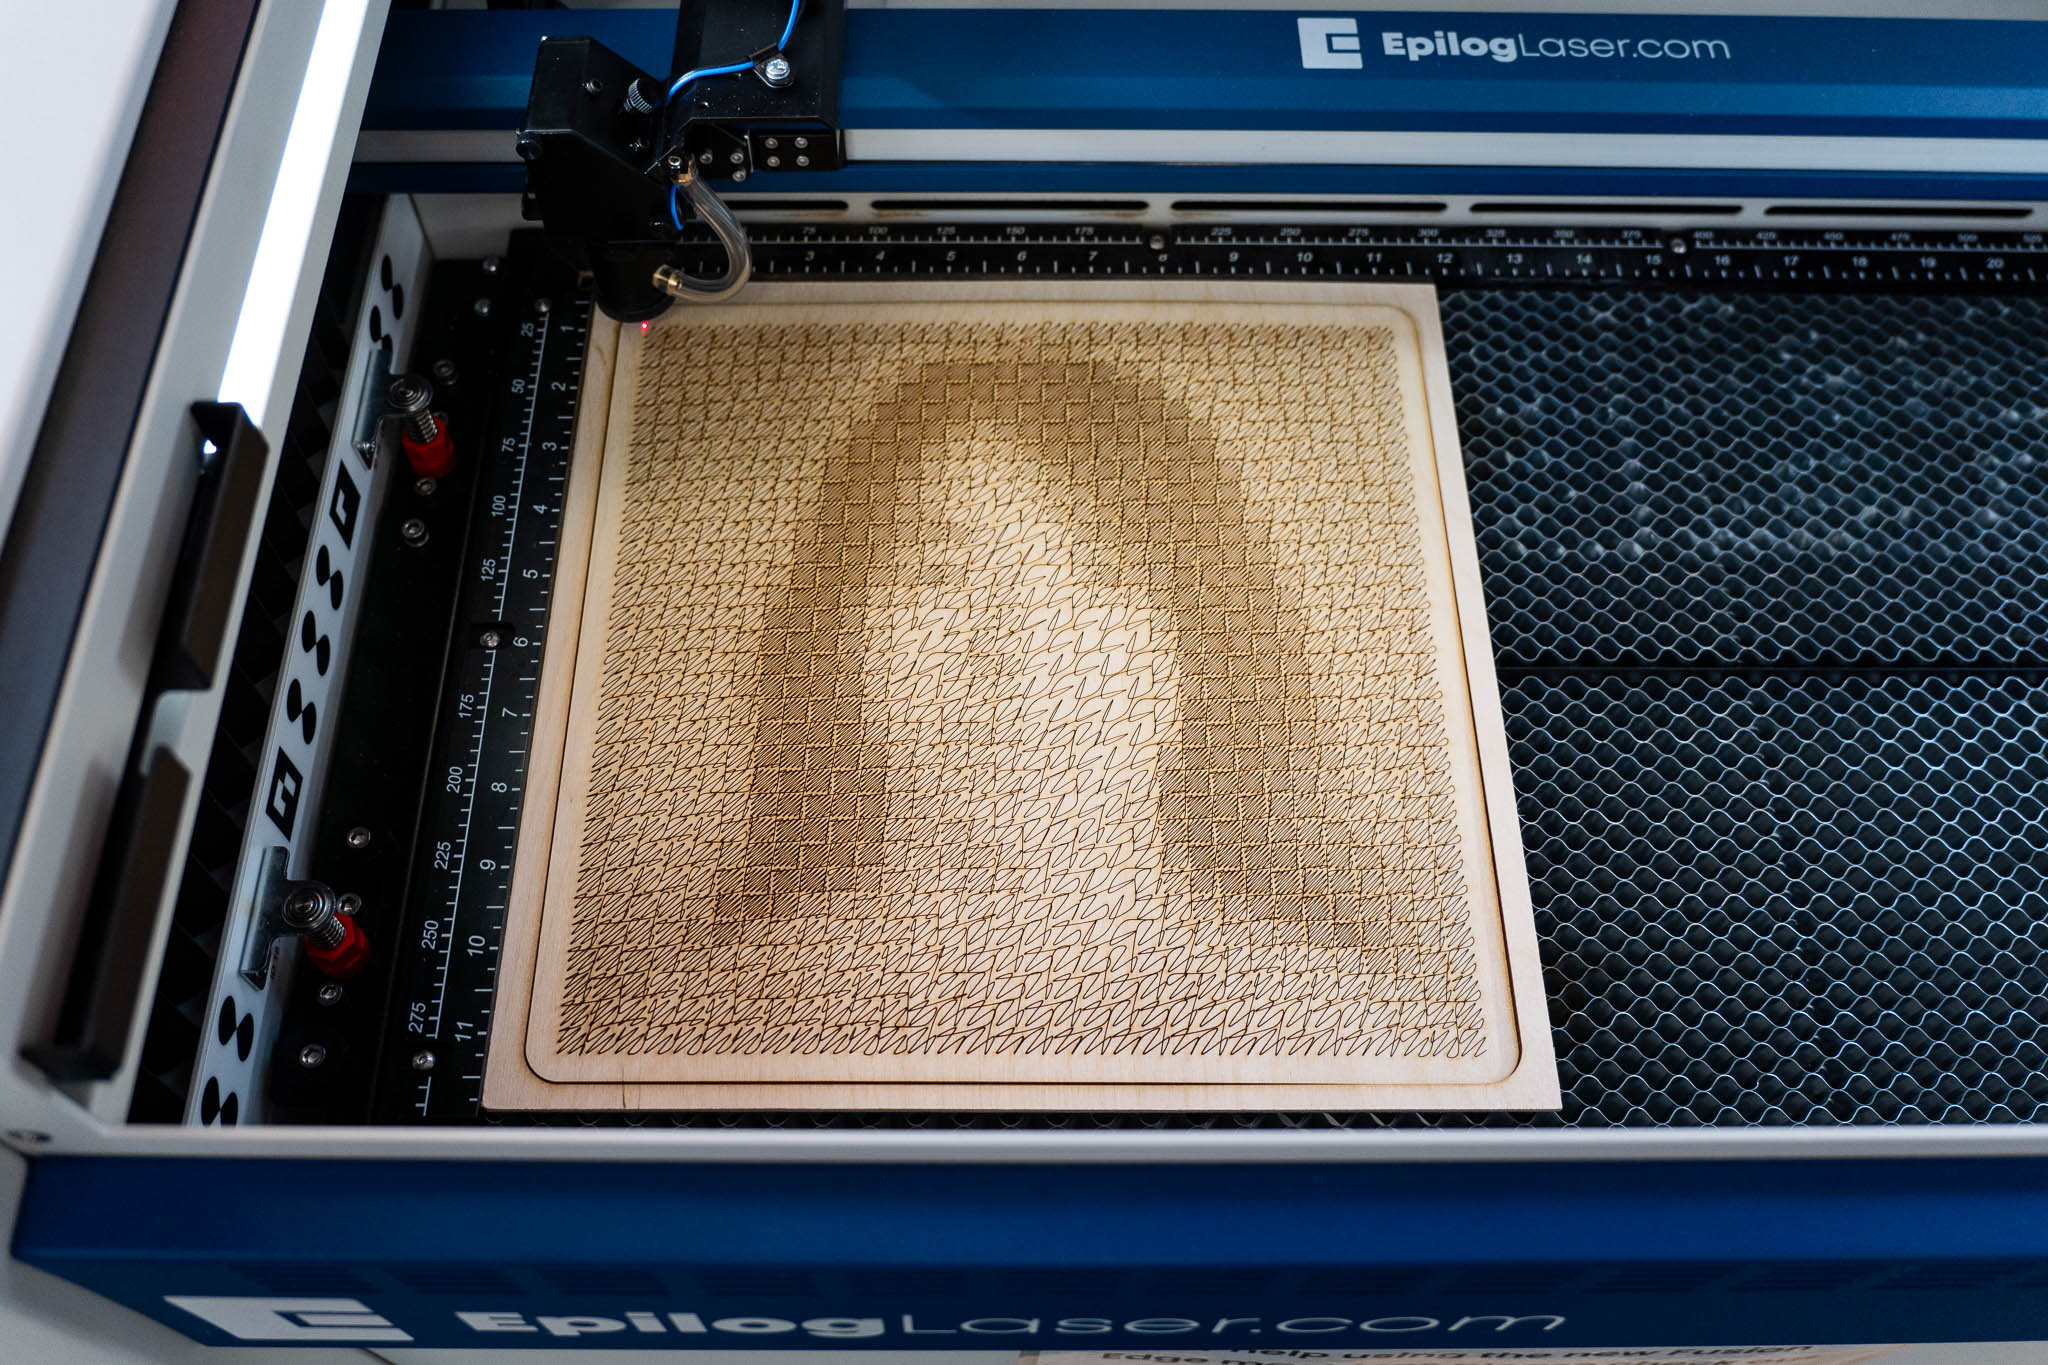
Here is a timelapse of the whole process, which took about half an hour:
Here is the final result:

Some more closeup shots: