Getting Started with Photoshop
A workshop on the basics of Adobe Photoshop.
Table of Contents
- Step 1: Get Ready
- Step 2: Create a New Document
- Step 3: Import an Image
- Step 4: Learn the Workflow
- Step 5: Save our documents
- Need more help?
Step 1: Get Ready
We start off by launching the application either in Launchpad or with Spotlight.
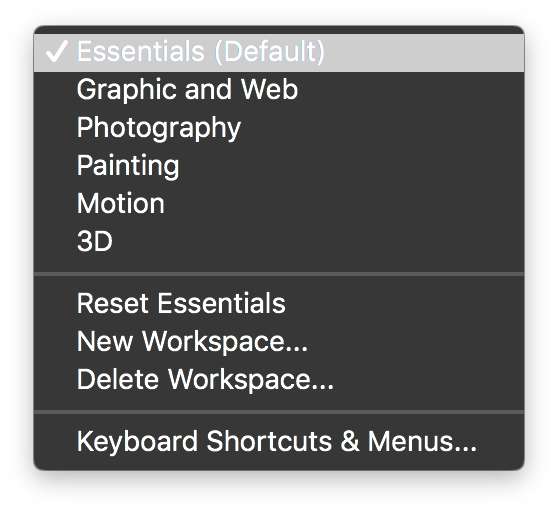
Once Photoshop is launched, we may see a different workspace depending on the previous user settings. There are two steps (as illustrated below) we need to do in order to make sure we are on the same workspace. And this is also what we do whenever we get lost (when don’t know where everything is).

- Choose Window > Workspace > Essentials (Default). This sets the workspace to Essentials.
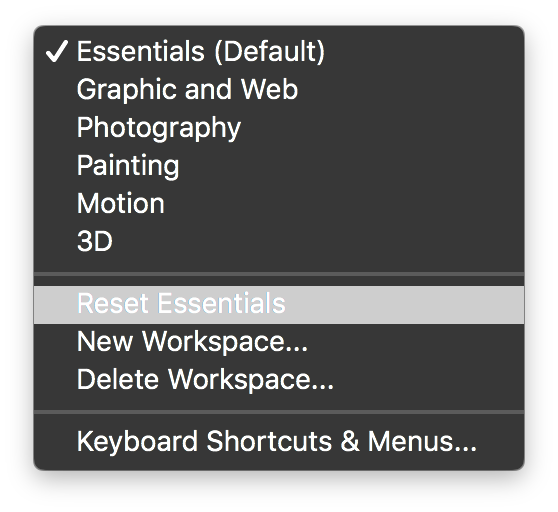
- Choose Window > Workspace > Reset Essentials. This resets Essentials to default.
 |
 |
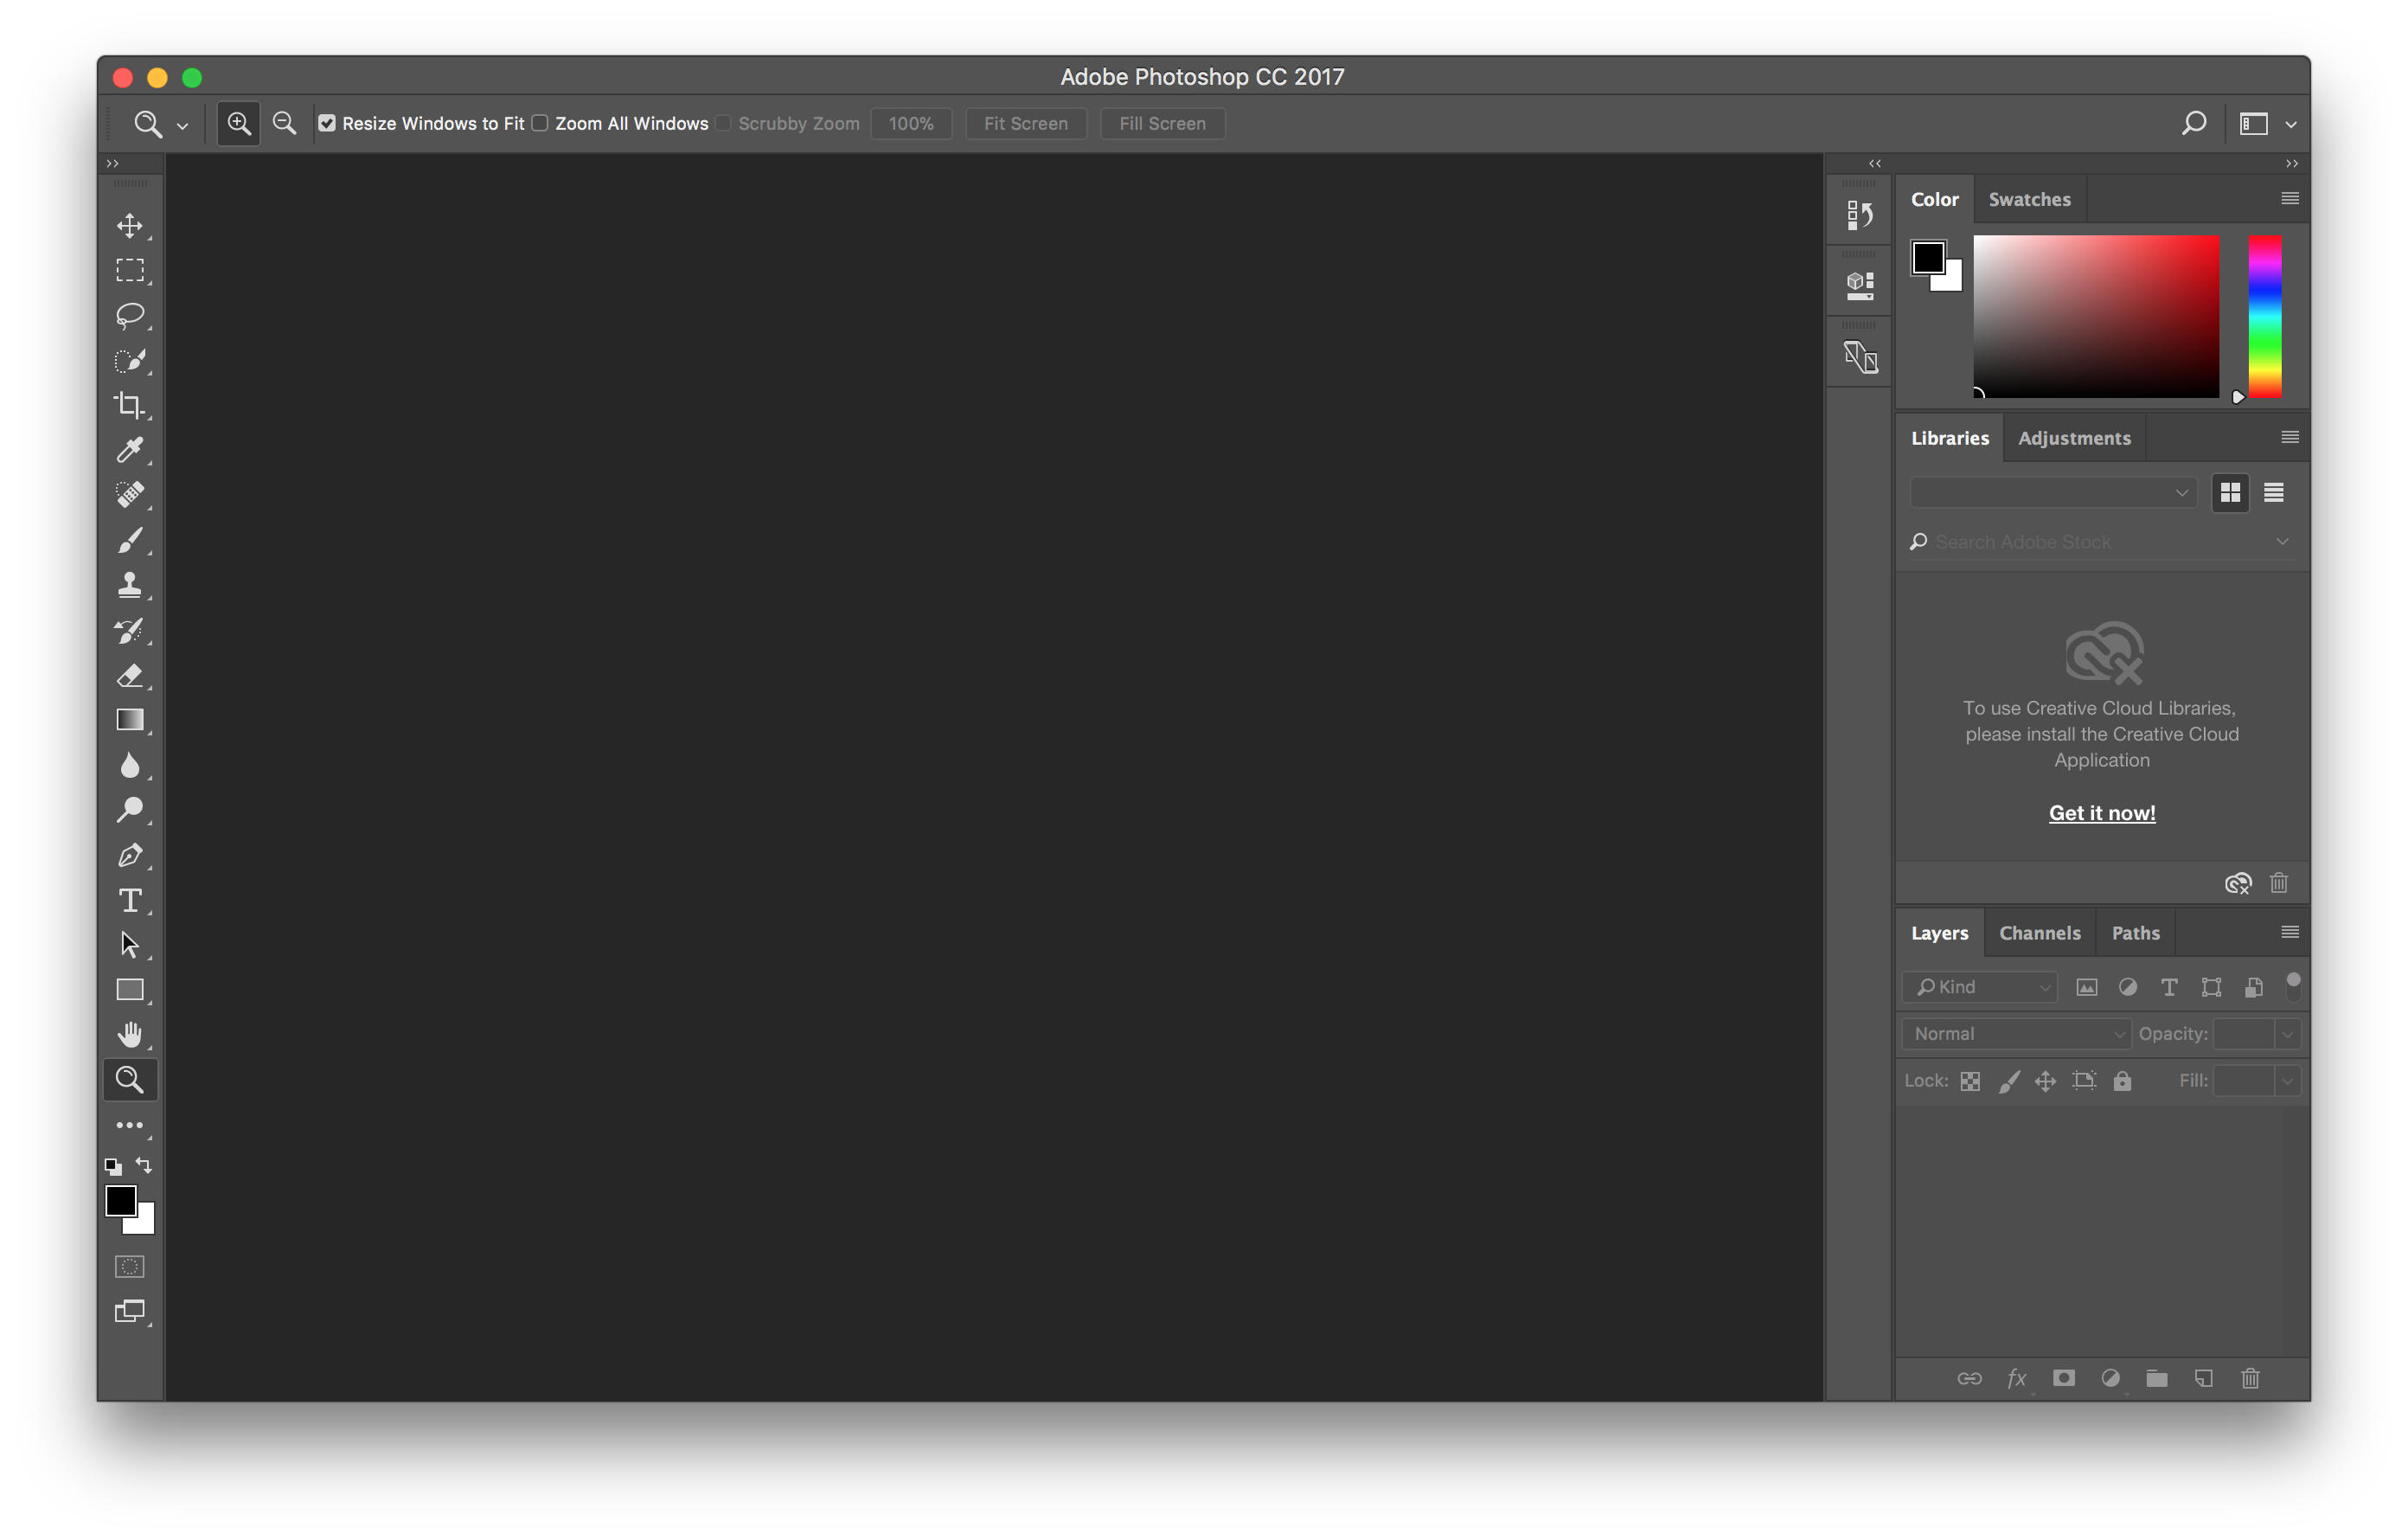
Here’s what the workspace should look like after the reset.
Step 2: Create a New Document
Now that we are on the same workspace, let’s create a new document.
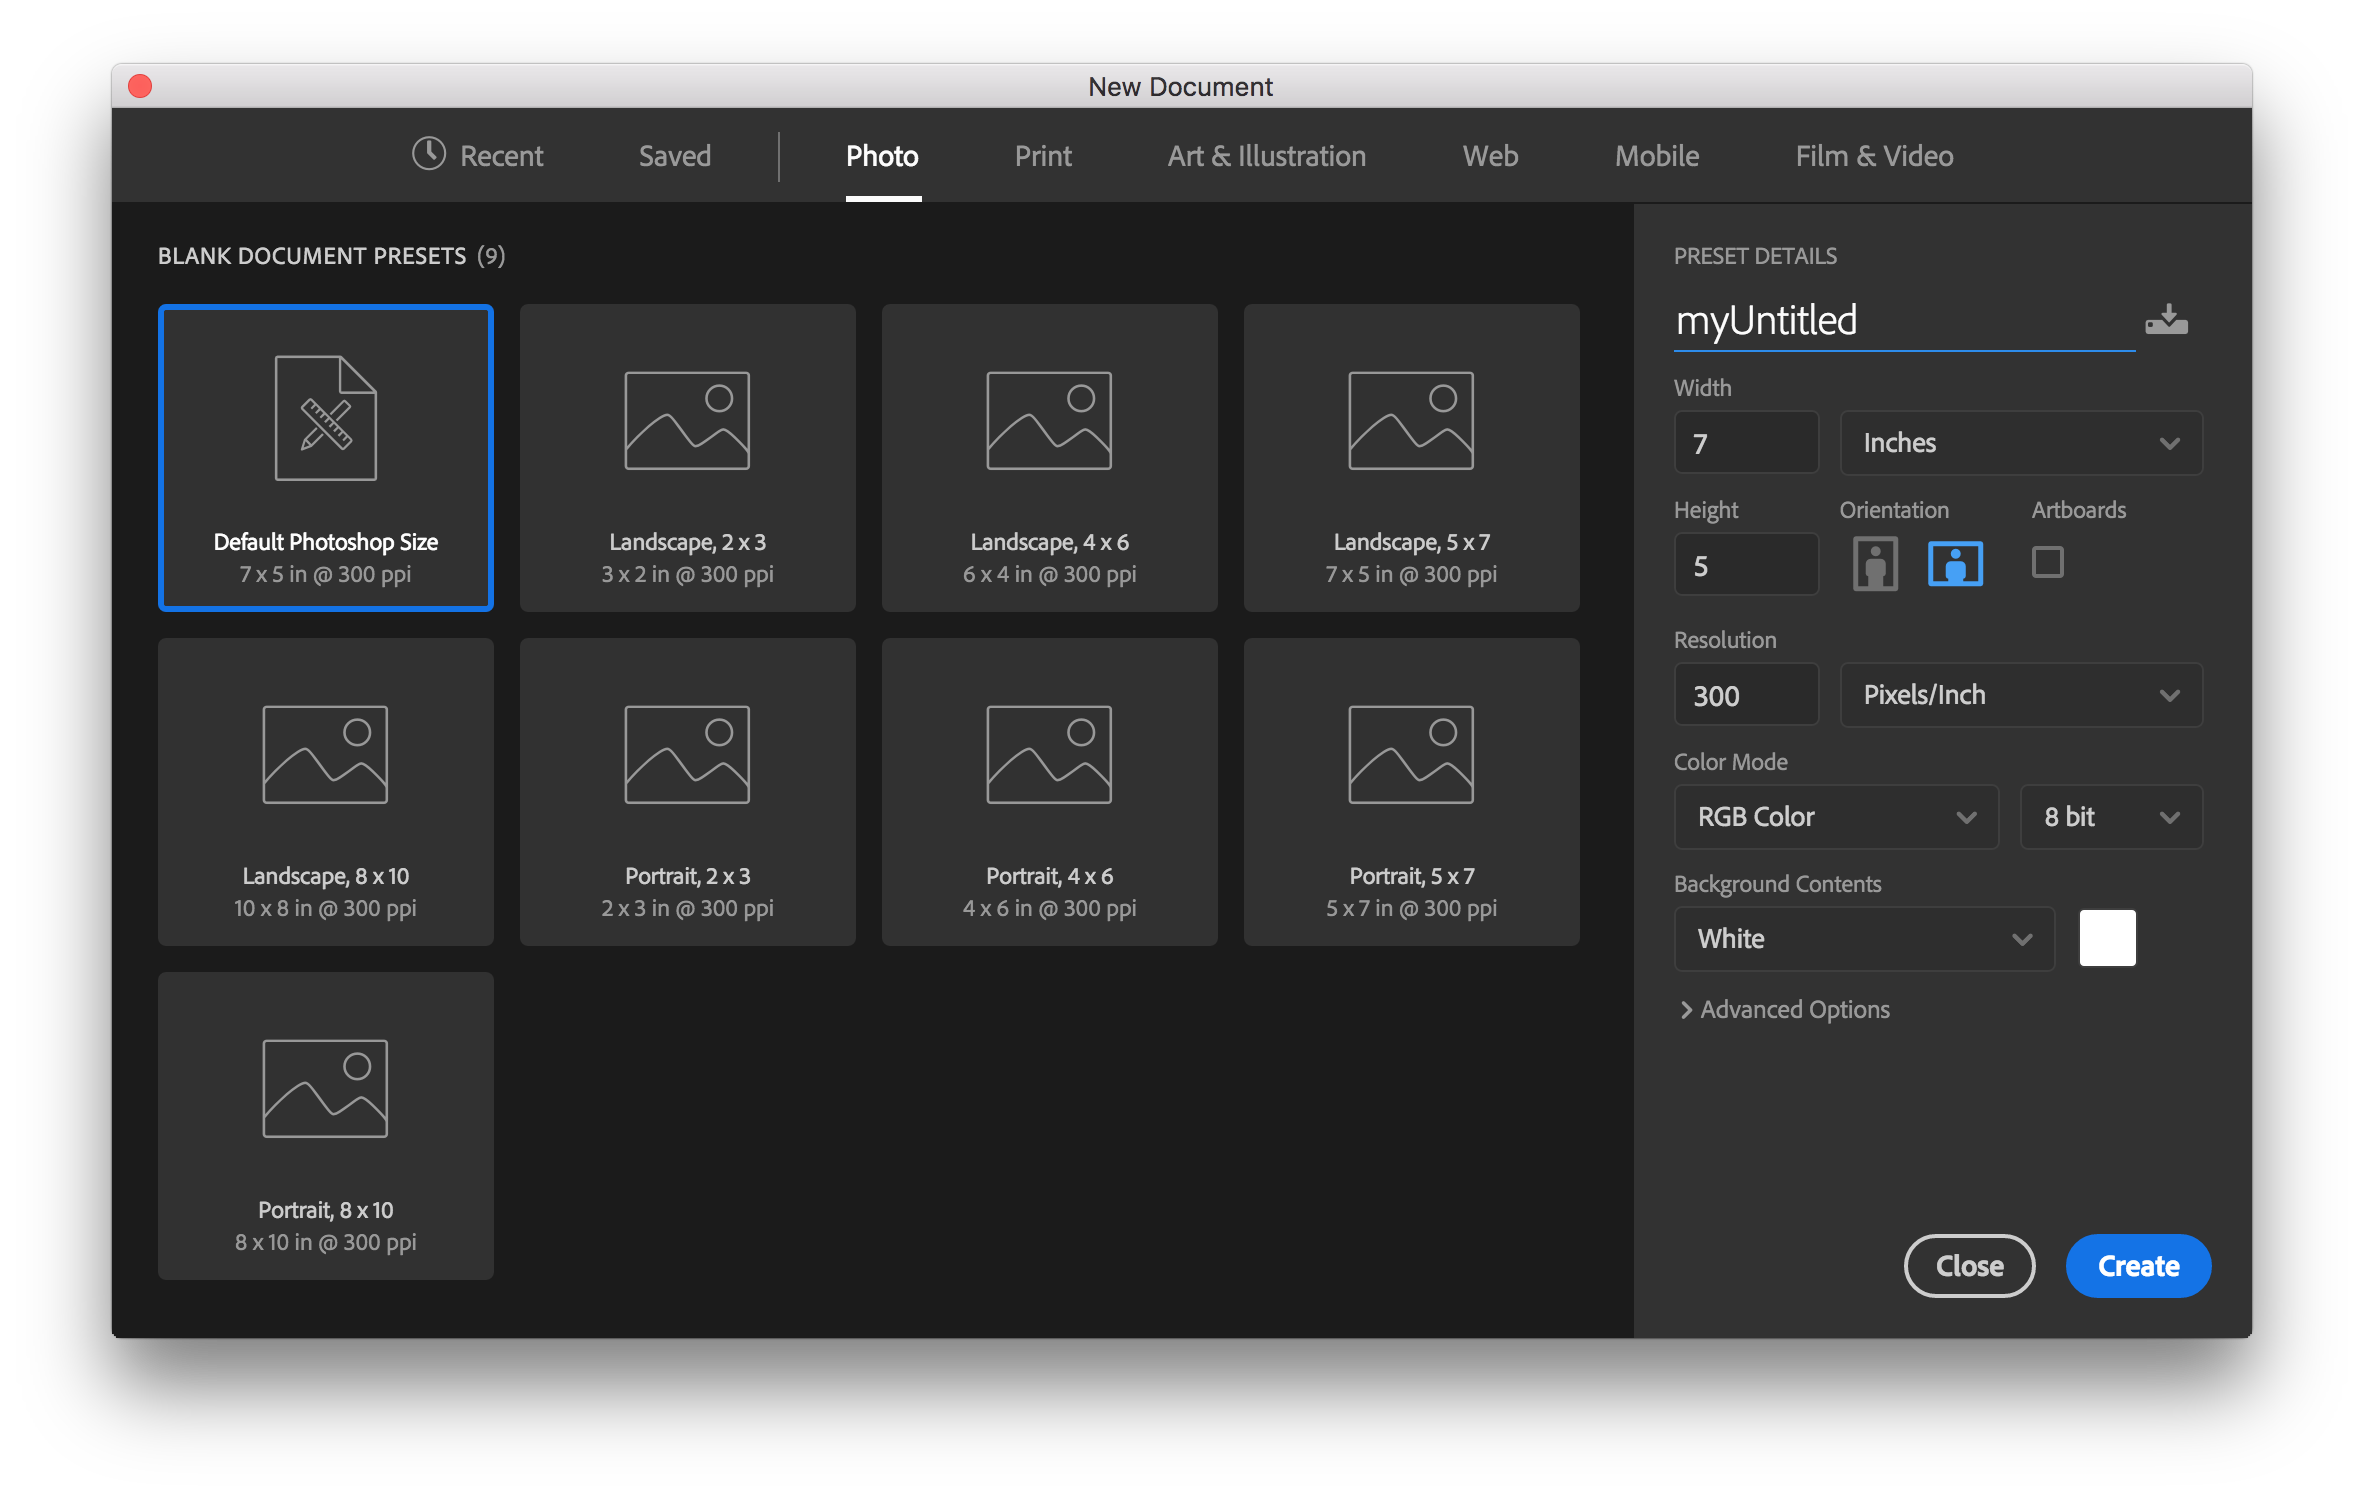
- Open File > New…
- Choose Photo tab, because we will be working with photos.
- Under Preset Details, name your document. Mine is called myUntitled :)
- Leave everything else by default and click Create!
Then we have a new tab in our workspace. Let’s take this chance to familiarize us with the workspace layout.
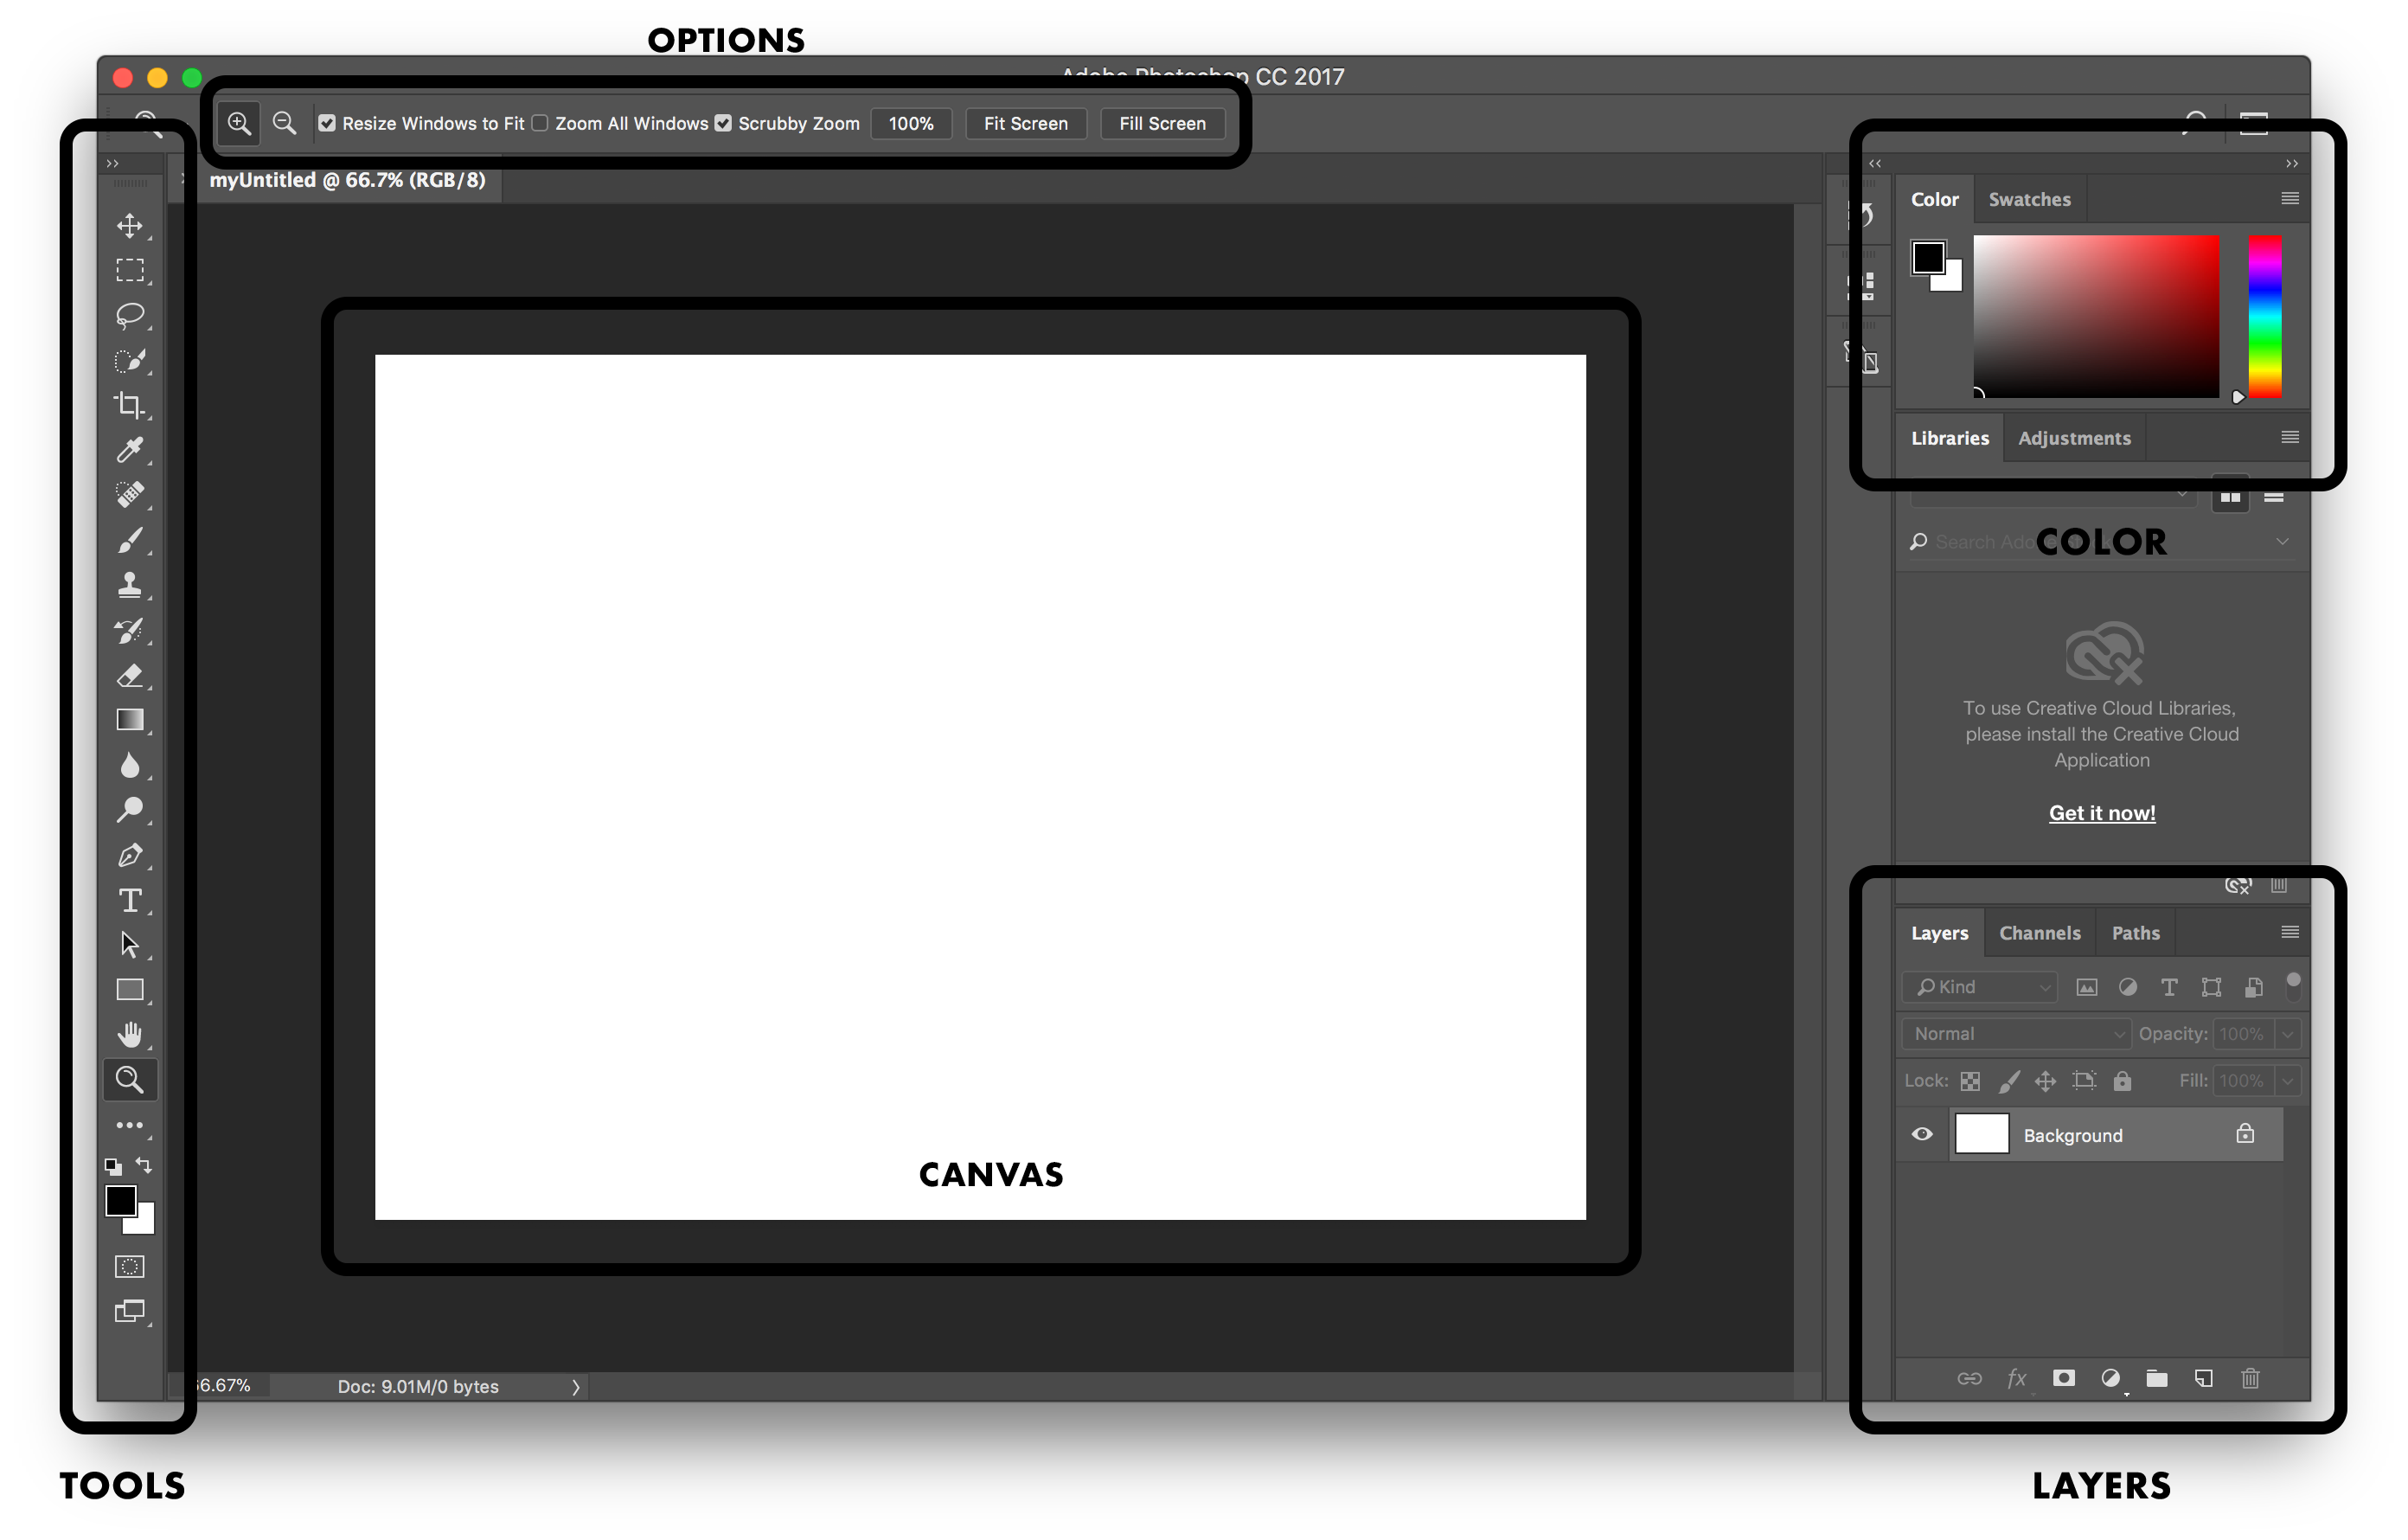
- Tools are lined up on the left side, and this is where we choose the tool that we use, which we will be learning in just a second.
- Options are at the top, which provides addtional options for the tool that is selected.
- Color picker can be found at the top right corner.
- Both under Color panel and Tools, there is one small square in front of the other small square.
- The one in front indicates the foreground color and the one on the back indicates the background color.
- Layers are at bottom right corner. Layers make it possible for us to separate different components of a collage and arrange their order.
- Canvas is right at the center and inside the canvas is what the final image will look like.
Step 3: Import an Image
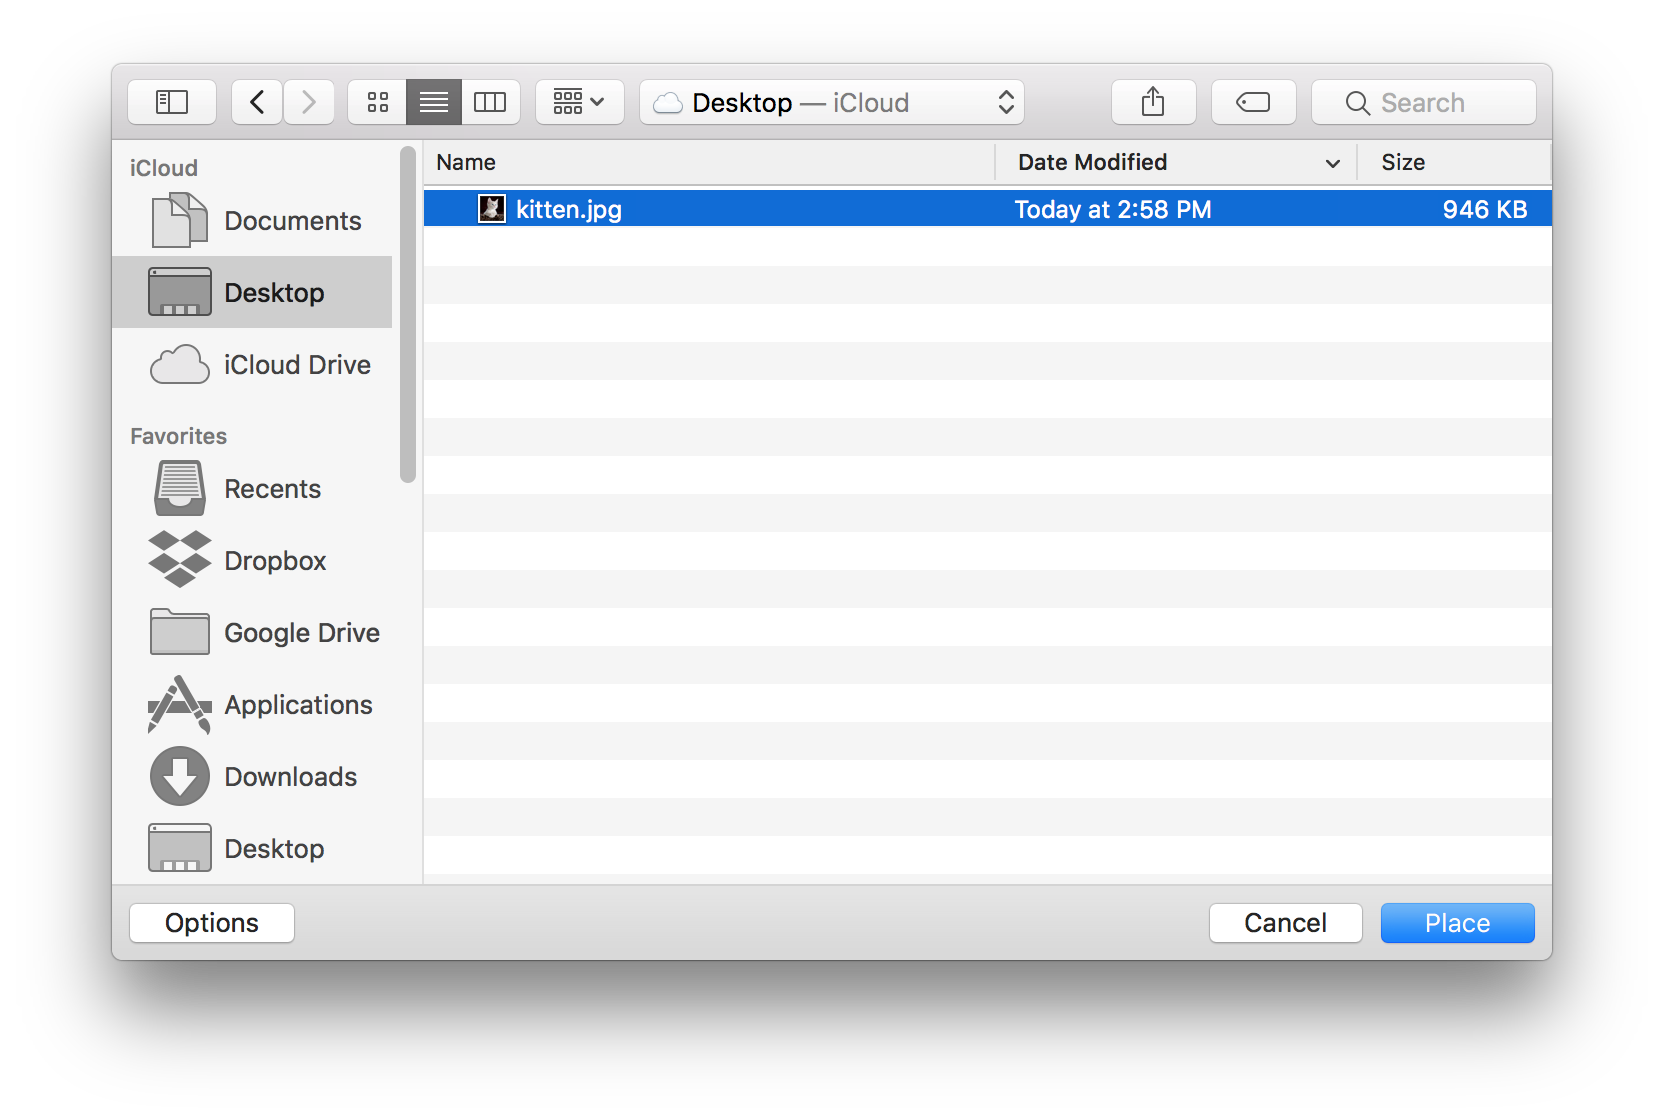
- Open File > Place Embeded…
- Choose the image file of your choice. I’m using an image of a kitten.
- Click Place!
Now that the image is on our canvas, we can move it around, scale it or even rotate it. Press Enter when we feel happy about it. Also, note that the image is imported as a smart object on a separate layer, we need to rasterize it for certain editing procedure.
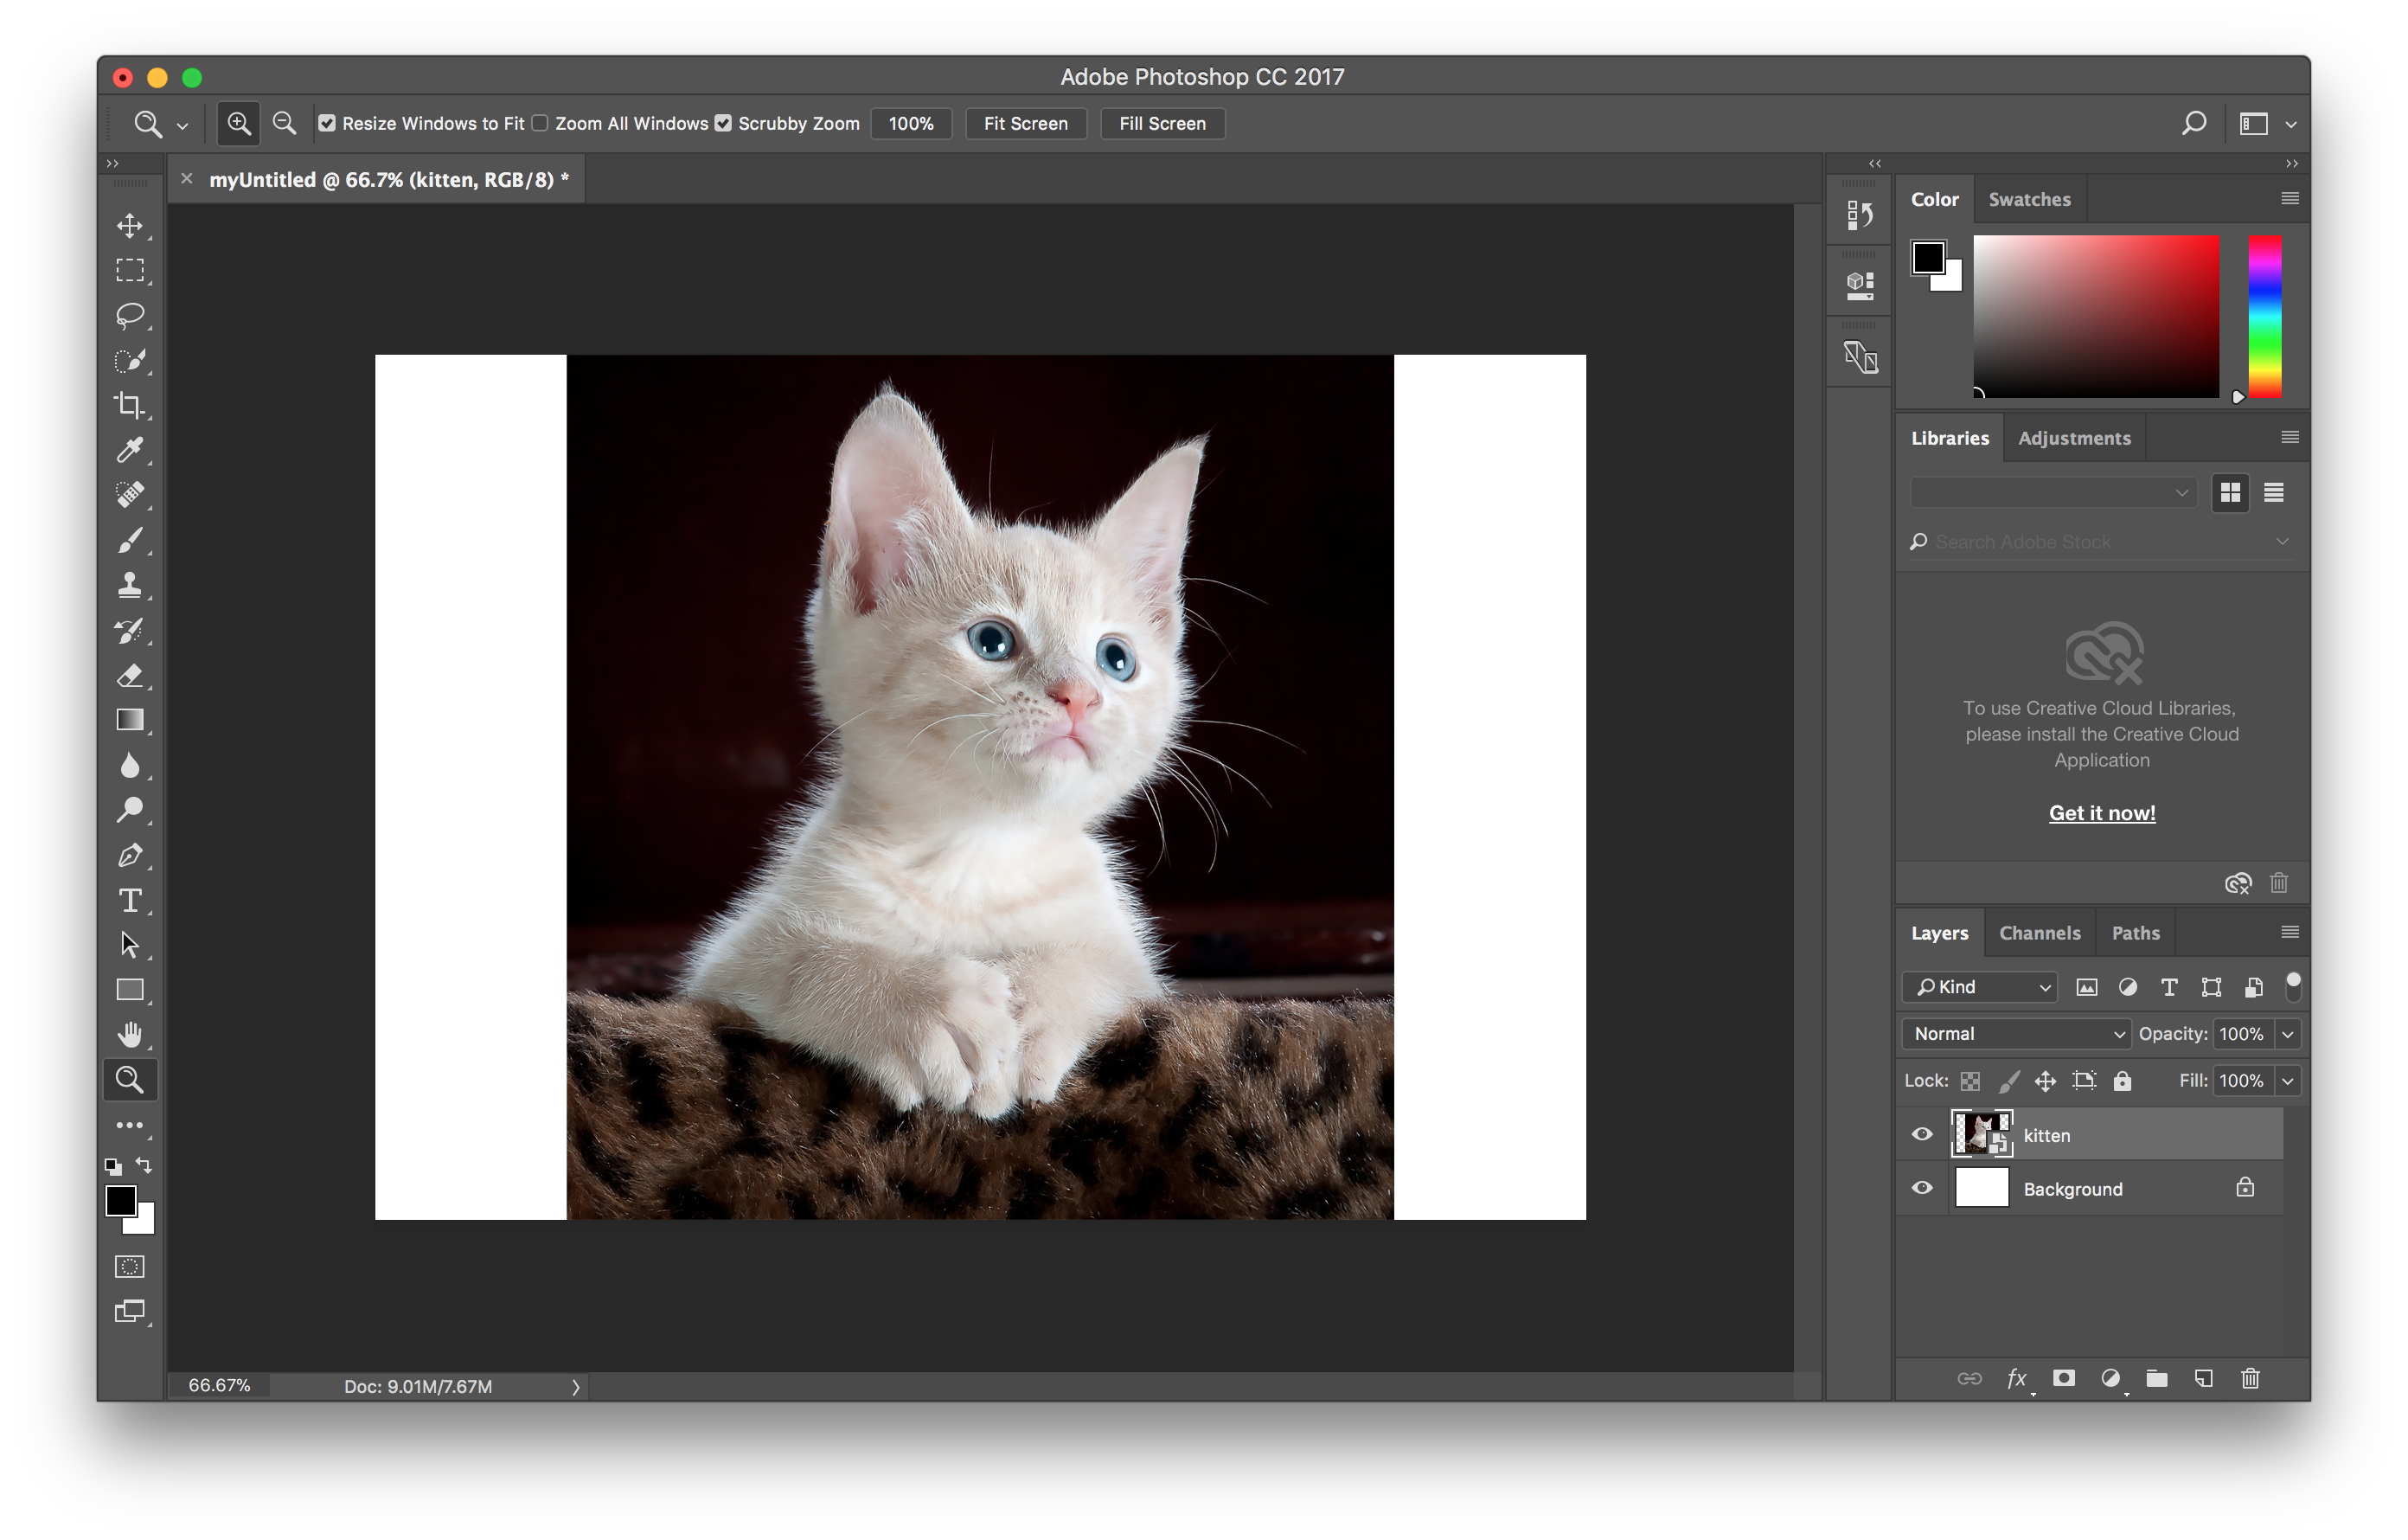
In order to rasterize the layer, we simply right on the name of the layer, and choose Rasterize Layer.
Alternatively, instead of creating a new document and importing an image, we can also open the image with Photoshop directly. However, since we need to have more than one images, we still need to go to File > Place Embeded…
Multiple images will stay in different layers, and we can arrange the order by clicking and dragging on the names of the layers. We can also change the names of the layers by double-click on the layer name.
Step 4: Learn the Workflow
Note: the workflow below is by no means a “standard” workflow, it’s arranged in such a way that we can learn about everything we need to get started.
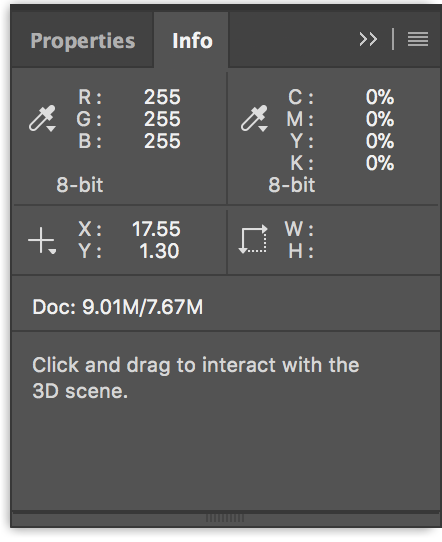
Before we start learning about the workflow and the tools, go to Window > Info. At the bottom of Info, we can see a short instruction for the tool that is selected. This will serve as a reminder whenever we forget the functionality of a specific tool and it also shows us if additional options are available with Shift, Opt or Cmd.
In general, Shift means additive or proportional, Opt means substractive or special options, Cmd means to temporarily switch to Move Tool, and Space Bar means temporarily switch to Hand Tool.
Modify the canvas

First tool we may want to use is the Crop Tool, which crops and rotates the canvas as we like. We can specify a ratio on the Options Panel, or click Clear if we don’t need one.
I cropped the canvas into a square.
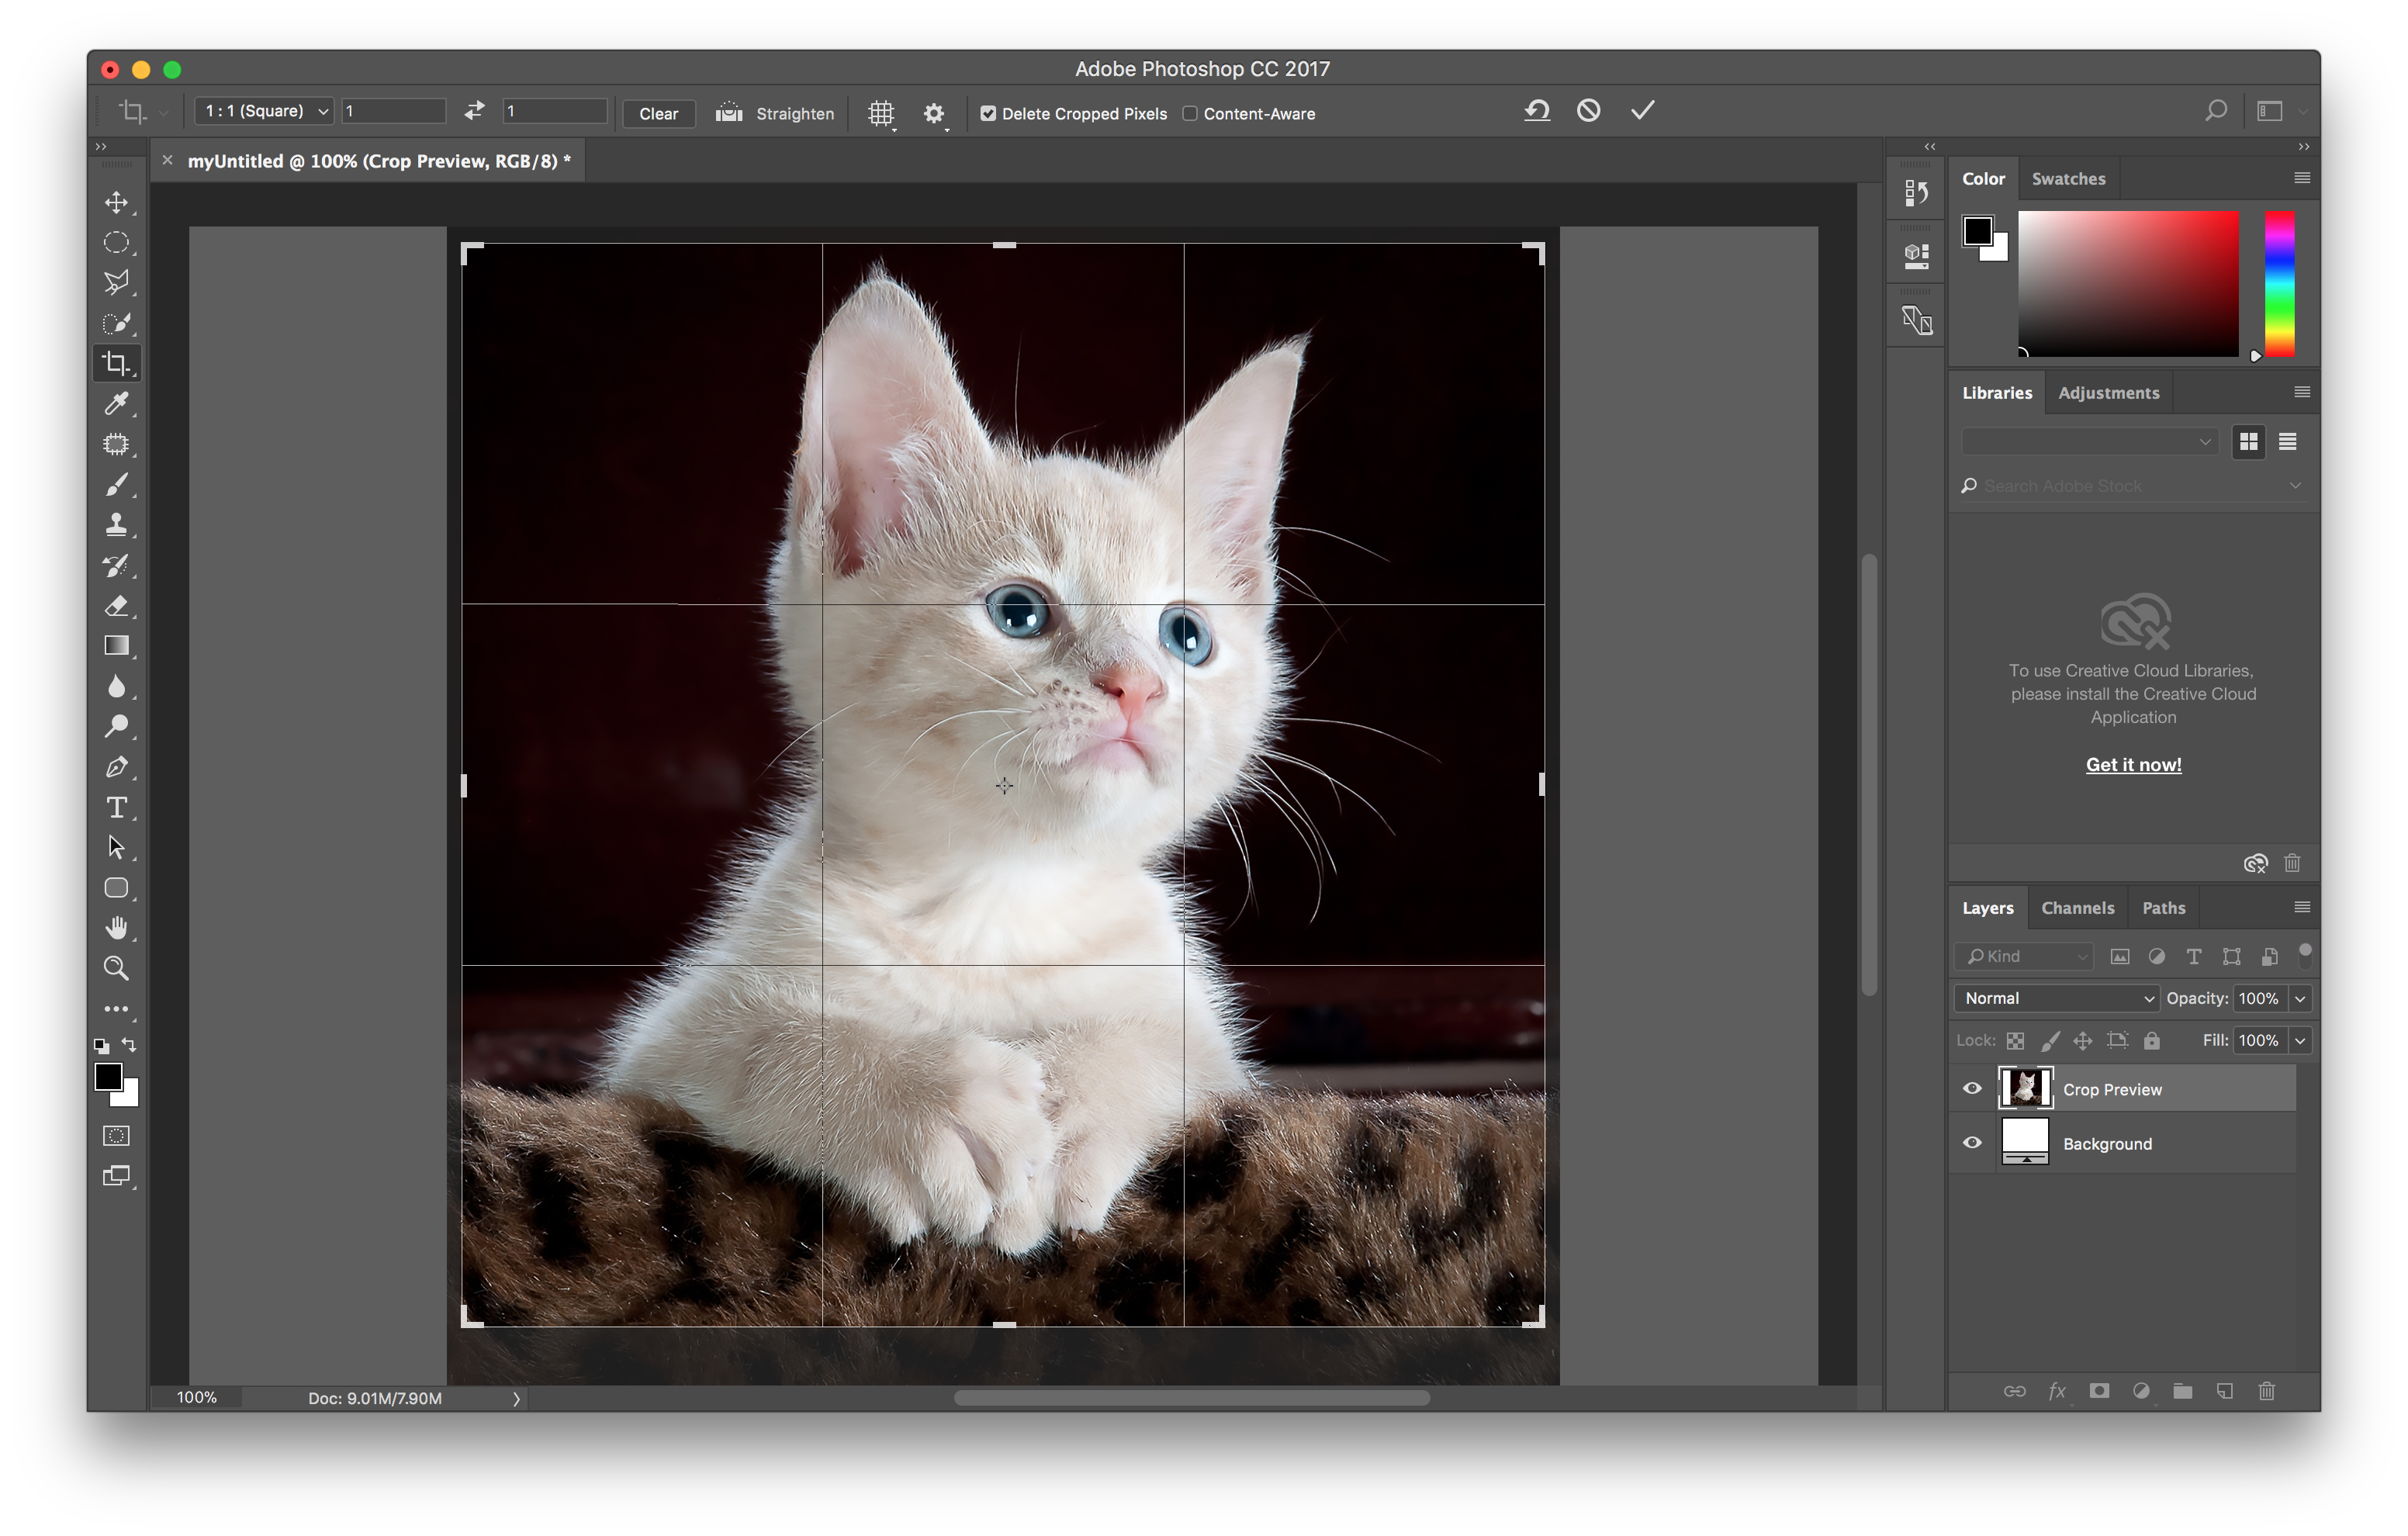
Note that we can right click (or left click and hold) to view additional tools whenever there’s little triangle at the bottom right corner of the tool icon.
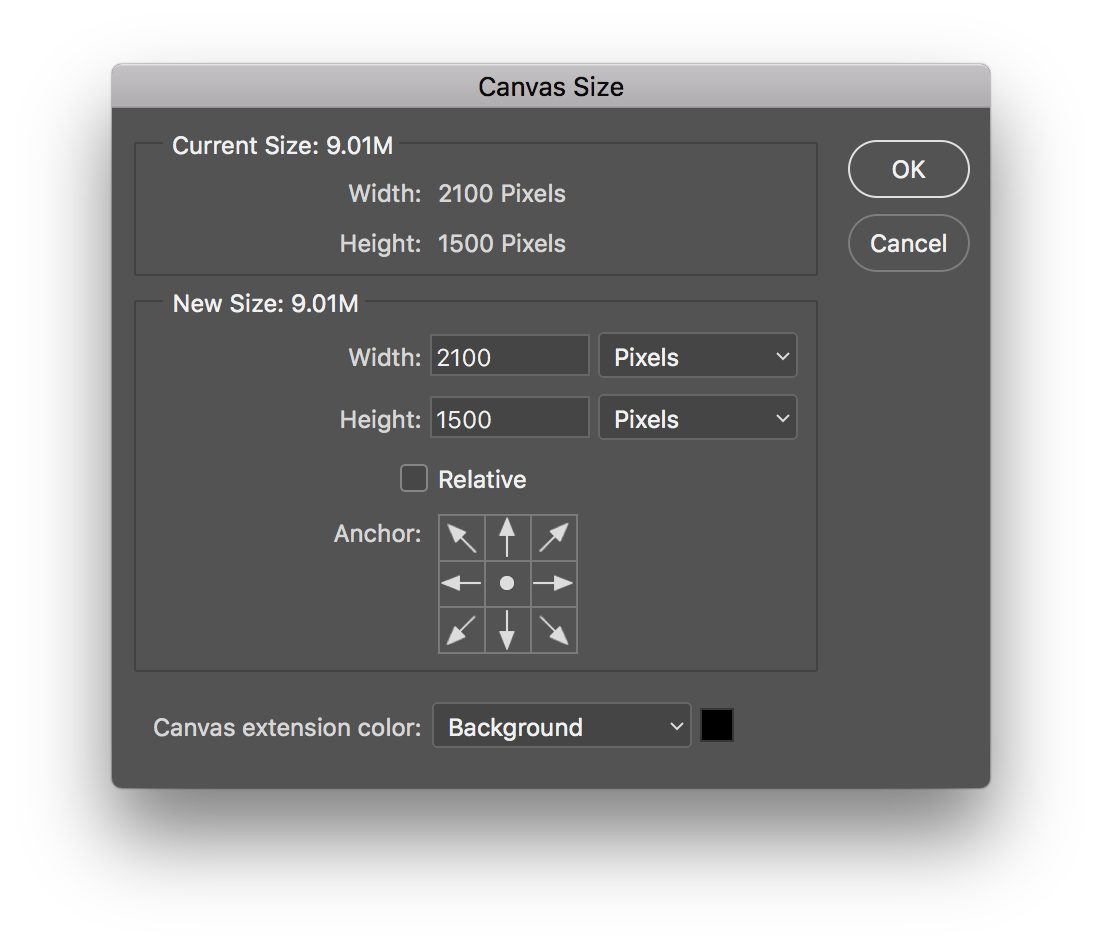
Alternatively, we can go to Image > Canvas Size if the cropping needs to be precise, and go to Image > Image Rotation for rotating the canvas.
Select something
There are three types of tools we can use for this:


- Marquee Tools: We use these to make a rectangular or elliptical selection. Click and drag to move selection, or click anywhere on canvas to deselect.


- Lasso Tools: These are used for selections of freeform or straight-edged segments, or selections that snap to the edges of defined areas.
For those two types of selection tools above, we can specify a Feather value on the Option panel.


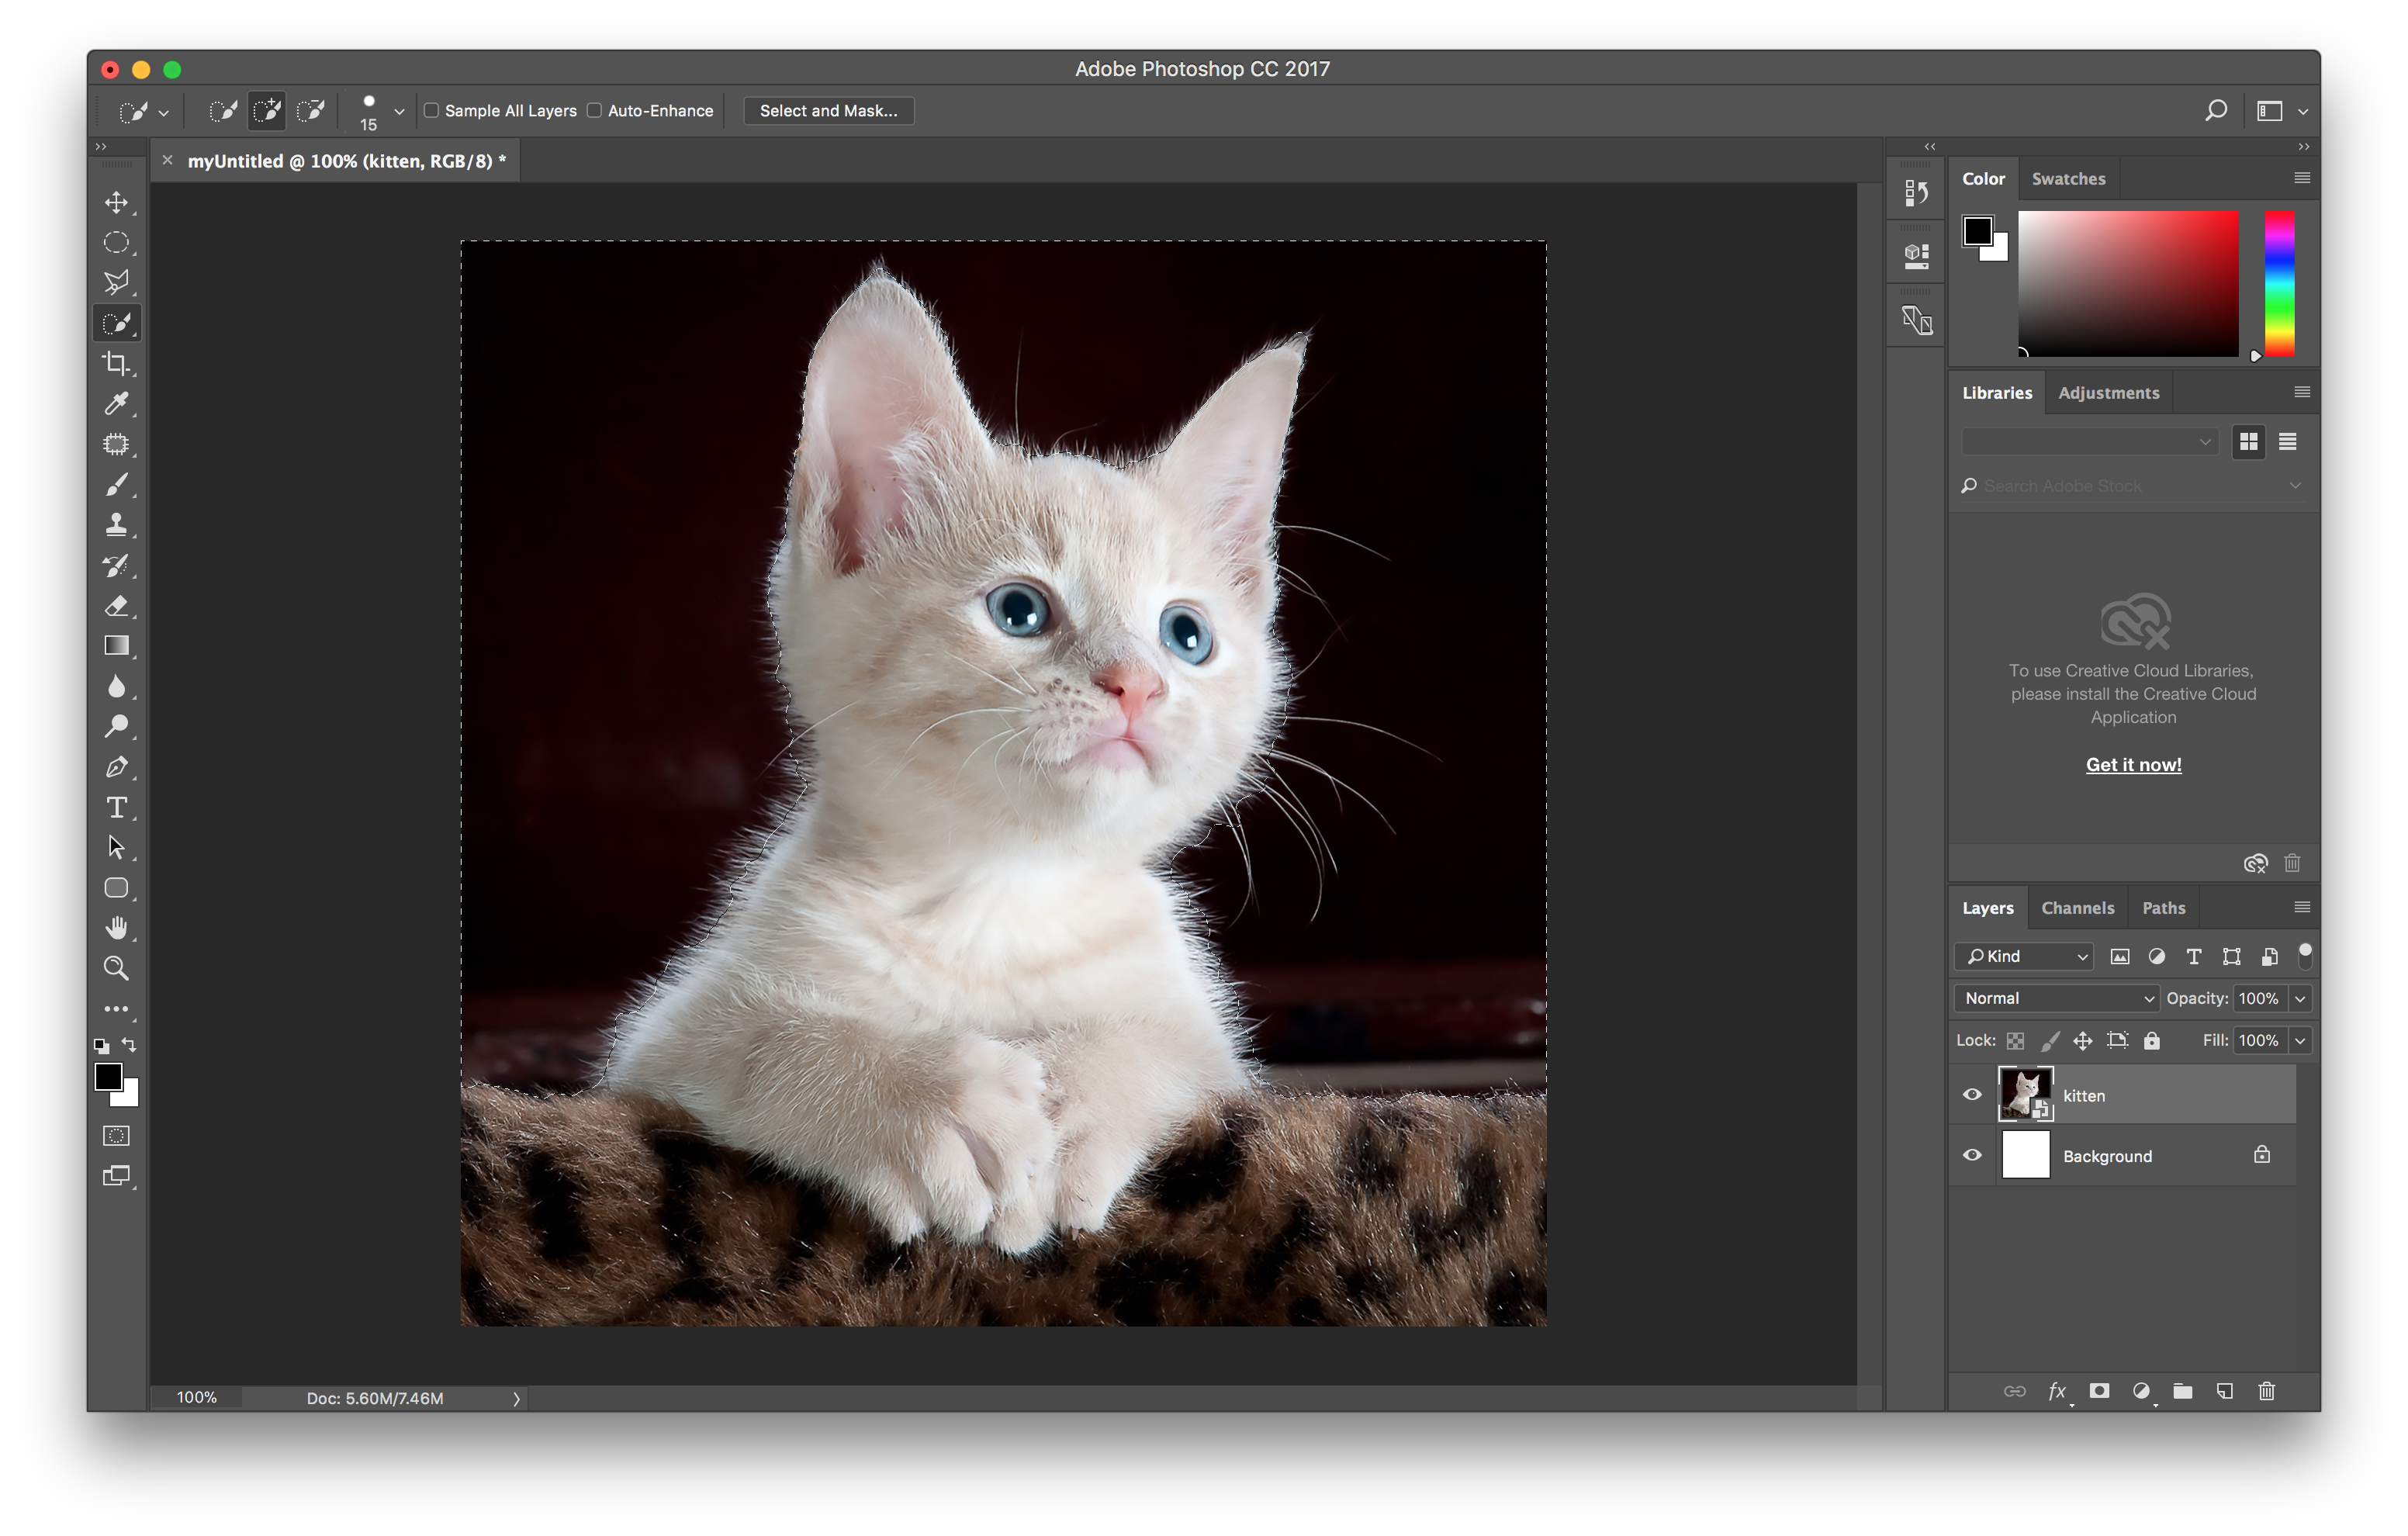
- Quick Selections: Quick Selection Tool “paints” a selection and Magic Wand Tool selects an area of consistent color.
I decided to select the background.
A few things to note about selection tools:
- In order to deselect, go to Select > Deselect.
- For all the selection tools above, we can specify use Shift key to add to the selection, and Option key to substract.
- Select > Invert inverts the selection, meaning making a selection of the opposite of what is selected.
Transform the selection
Now that we have our selection, in order to make a transformation, we go to Edit > Transform, then choose the desired option.
We can also use Edit > Free Transform to tranform the selection in any way we want, and hit Enter when we are done.
Move things around

This tool moves the selected area on the selected layer, or the whole layer(s) if nothing is selected on the canvas.
The power of adjustments
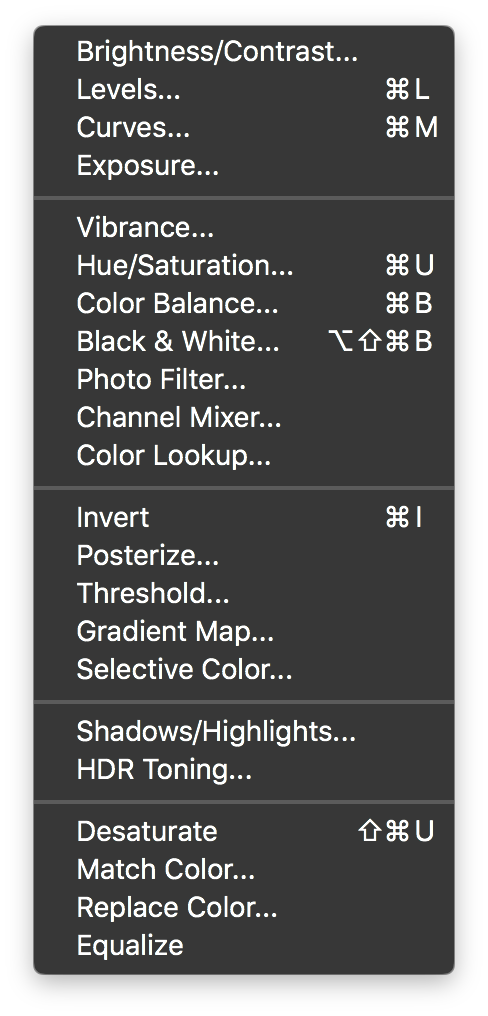
One other thing we may want to do after selecting is to adjust it. Go to Image > Adjustments, we can find all sorts of adjustments we can make to our selection.
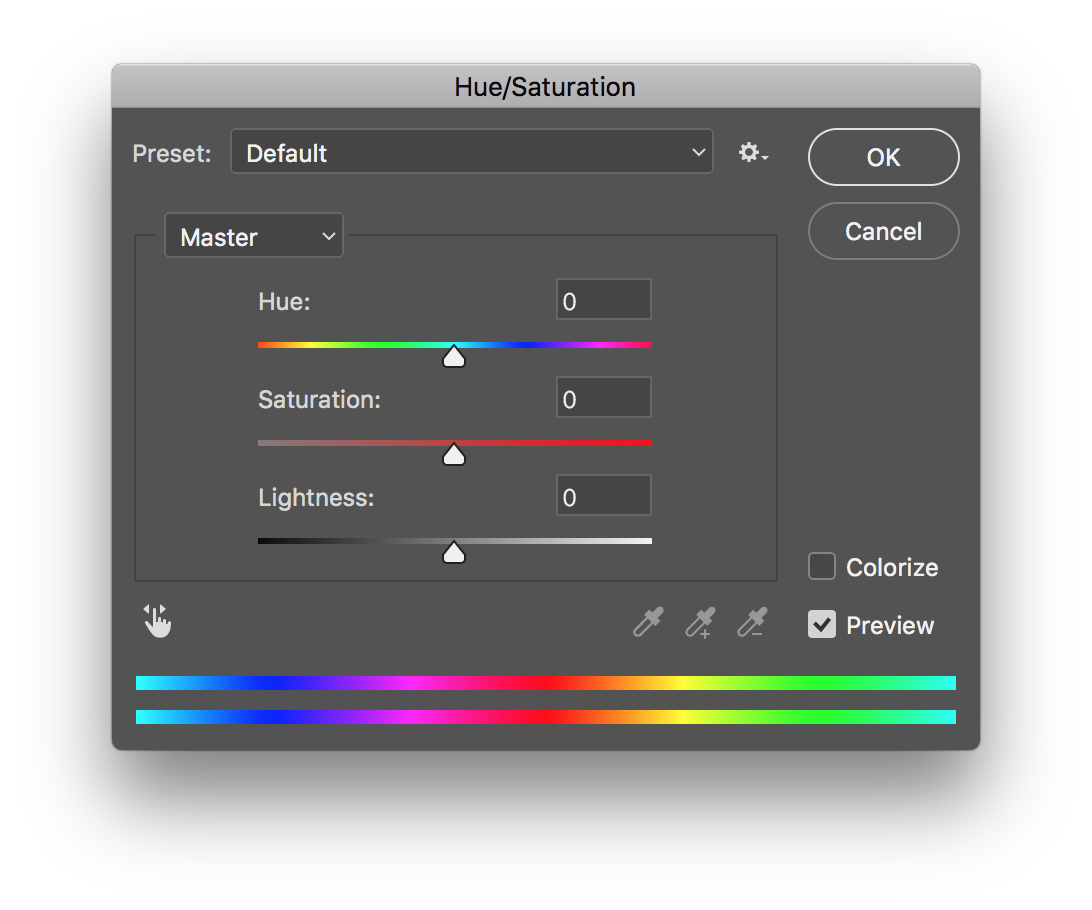
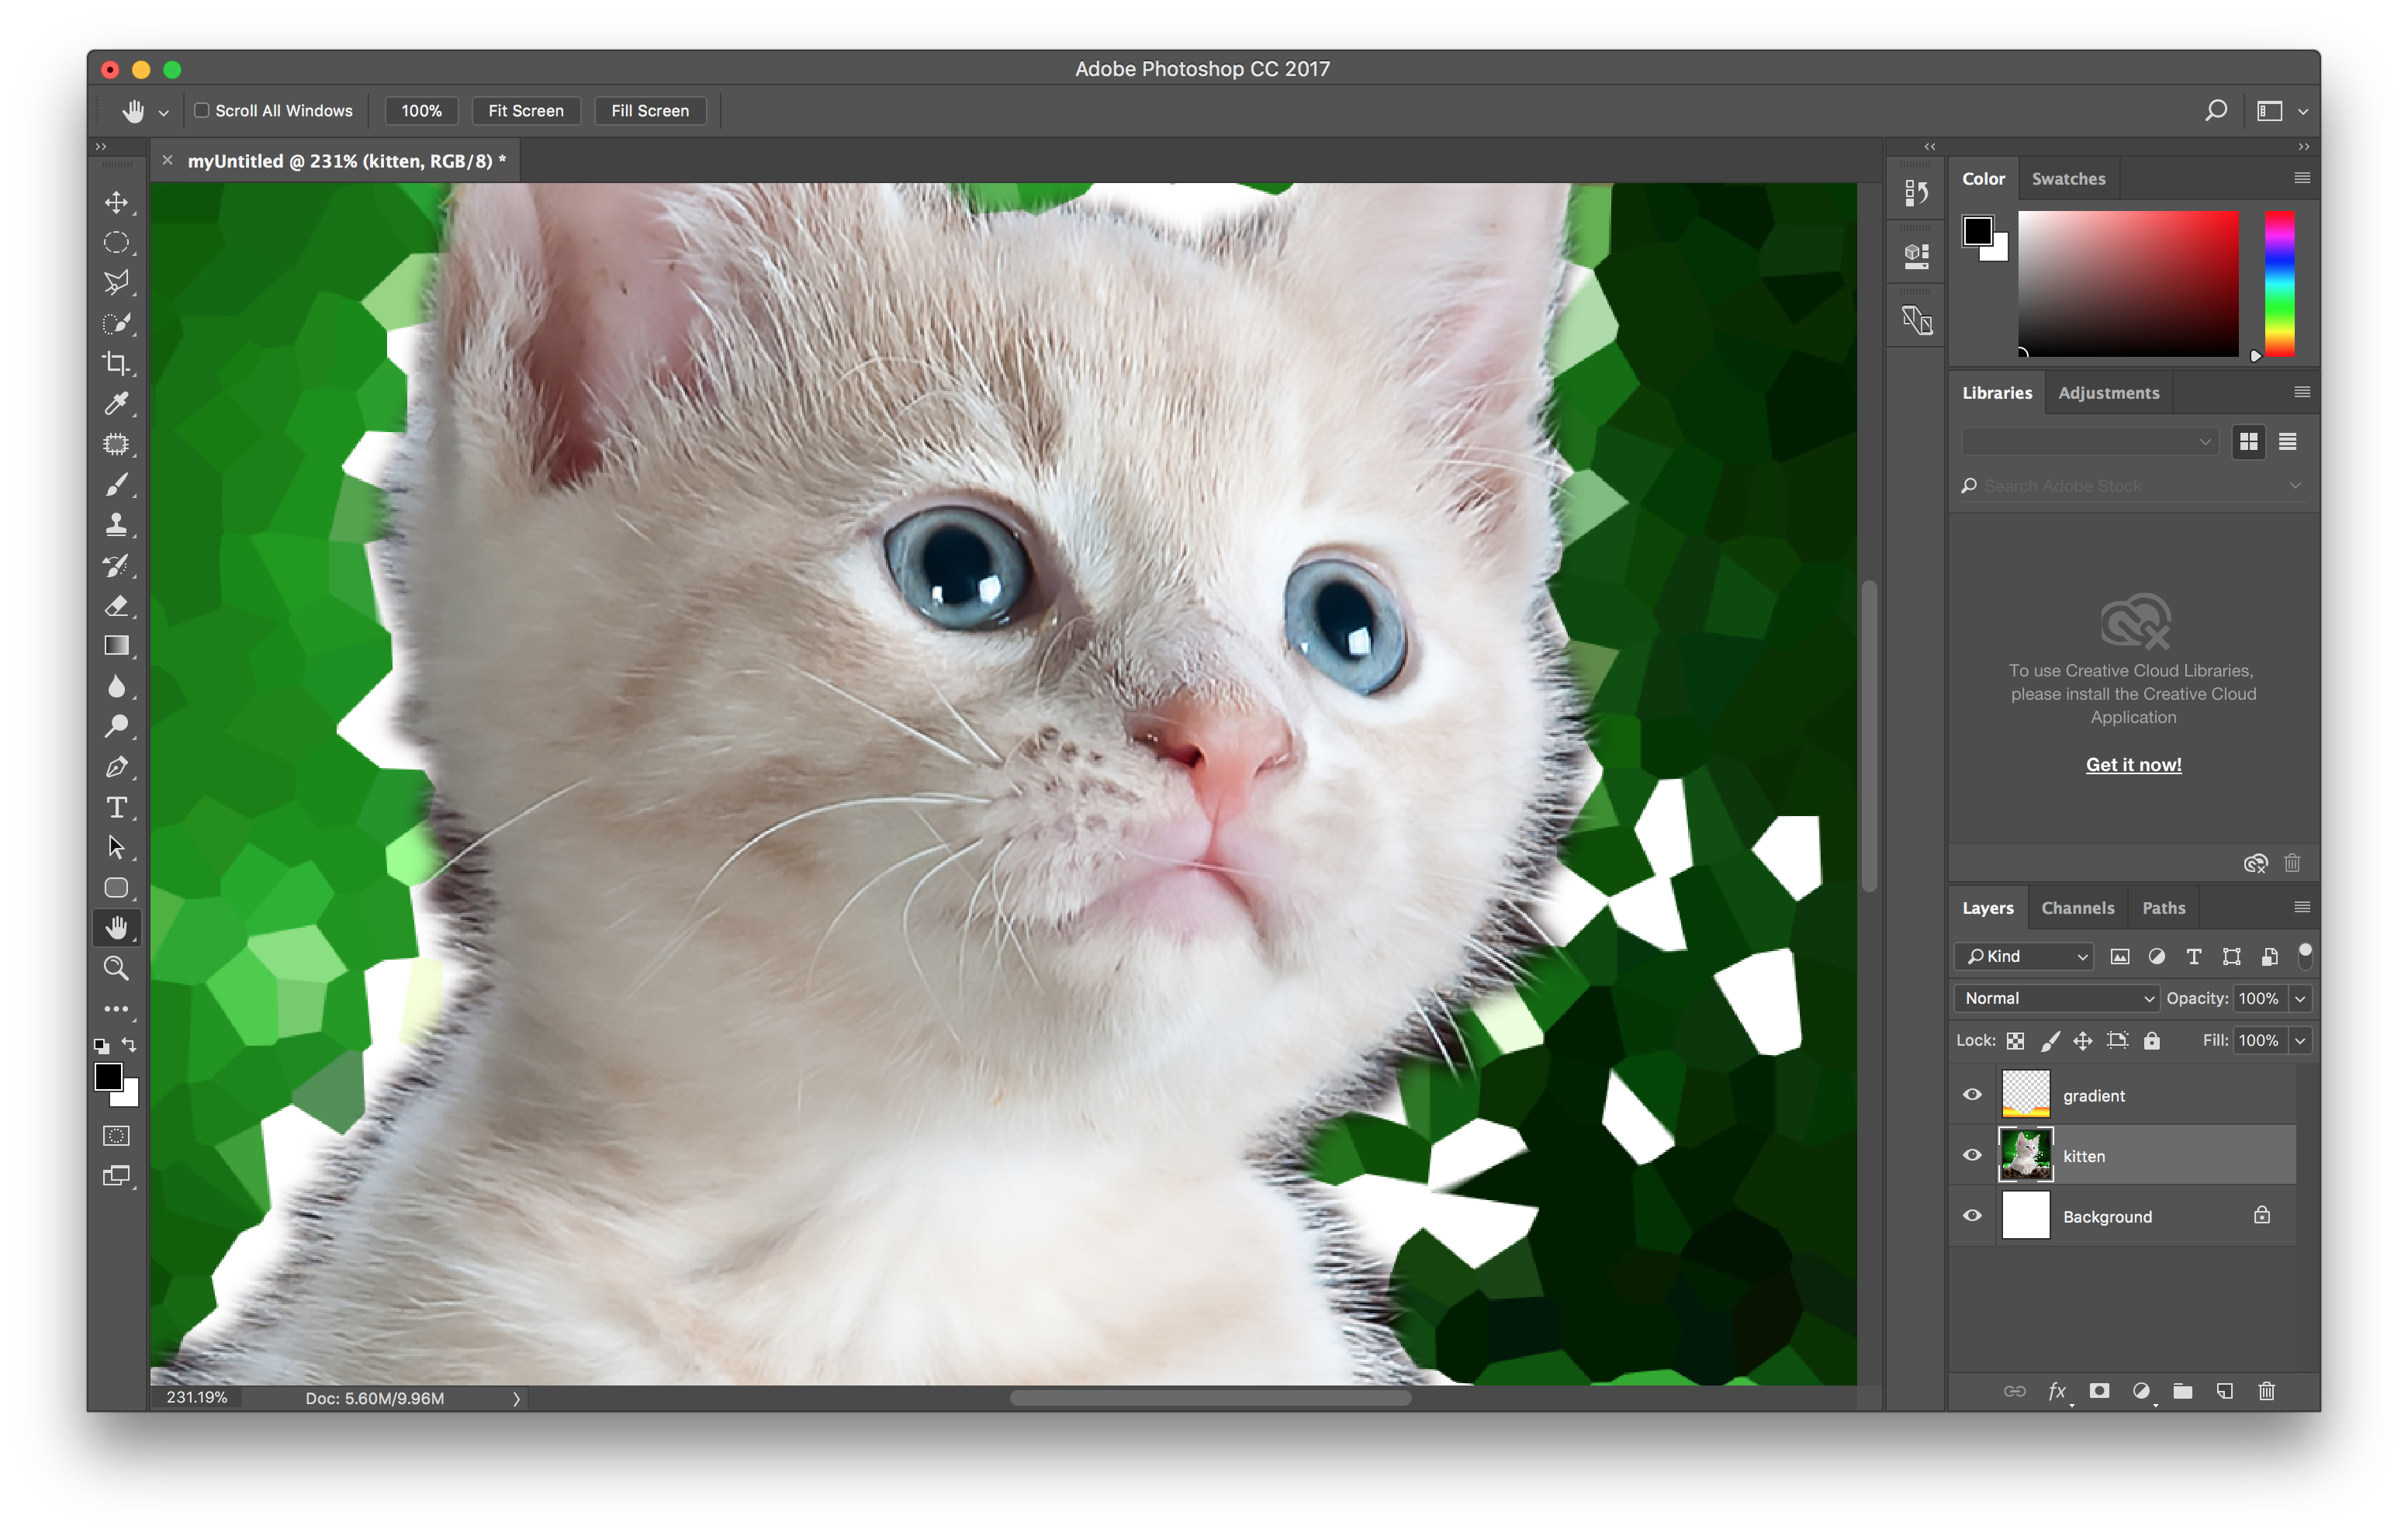
In particular, if we open Image > Adjustments > Hue/Saturation, we can completely change the colors in an image by dragging the Hue bar.
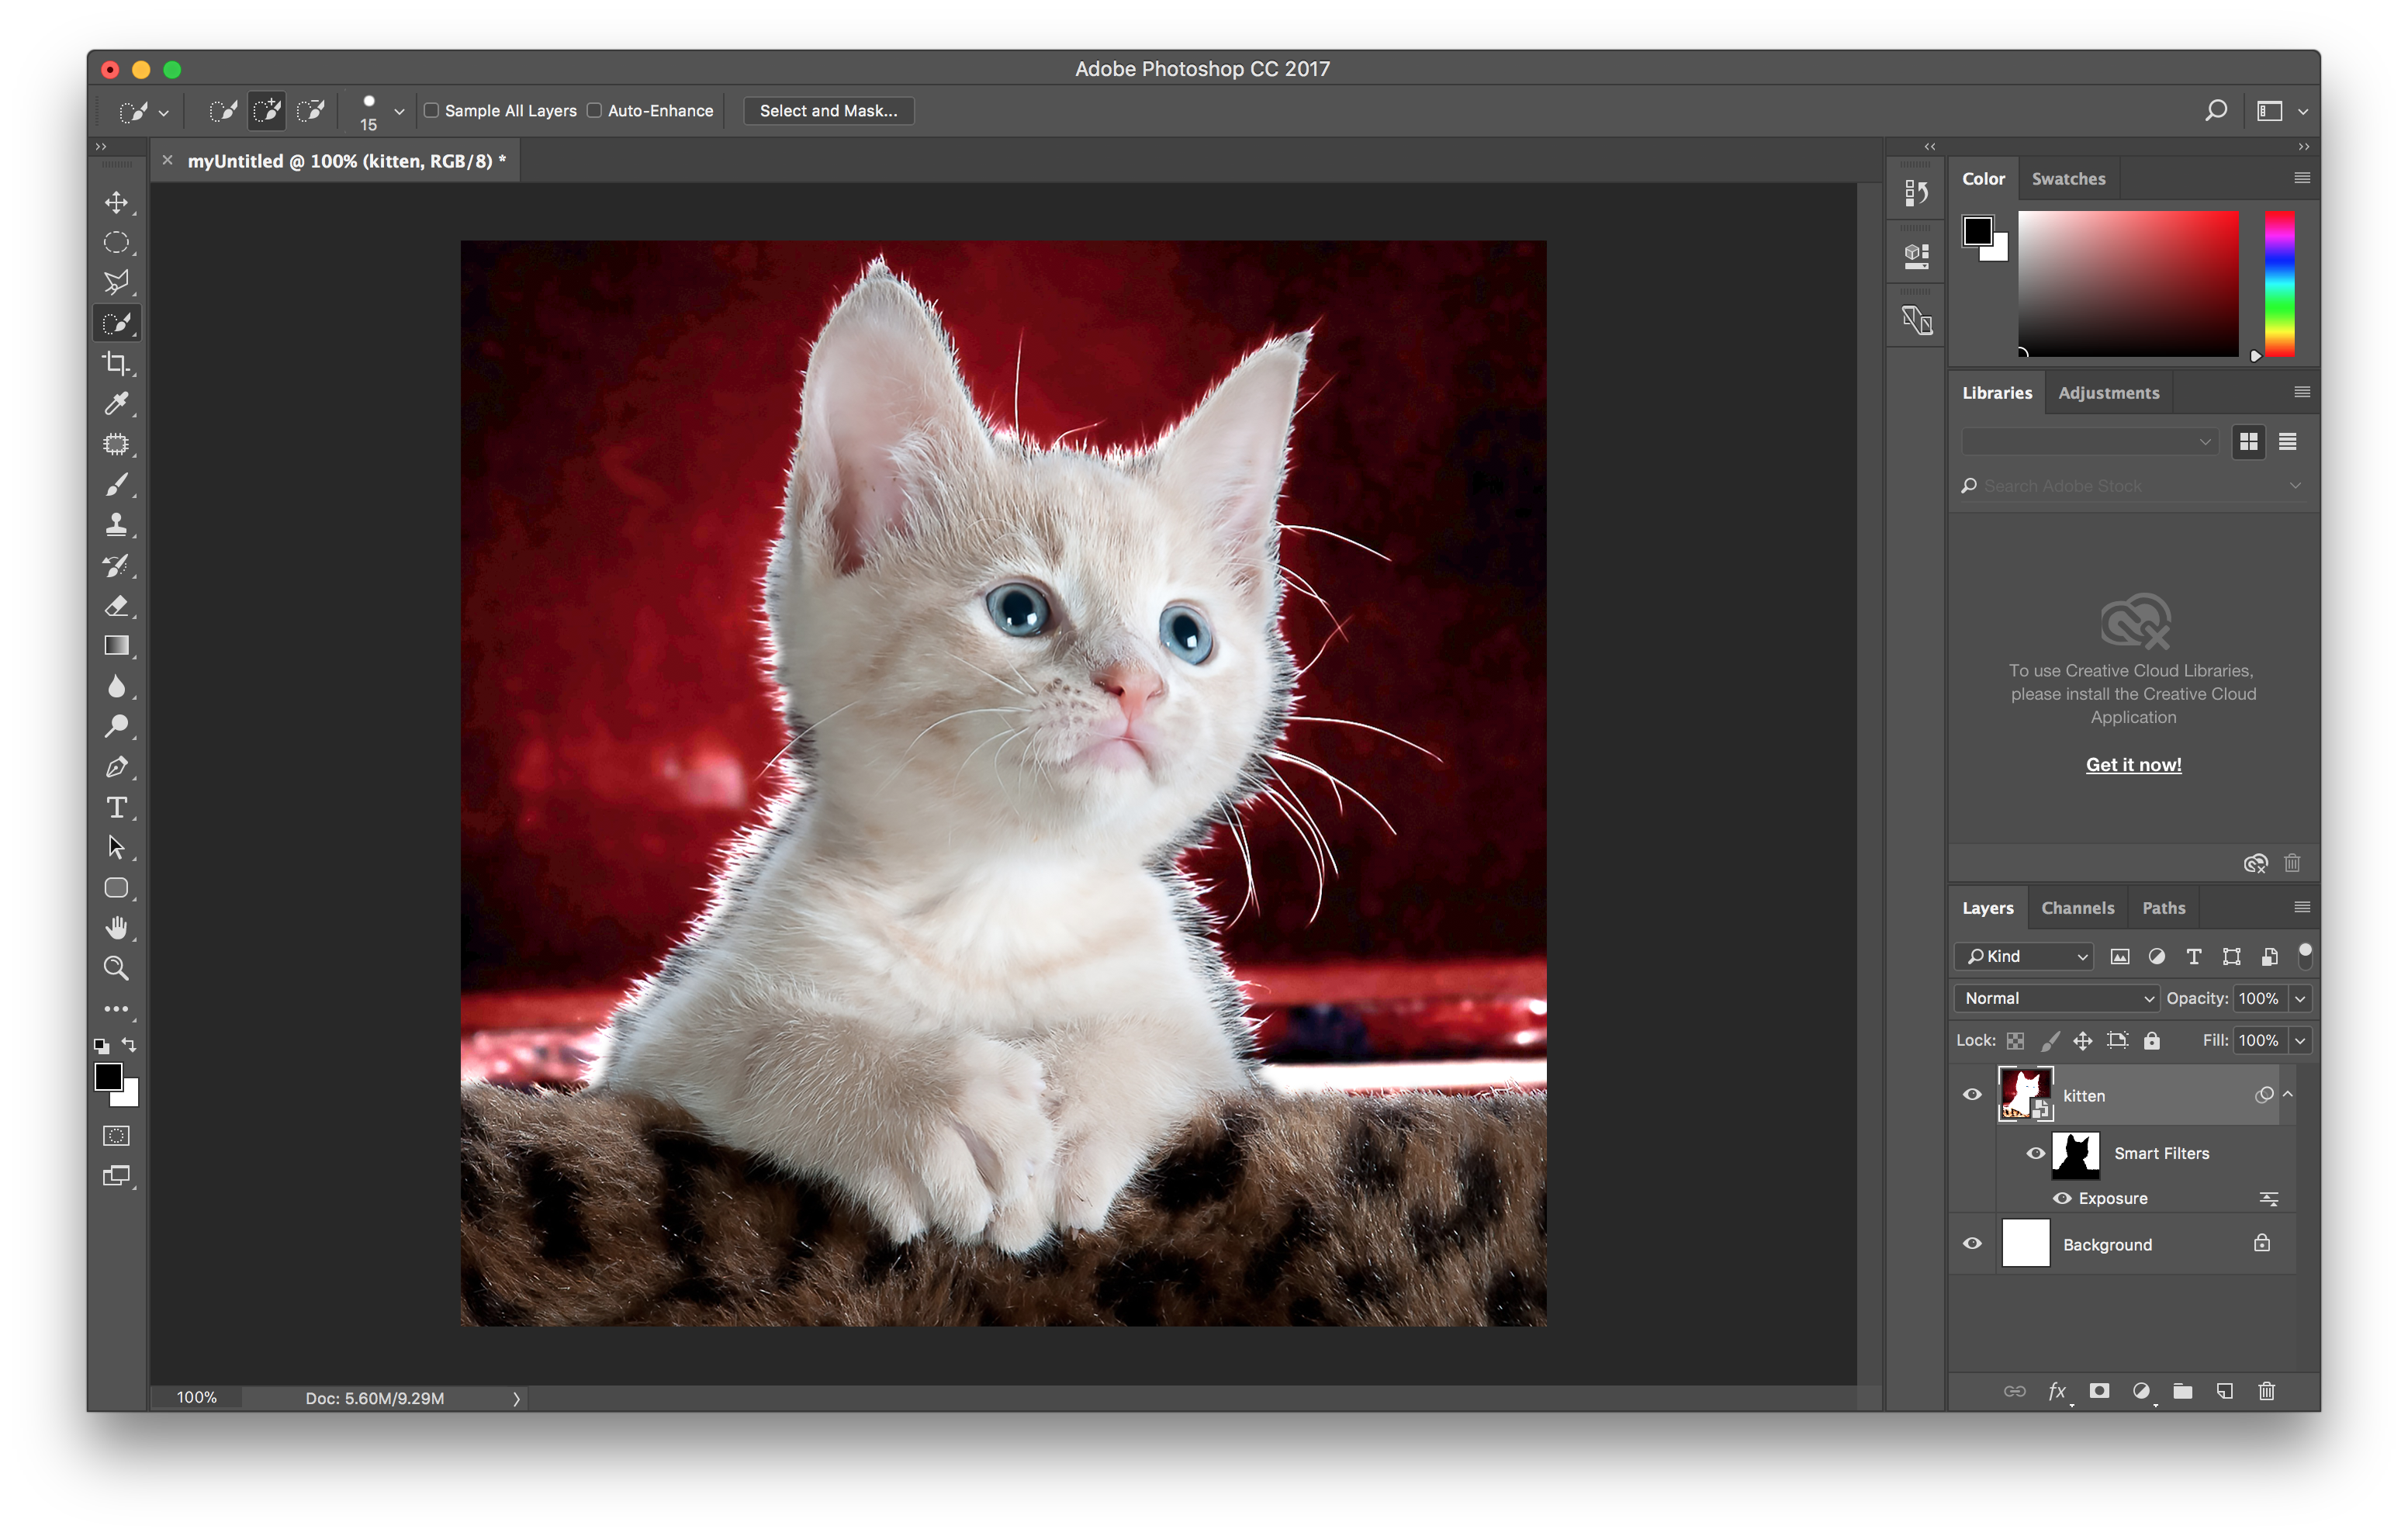
I brought up the exposure of the selection and then changed the hue.
 |
 |
The magic of filters
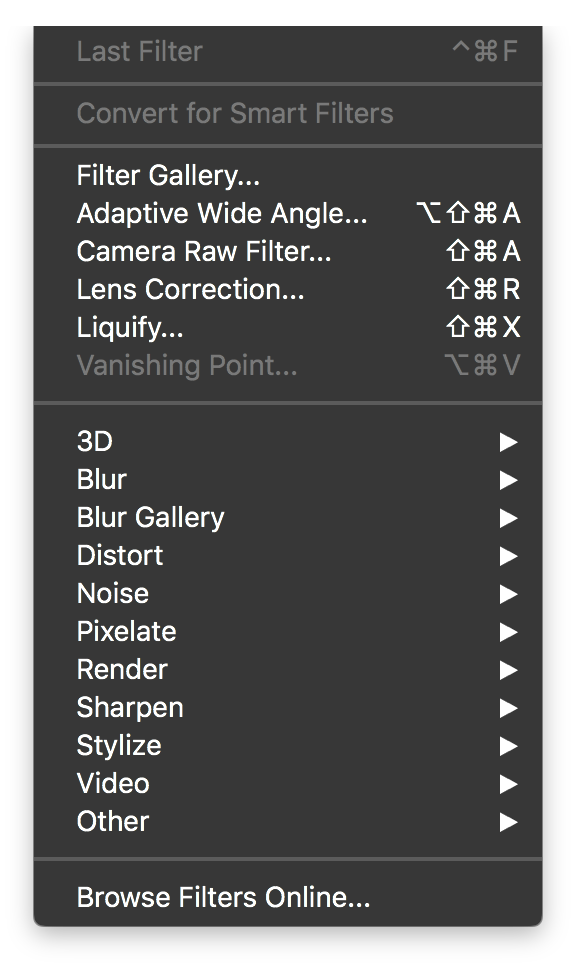
Thanks to the popularity of filters on social media, most of us already know what a filter is. In Photoshop, the filters are under the Filter on the menu and Photoshop provides very detailed and powerful options for each of its filers. And the filter will be applied to the selected area or the selected layer.
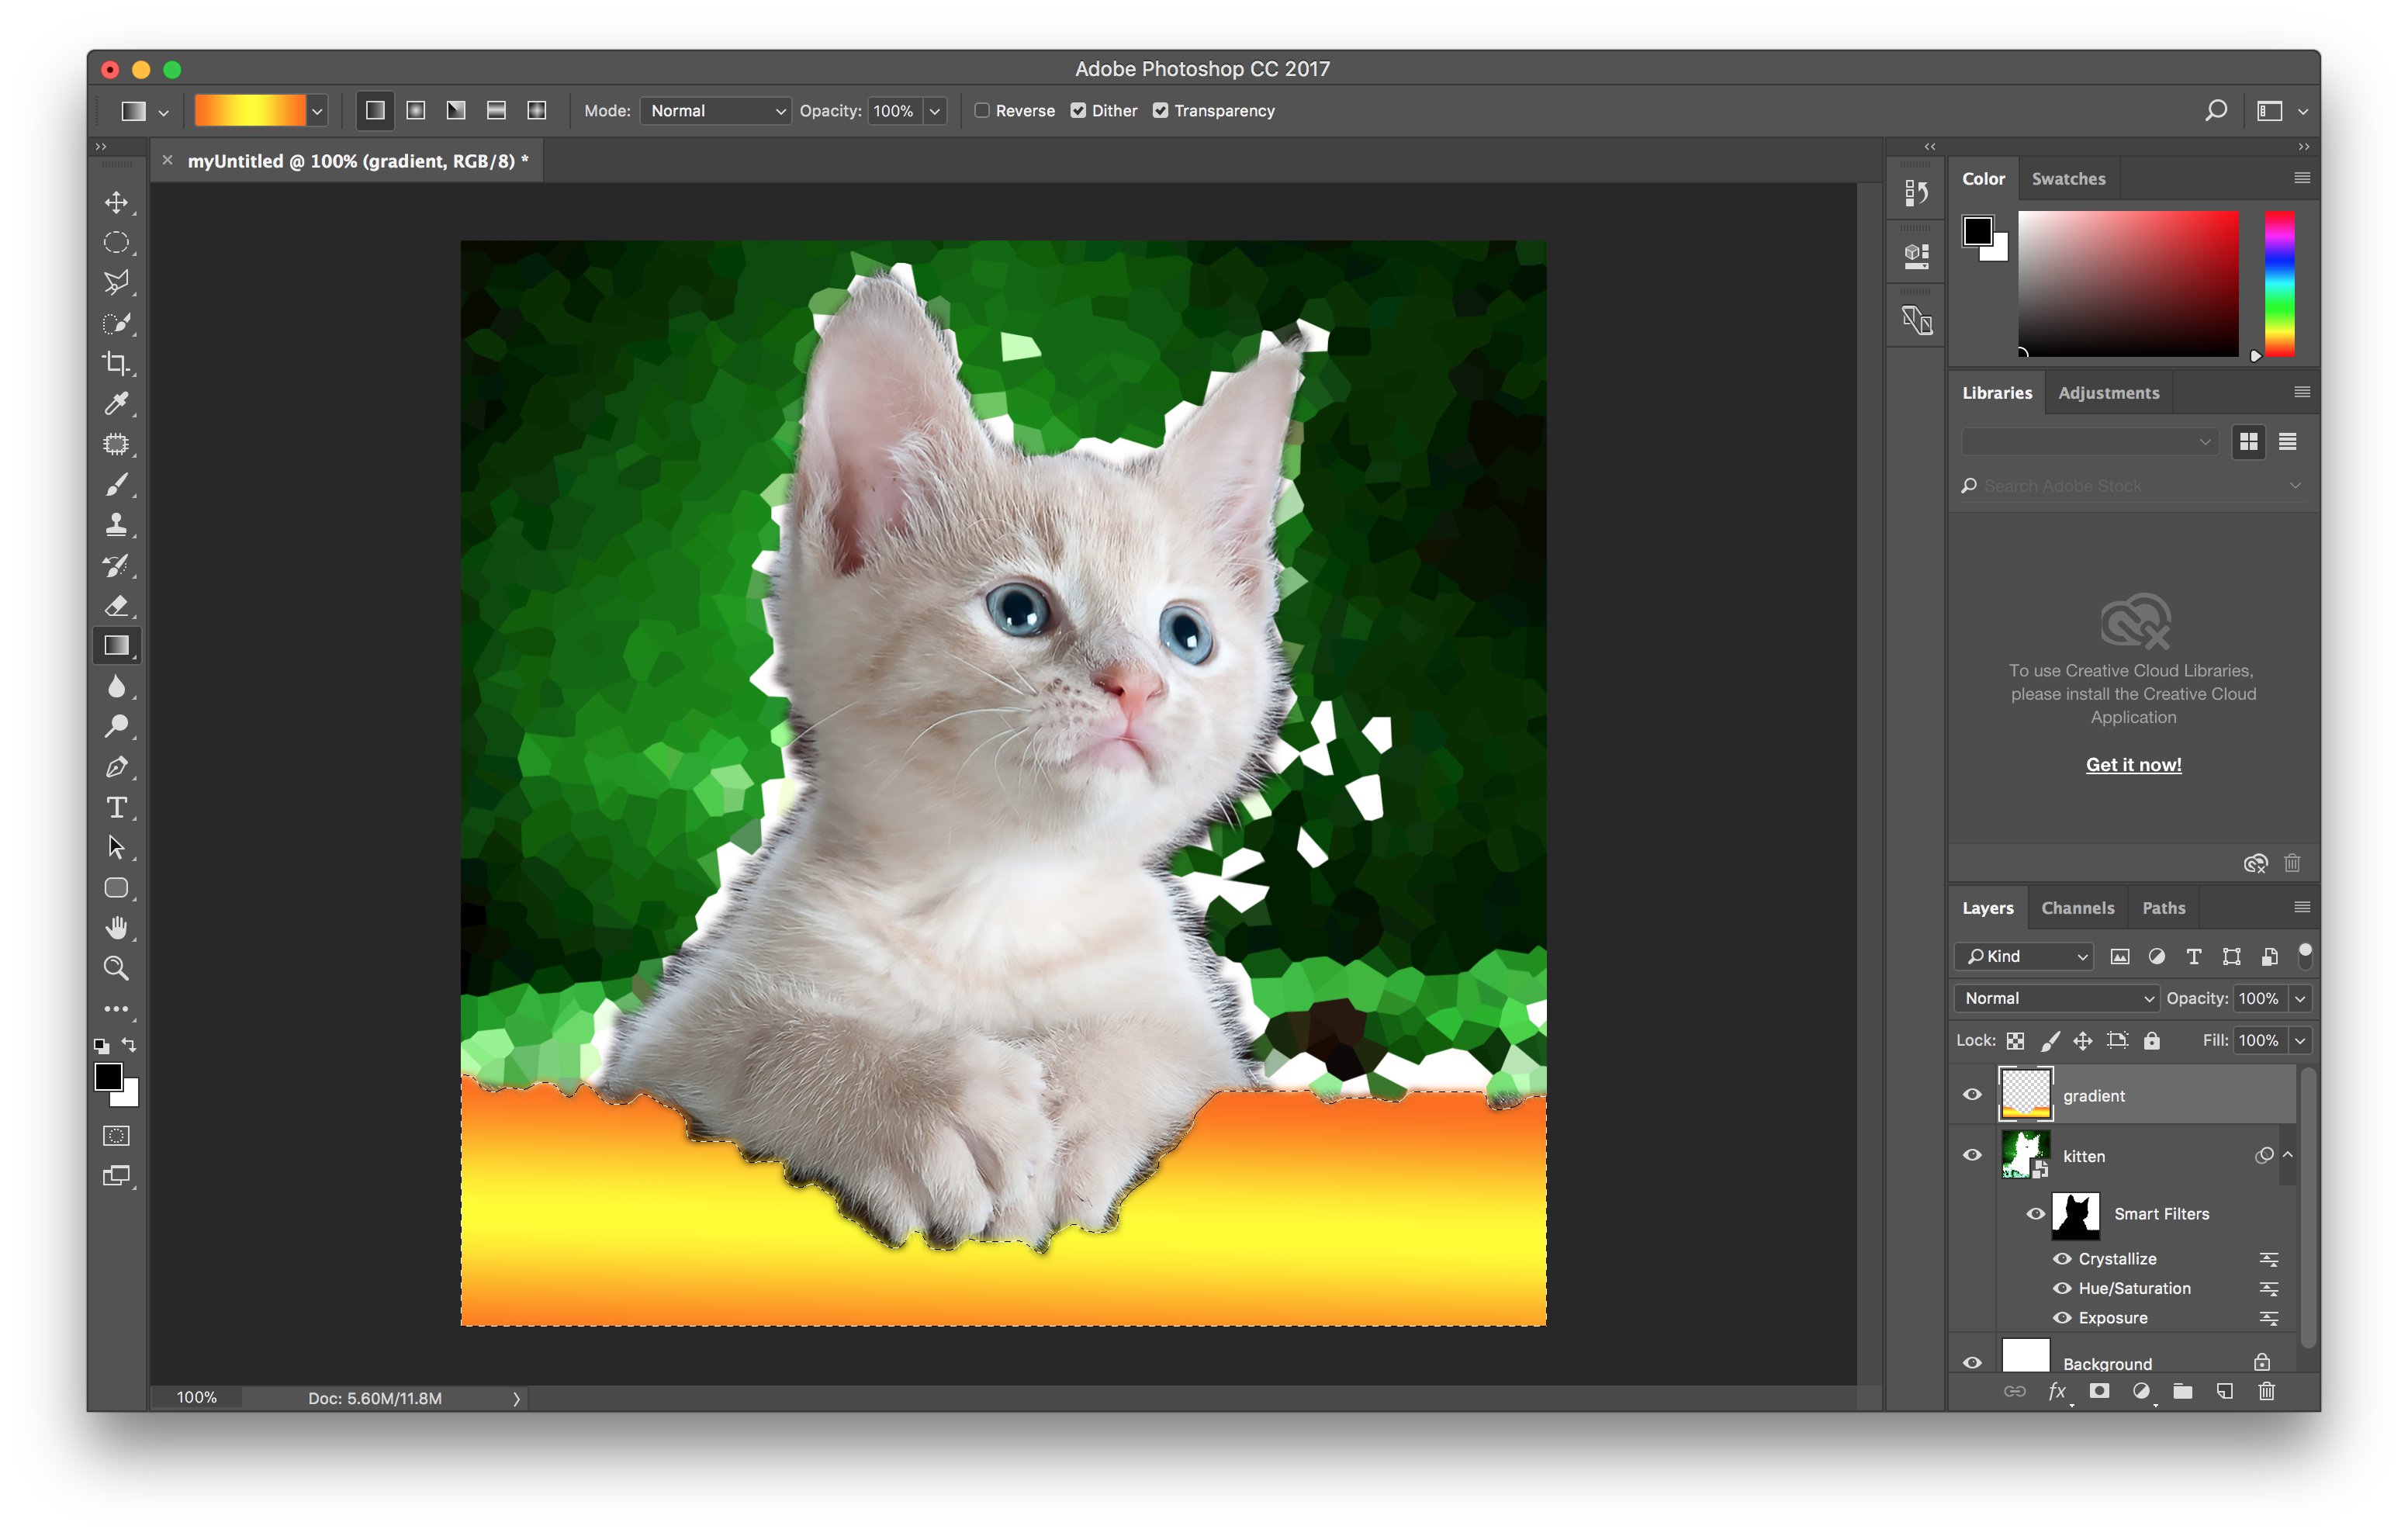
Here, I did Filter > Pixelate > Crytallize…

Pick a color

Click anywhere on the canvas, and the Eyedropper Tool will use the color as foreground color.
Color something


Gradient Tool fills either the selection or the whole selected layer with a gradient, which we can modify on the Options Panel.
Paint Bucket Tool either fills the selection with the foreground color, or fills an area of consistent color if no selection is made.
Paint something

The Brush Tool is basically our painting brush, choose a size, a hardness and even a pattern on the Options panel and start painting on the canvas. Note that we will be either painting on within a selection on canvas or on a selected layer.
Paint the magic
There are also tools that works just like Brush Tool, but instead of painting the color, they paint the adjustments.


Dodge Tool lightens the painted area and Burn Tool darkens it.


Likewise, Blur Tool blurs, Sharpen Tool sharpens, and Smudge Tool smudges.

For the Clone Stamp Tool, we first hold the Option key until the pointer turns into a target icon. While holding the Option key, we click on the canvas to pick the reference that we want to clone from. Finally, release the Option key, and now, we can paint from the selected reference to anywhere we want.
Oops
If you are as clumsy as I am, you may be making mistakes. If a mistake just happens, we can use either Edit > Undo or Edit > Step Backward. Undo only goes backward by one step, and Step Backward can be used to keep going backwards in history.

If it’s just a brush stroke that we want to erase, we are lucky enough to have the Eraser Tool. Just like Brush Tool, we can also change the size and pattern of the eraser on Options panel.

Keep it in mind that everything on a rasterized layer can be erased, be it brush stroke or not. However, if we erase or adjust part of our image by accident, we can use the History Brush Tool to paint the image back to its original stage.
Zooms

While we are working, we may want to zoom in and zoom out the canvas. That is done with the Zoom Tool.
If the tool is set to zoom in on the Options panel, pressing Opt key will temporarily switch it to zoom out and vice versa.

When the canvas is really zoomed in, we can use the Hand Tool (or press the space bar) to navigate around the canvas.
Add texts

The Type tools allow us to add texts to wherever we click on the canvas. Each text is stored on a separate layer, and remember to rasterize it when you find certain operations can’t be done on the layer.
Add shapes


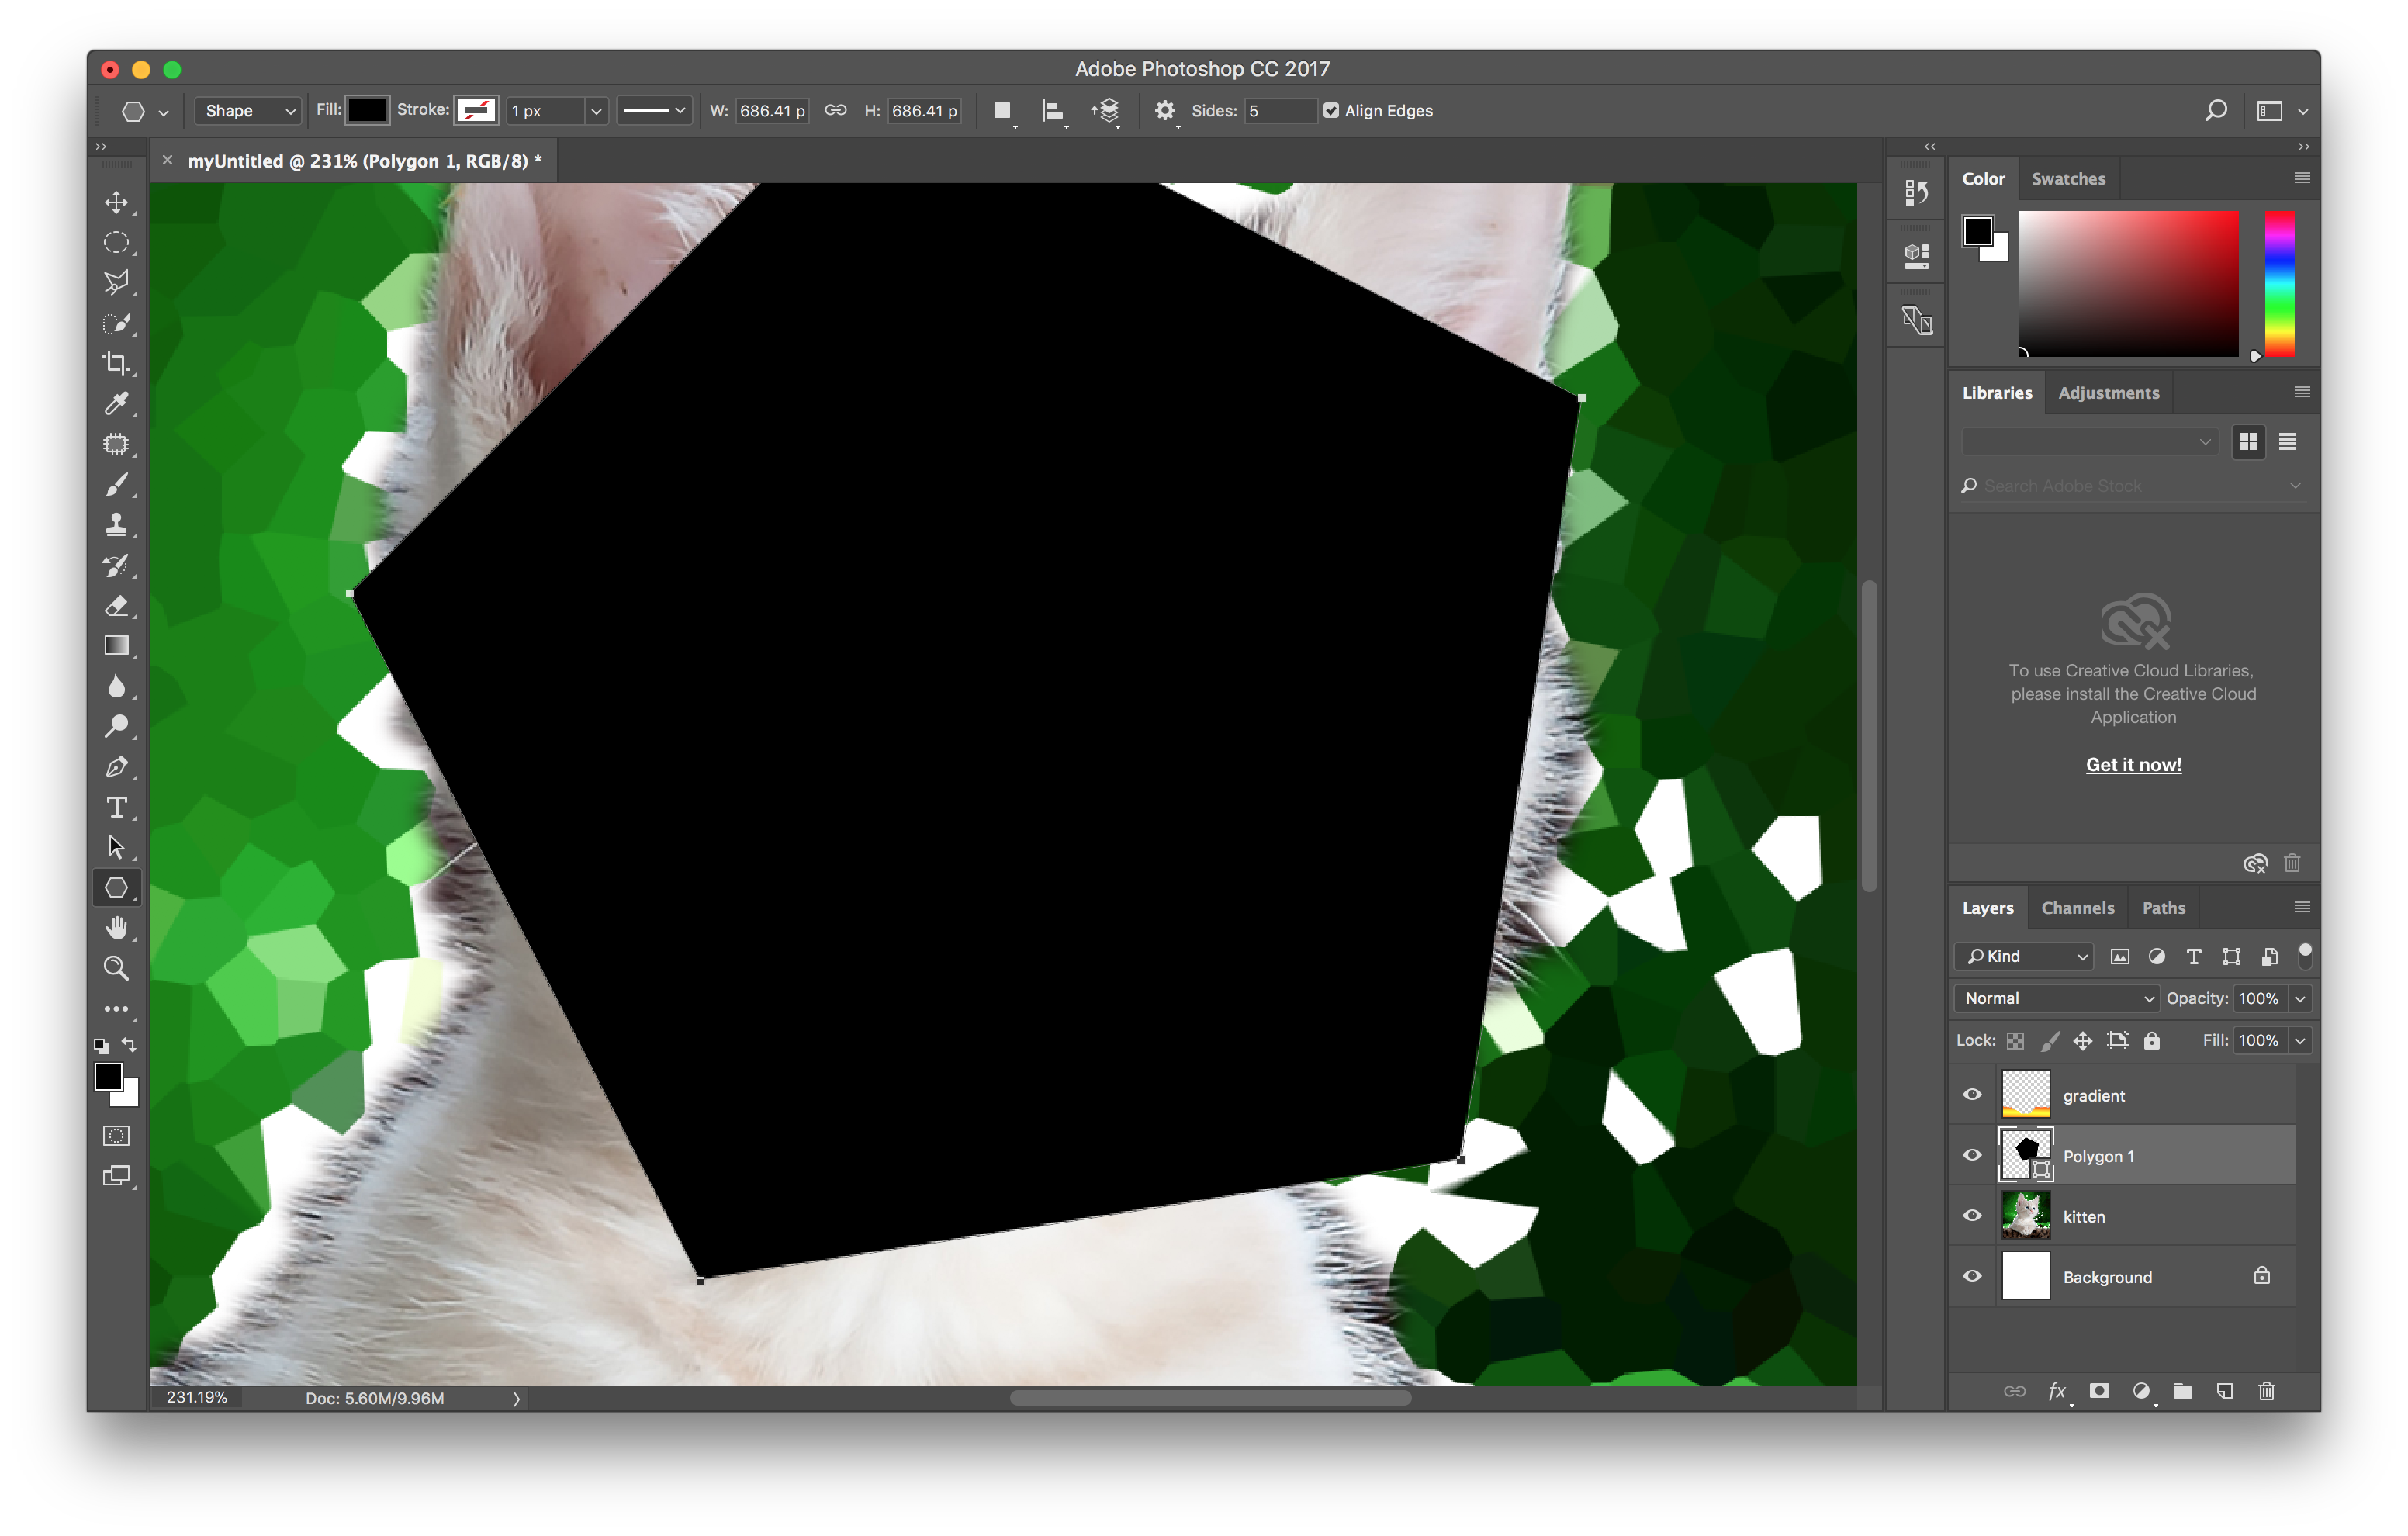
Choose one of the shape tools, then click and drag to draw the shapes on the canvas. We can change both the Fill and Stroke color in Options panel.
I added a black pentagon.
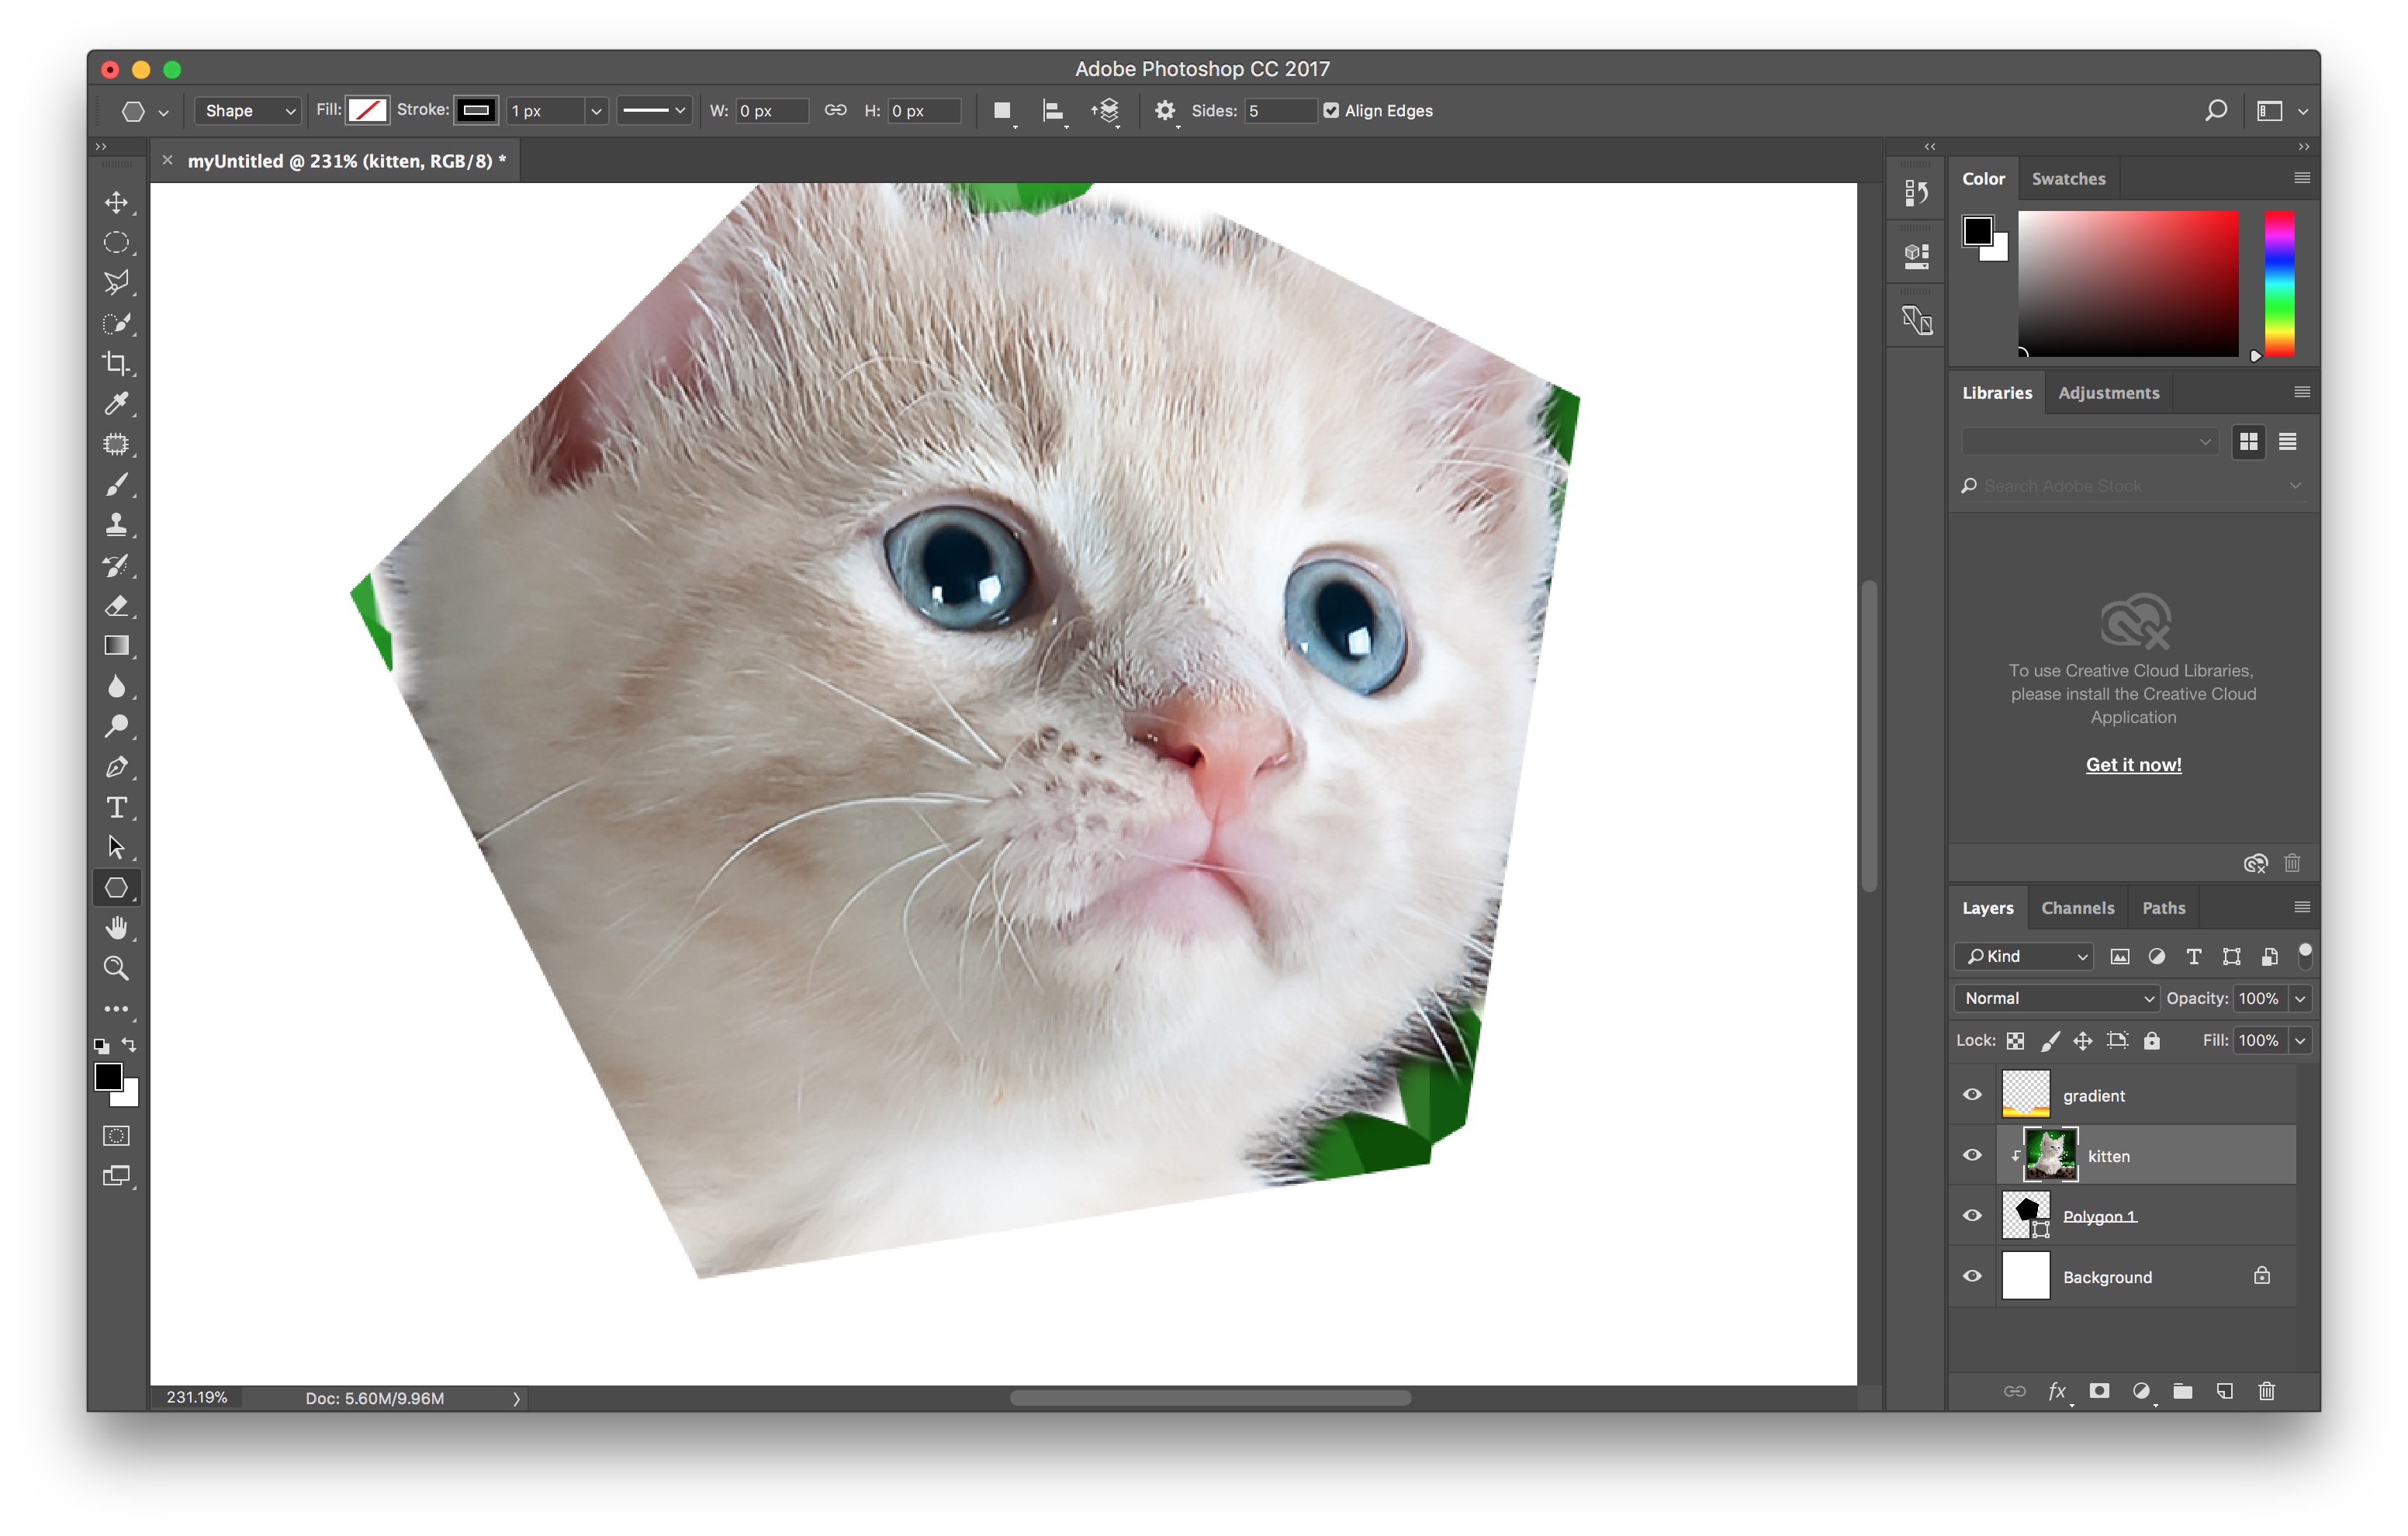
Apply a mask
We’ve added texts and shapes, which we can actually use to create masks.
- Put the text/shape layer right below the layer that we want to apply a mask to.
- Right click on the name of the layer we want to apply the mask to, and choose Create Clipping Mask.
- Note that all area that is not colored will be hidden.
Step 5: Save our documents
To save the document, go to File > Save. At the bottom of the Save window, we can choose the format to save. Below is a list of formats that we need to know the differences of.
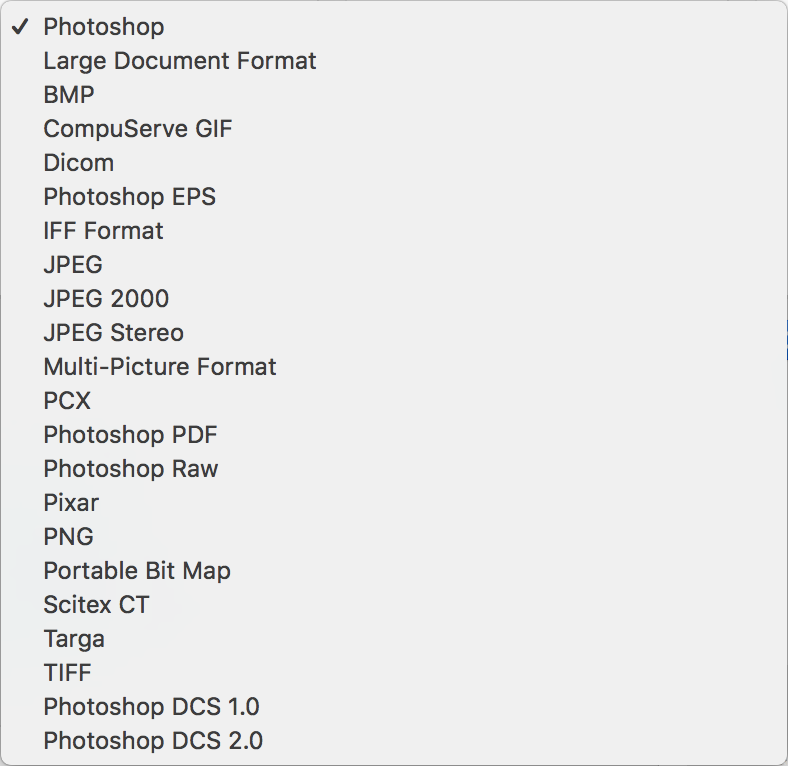
Typically, as we work on the document, we want to choose Photoshop, which preserves all the editing capabilities. But when we are done, we want to save it as one of the following formats.
-
PNG: We use this format if we want to perserve the transparency and if we don’t want to lose any details in the image. It may be an illustration, an icon or a character with transparent background.
-
JPEG: Whenever transparency isn’t a big problem, we use this format due to its high compression a.k.a. small file size. Most photographs are distributed in this format.
-
GIF: This format supports animation as well as transparency. It is not suitable for color photographs due to its limited color space.
After choosing the format and the location, click Save, some additional options will be prompted to us so that we can change the quality, compression, etc.
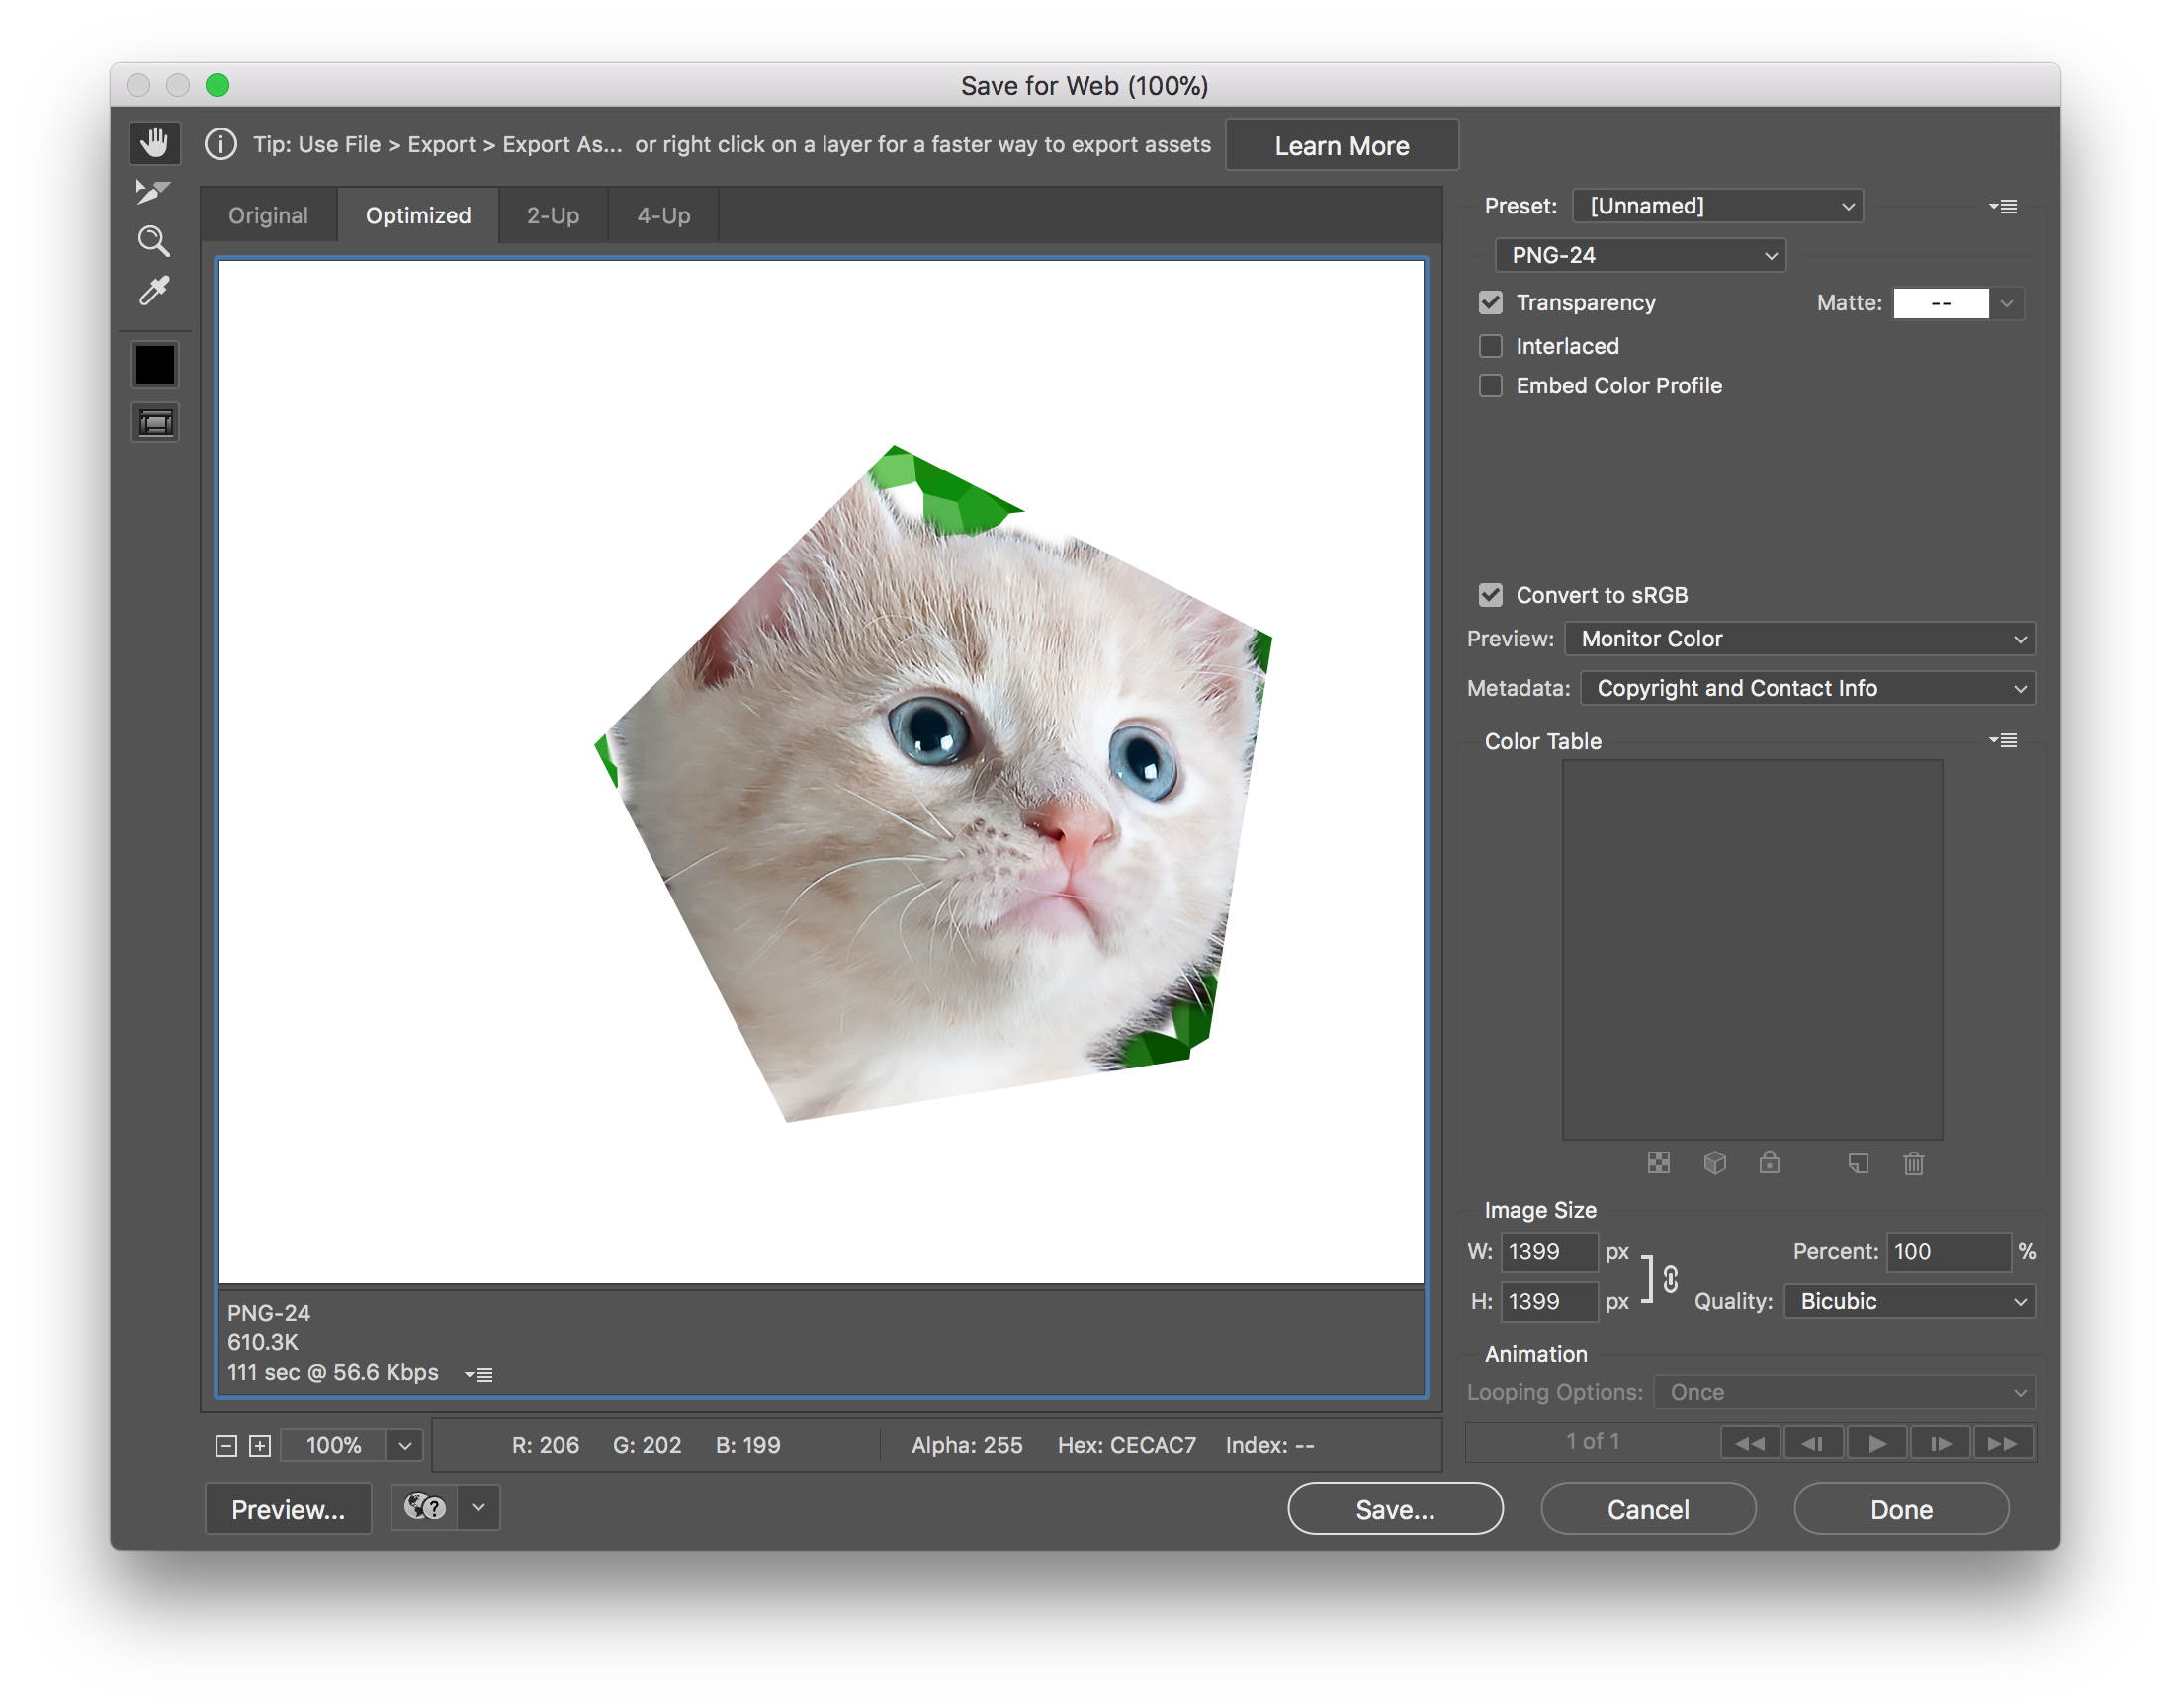
Alternatively, we can go to File > Export > Save for Web (Legacy)…
Choose the format at the top right corner and we can change the size at the bottom right corner. In general, it’s a good idea to choose a size slightly larger than you need, but also don’t make it too large so that it will take forever to load.
Need more help?
If there’s a specific option or tool we cannot find, we can go to Help in the menu, and search over there. Or we can search on Adobe Photoshop Learn & Support, which is Adobe’s official support site.