Wooden Boxes #itp #introduction-to-fabrication
Introduction to Fabrication is a 7-week course that I am taking at ITP. While I have already had some experience with fabrication, I think, as I embark on my graduate journey at ITP, this will be a good introduction to the specific tools and machines that are available at the prototyping shop here. I also see this as a great opportunity to experiment, fail, and experiment again, a lot!
The first assignment for this course is to make a small box, which was demonstrated in class. As an initial test, I followed all the steps that I could remember and made a simple box from a piece of abandoned wood scrap.
 |
 |
It was not without mishaps:
- When I was using the miter saw to cut this piece from a longer piece of wood, the whole piece got caught by the blade. I suspect it was because I was not cutting at the miter saw’s full spinning speed.

- A thin layer of wood fell into the gap of the machine when I was using the band saw, which was later found broken when I retrieved it from the machine.
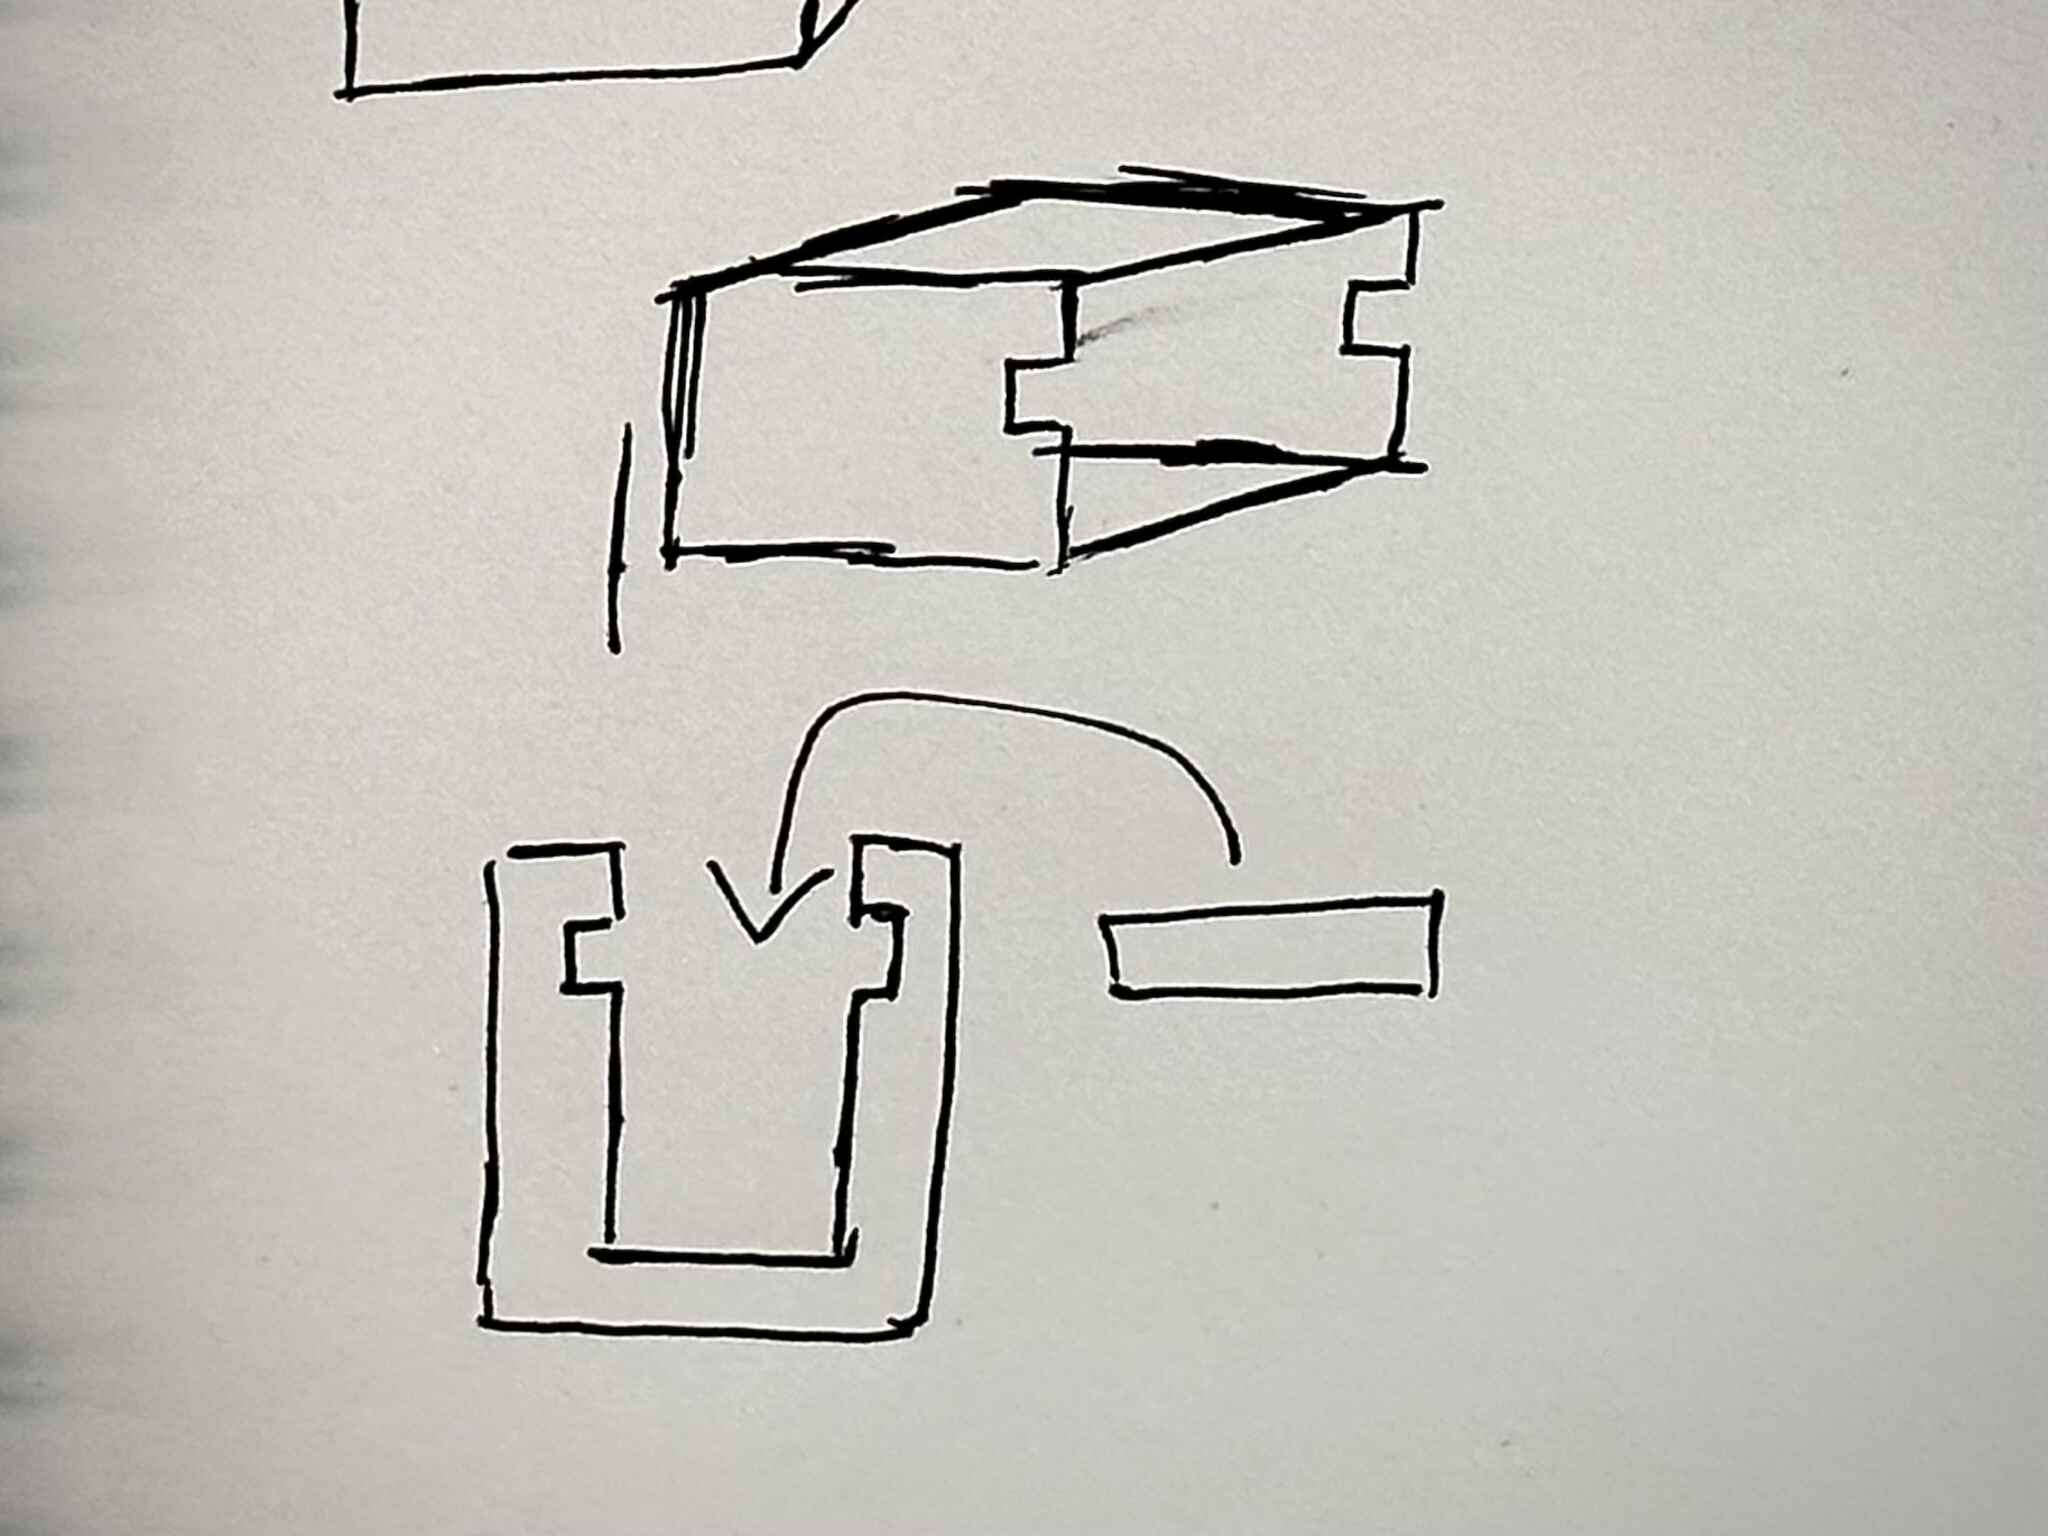
After this, I wanted to give myself a challenge and make a box without using any screws. I quickly sketched out a box with an insertable lid and I was too impatient to spend more time on the design. I went straight to the shop and started working with a finer piece of scrap wood.
-
This time, I started by cutting off irregular sides of the scrap wood on the band saw, turning it into a long cube. I cut off a small layer as its lid. (This time, the layer was slighly thicker, and I was being more careful, so nothing would fall into the gap again).
-
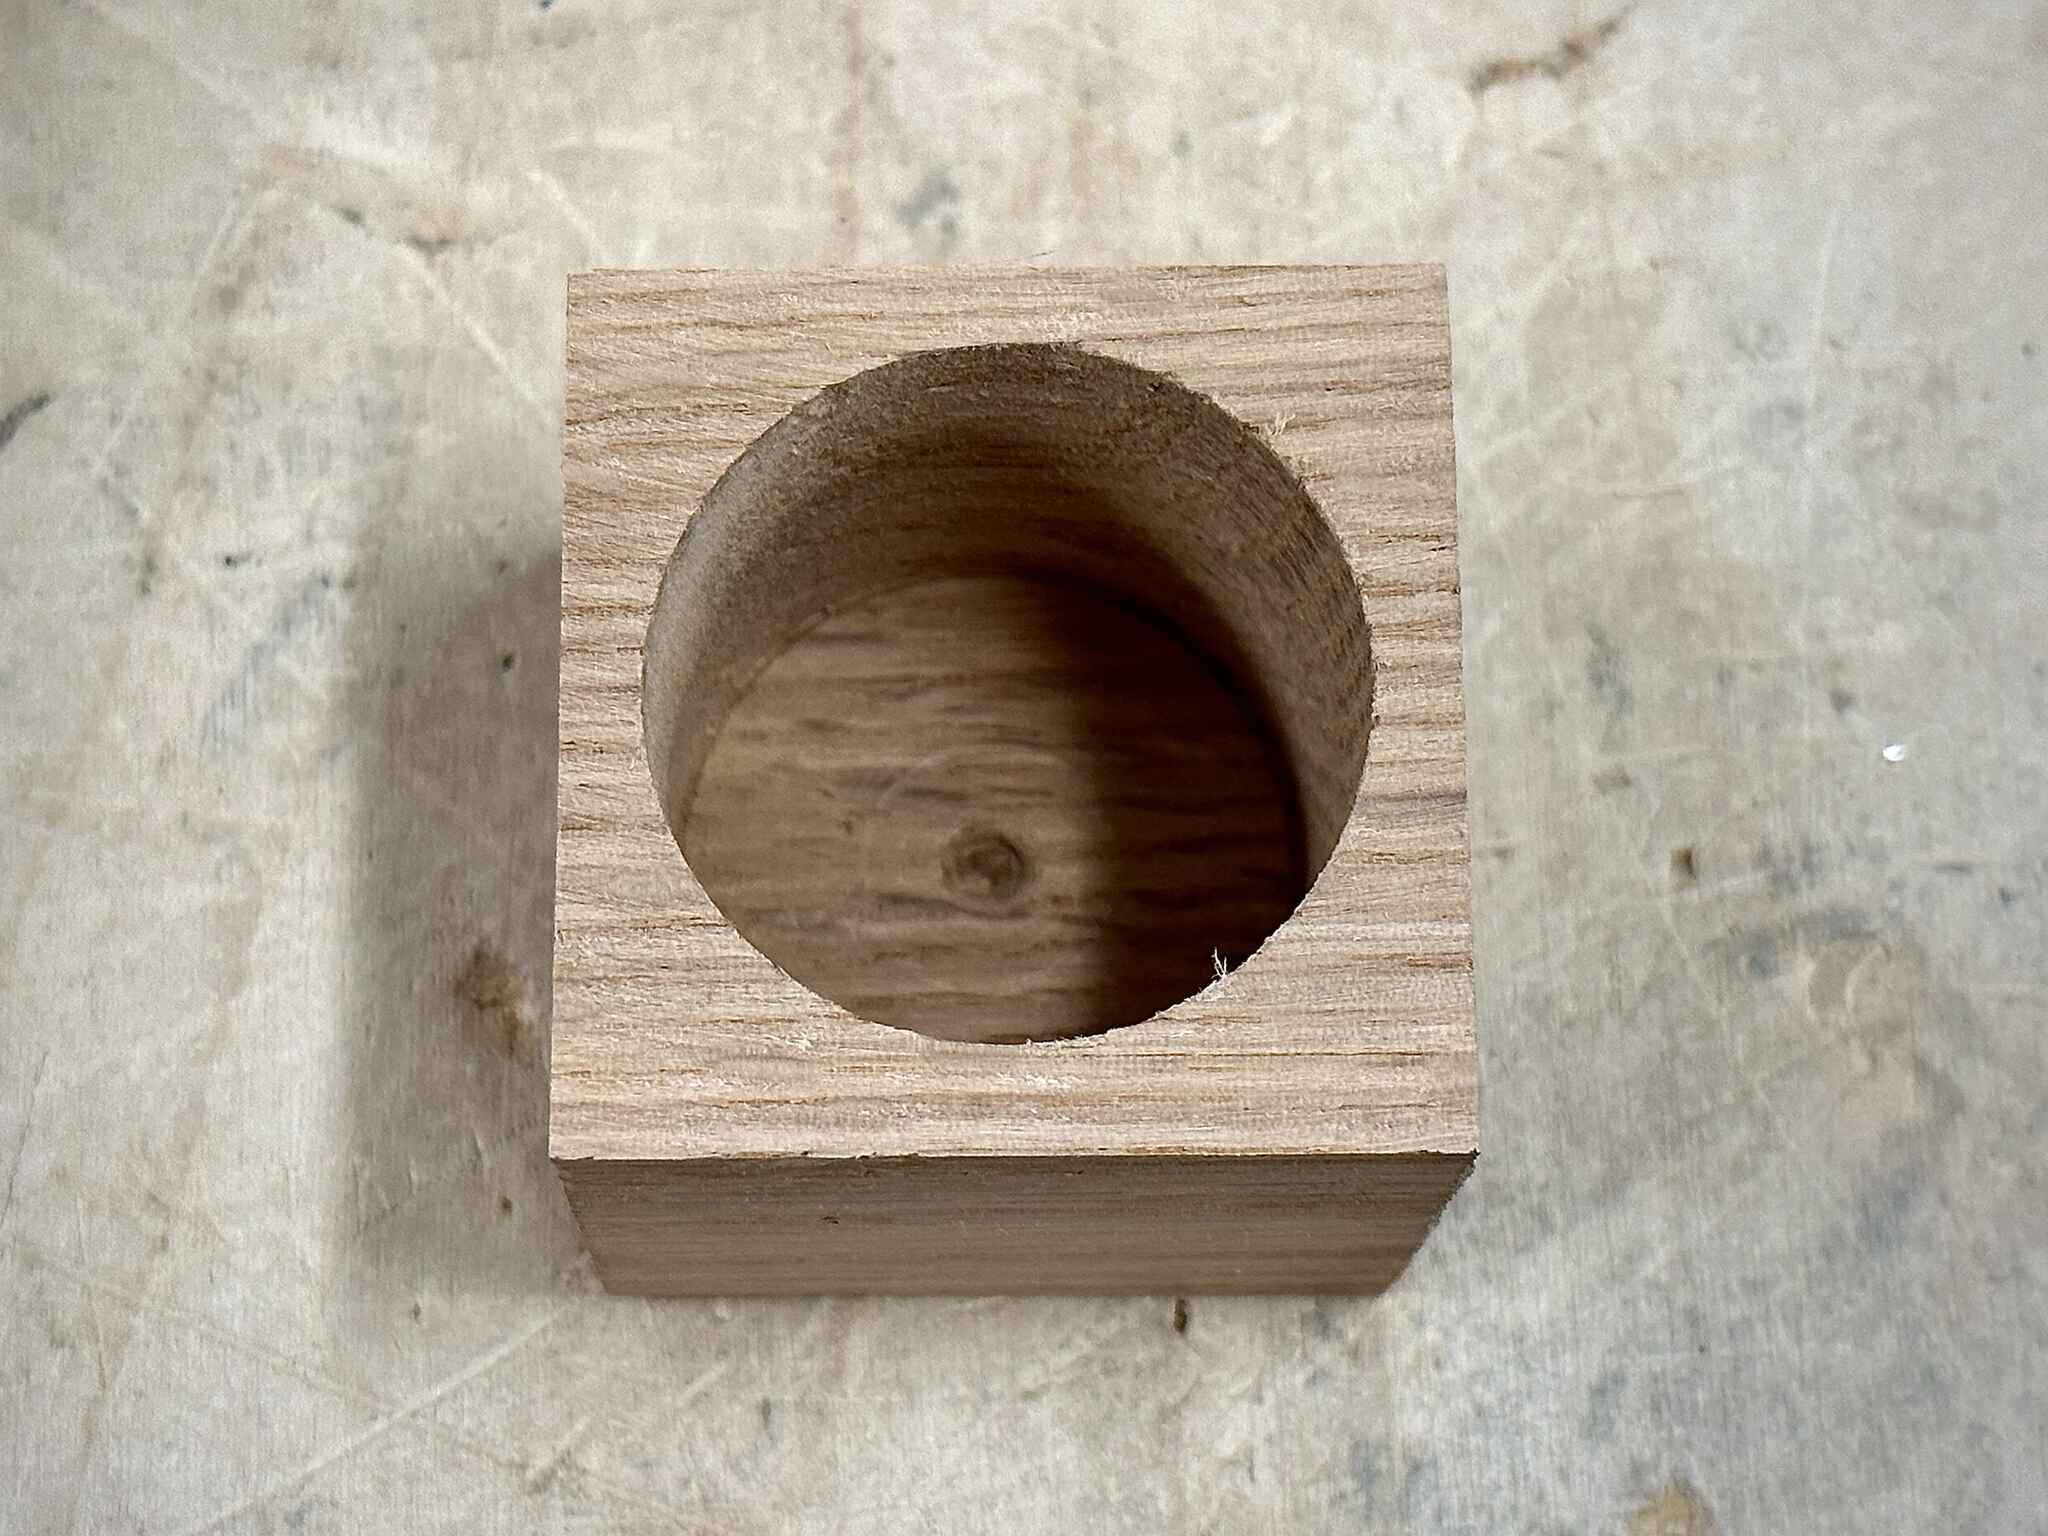
On the drill press, I carved a deep cylindrical hole from the cube as its interior. Afterwards, I put the box on one side, and started carving multiple small holes to form an opening slot for the lid.
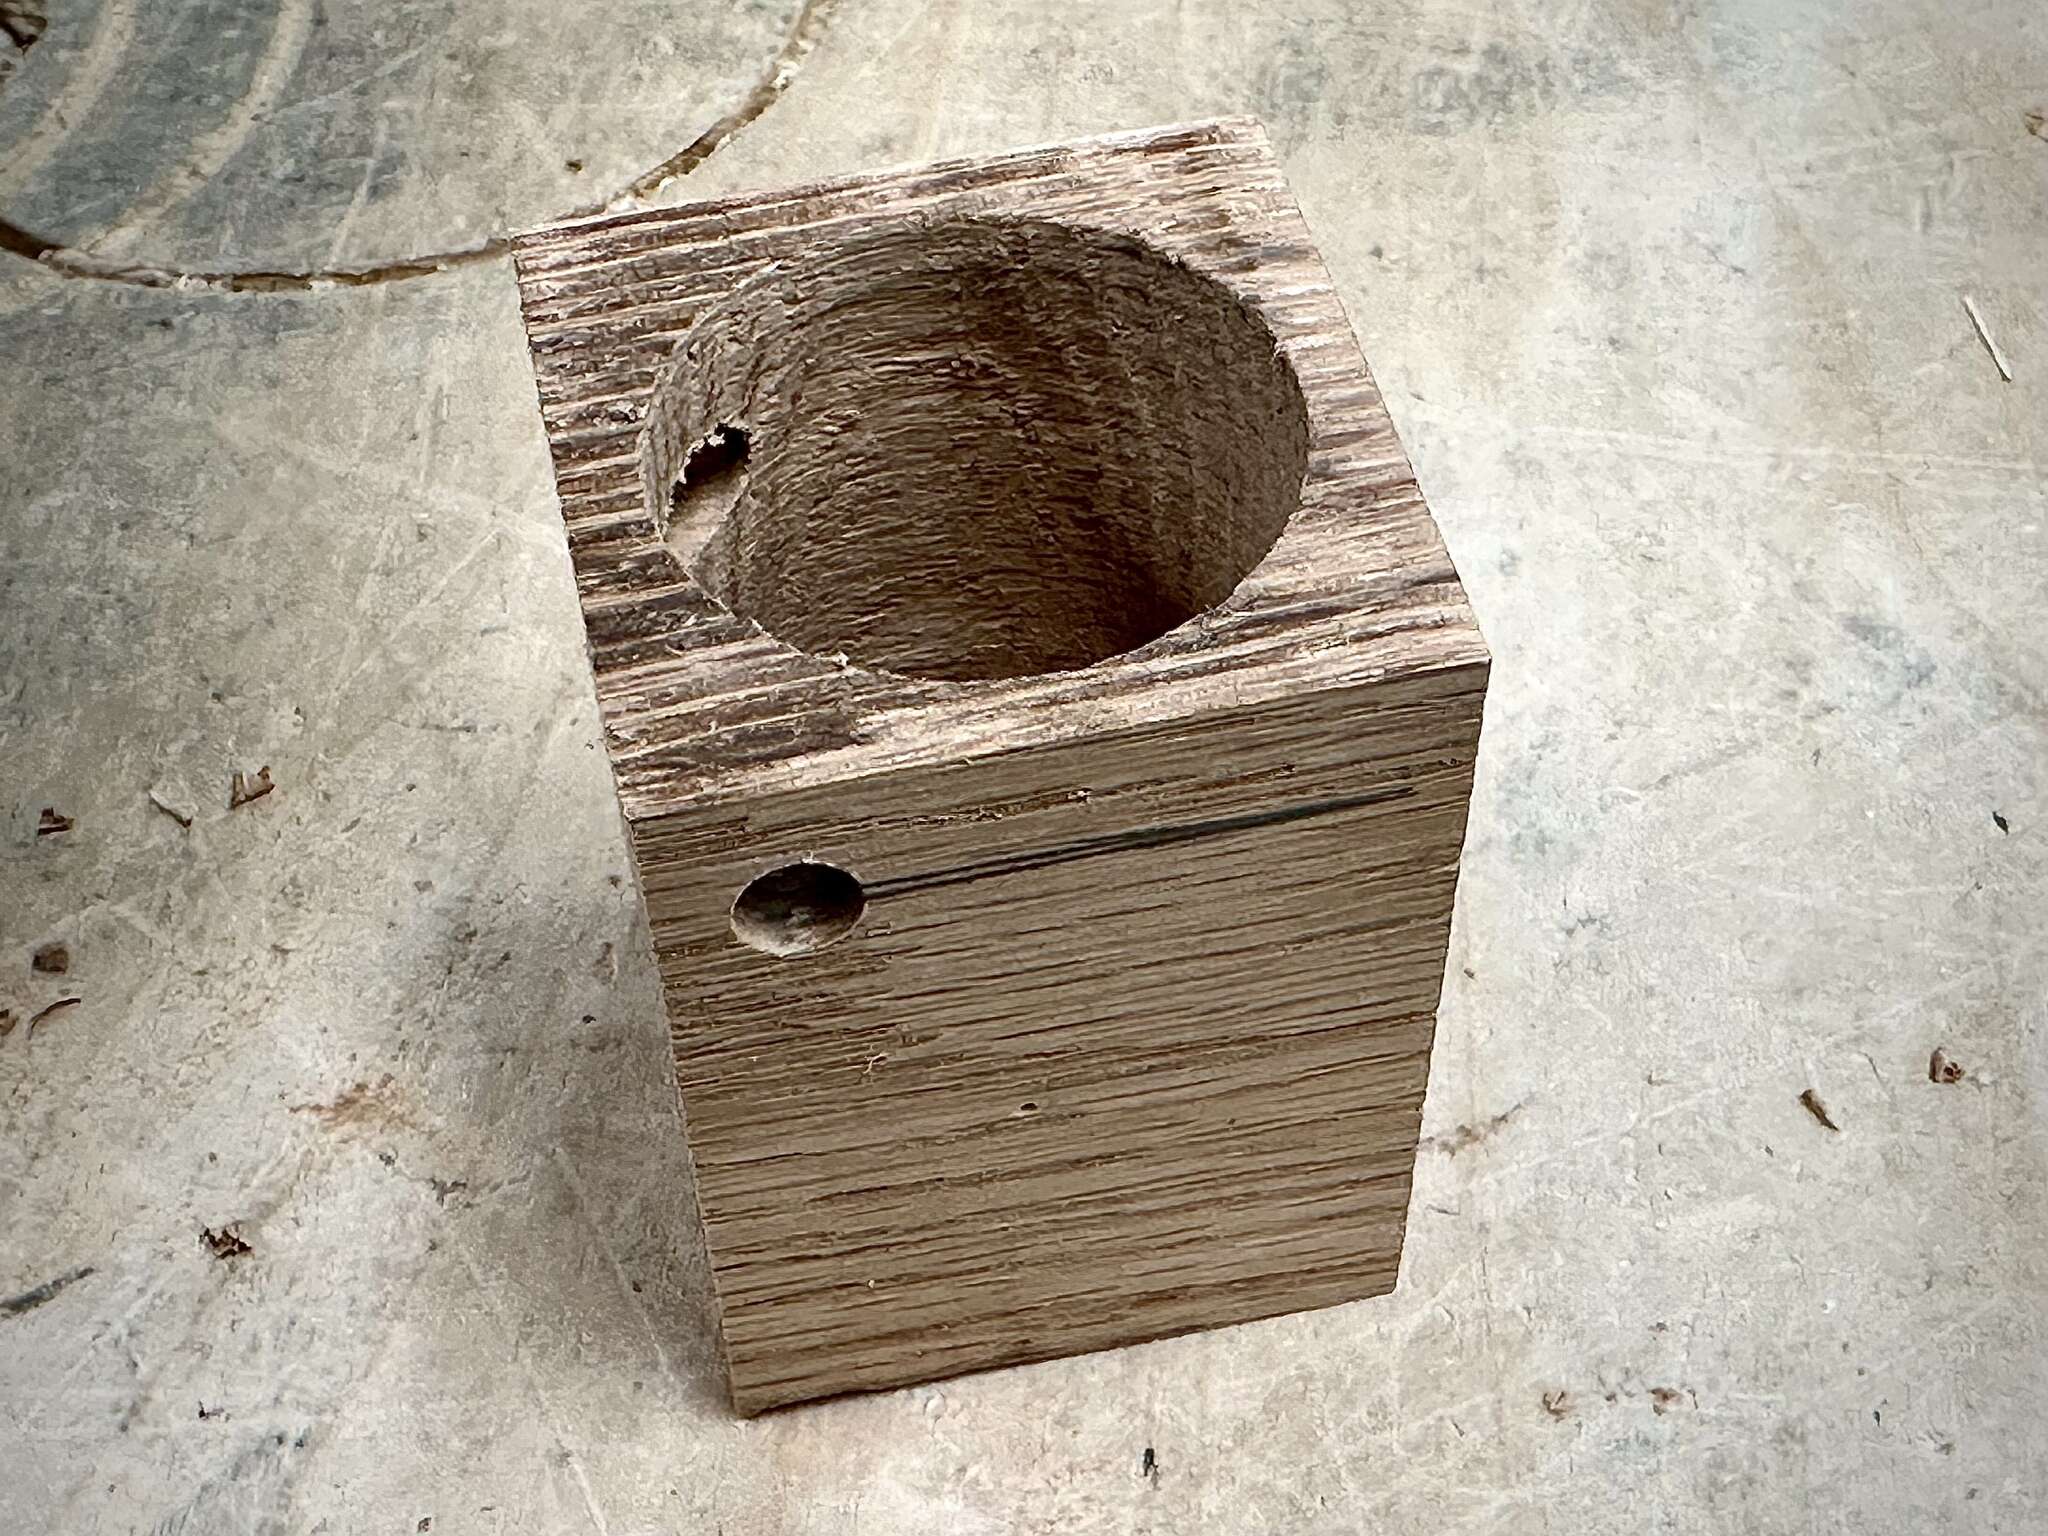
- The small holes were very much uneven. As I was trying to fix it with a chisel, the top layer cracked. Lucky enough, it is a fairly tall box, I was able to cut off that layer, fail again, and cut off another layer :)
 |
 |
-
My helpful classmate, Kai, who was staffing the prototyping shop at the time, pointed out that there was a depth gauge on the drill press. That gave me hope and helped me drill much more precise holes.
-
Kai also suggested using a dremel to clean up the inside surfaces of the opening, which worked much better than any other tools that I could find.
-
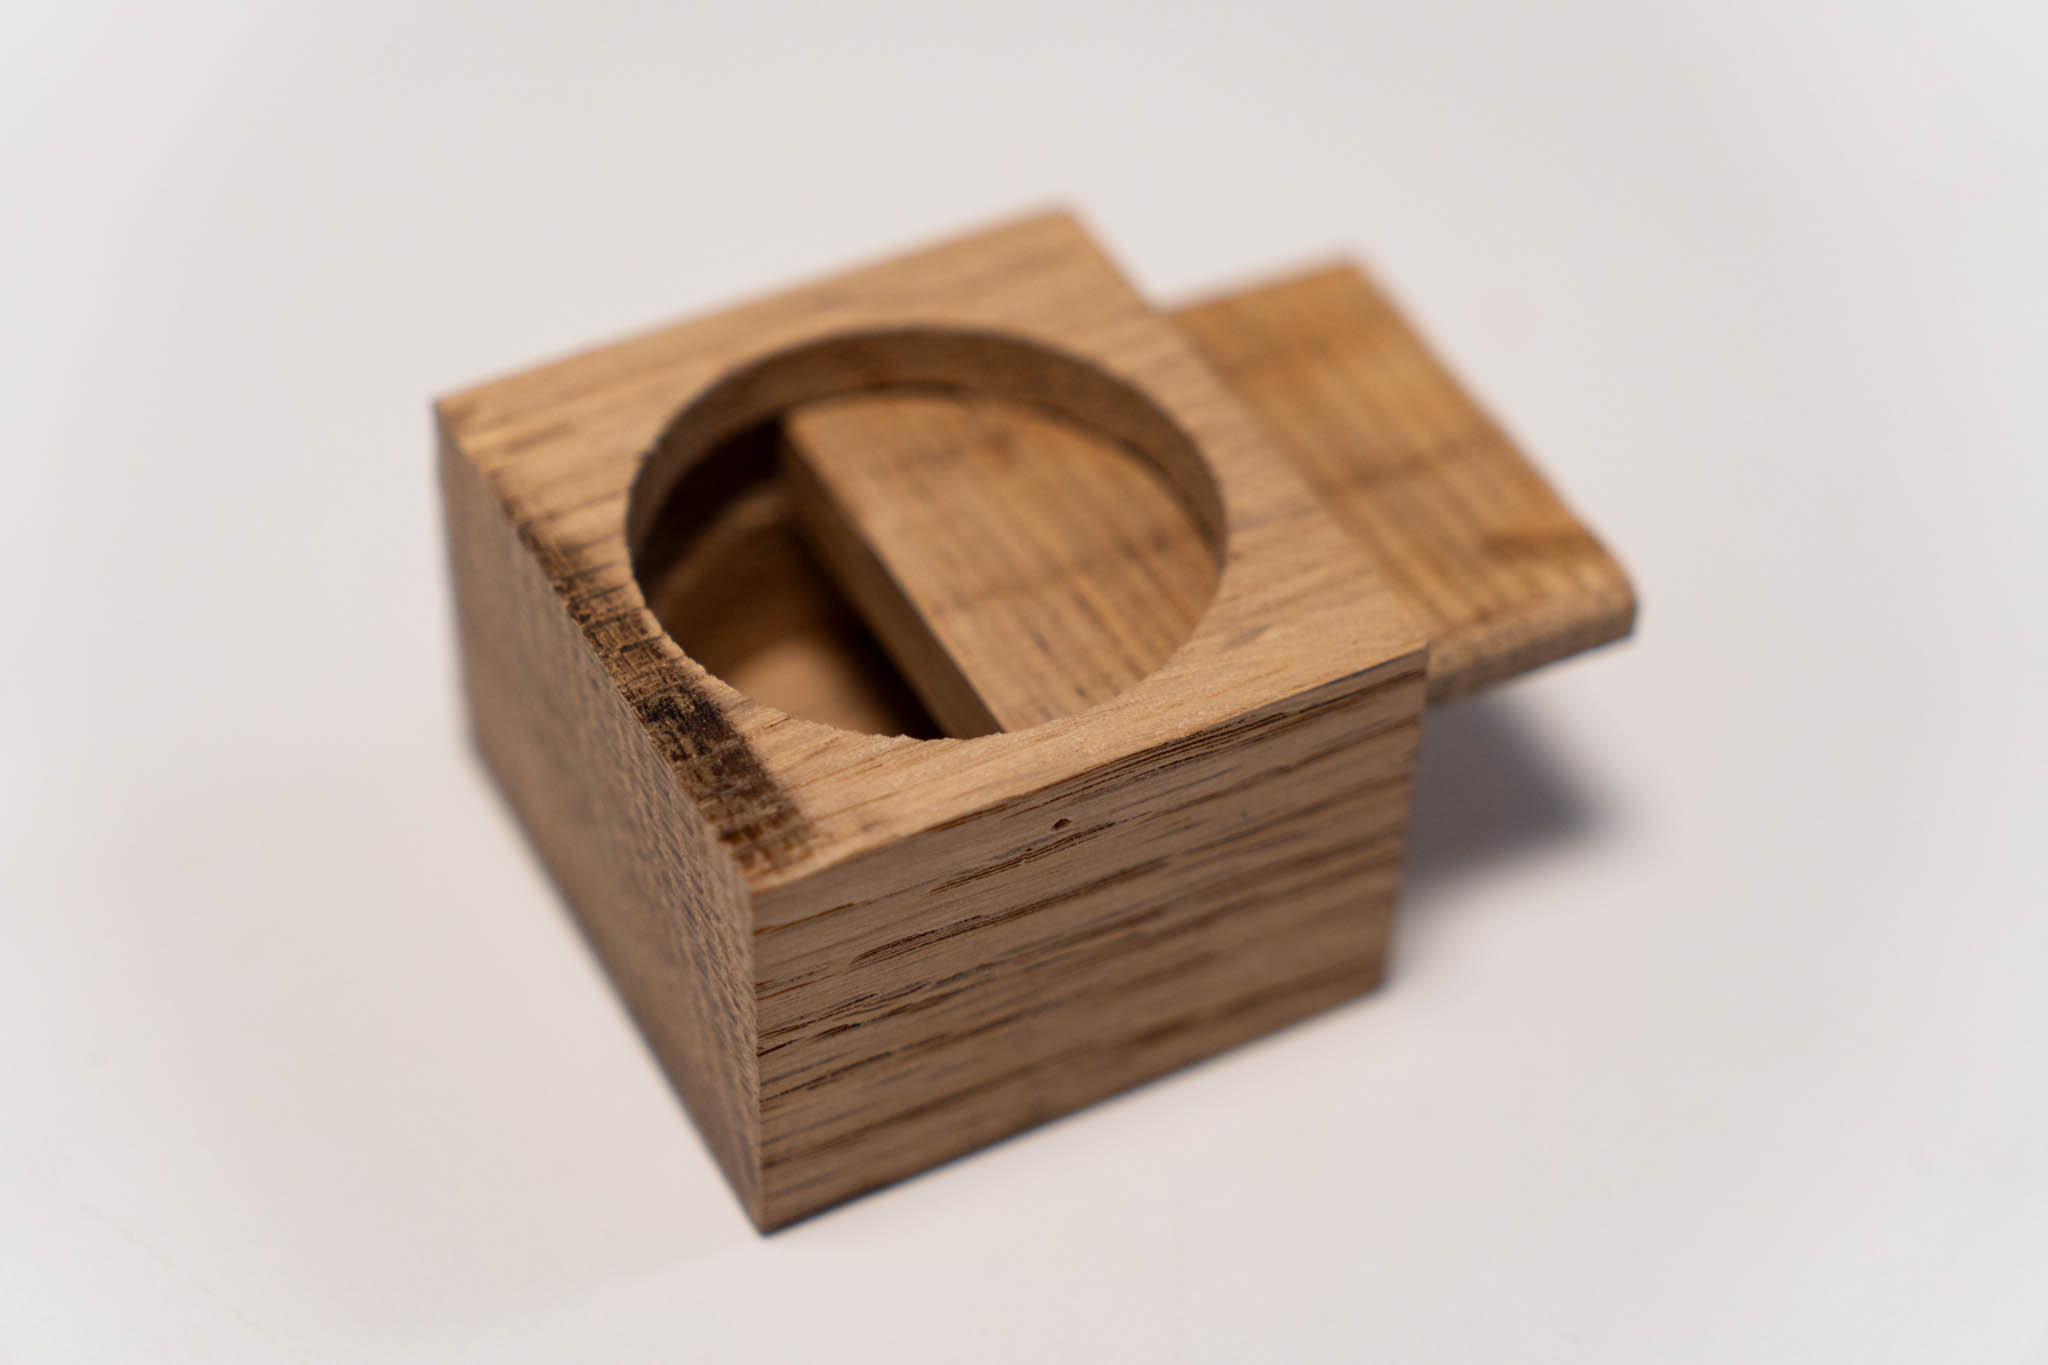
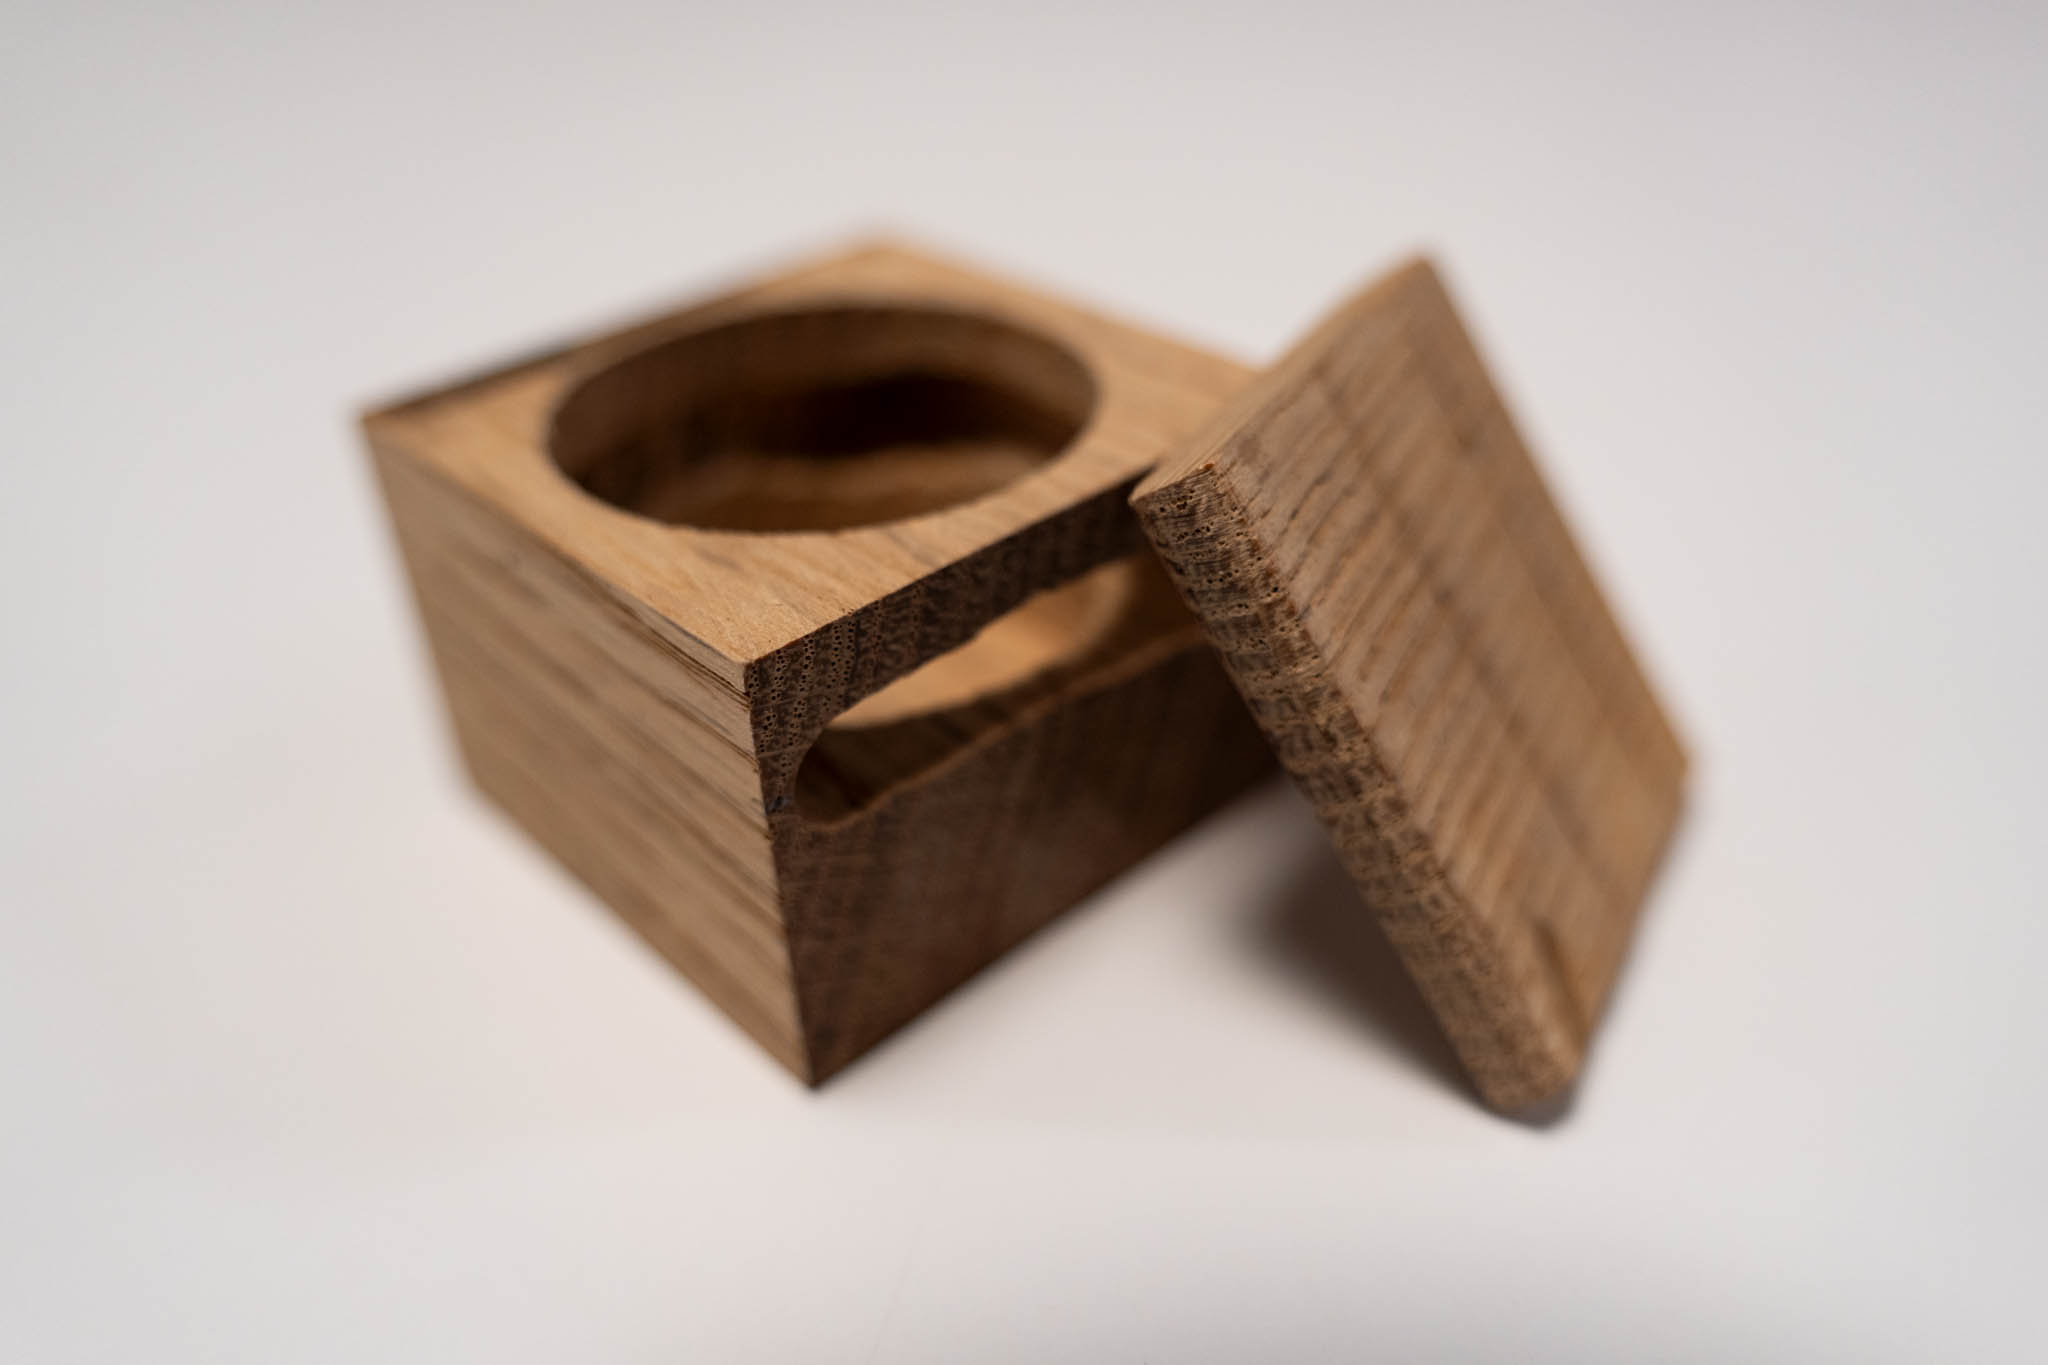
Finally, I used the disk sander to smooth out all exterior surfaces, as well as trimming the lid into the size that can be inserted into the opening slot on the box.
Here’s the final result:

 |
 |
 |
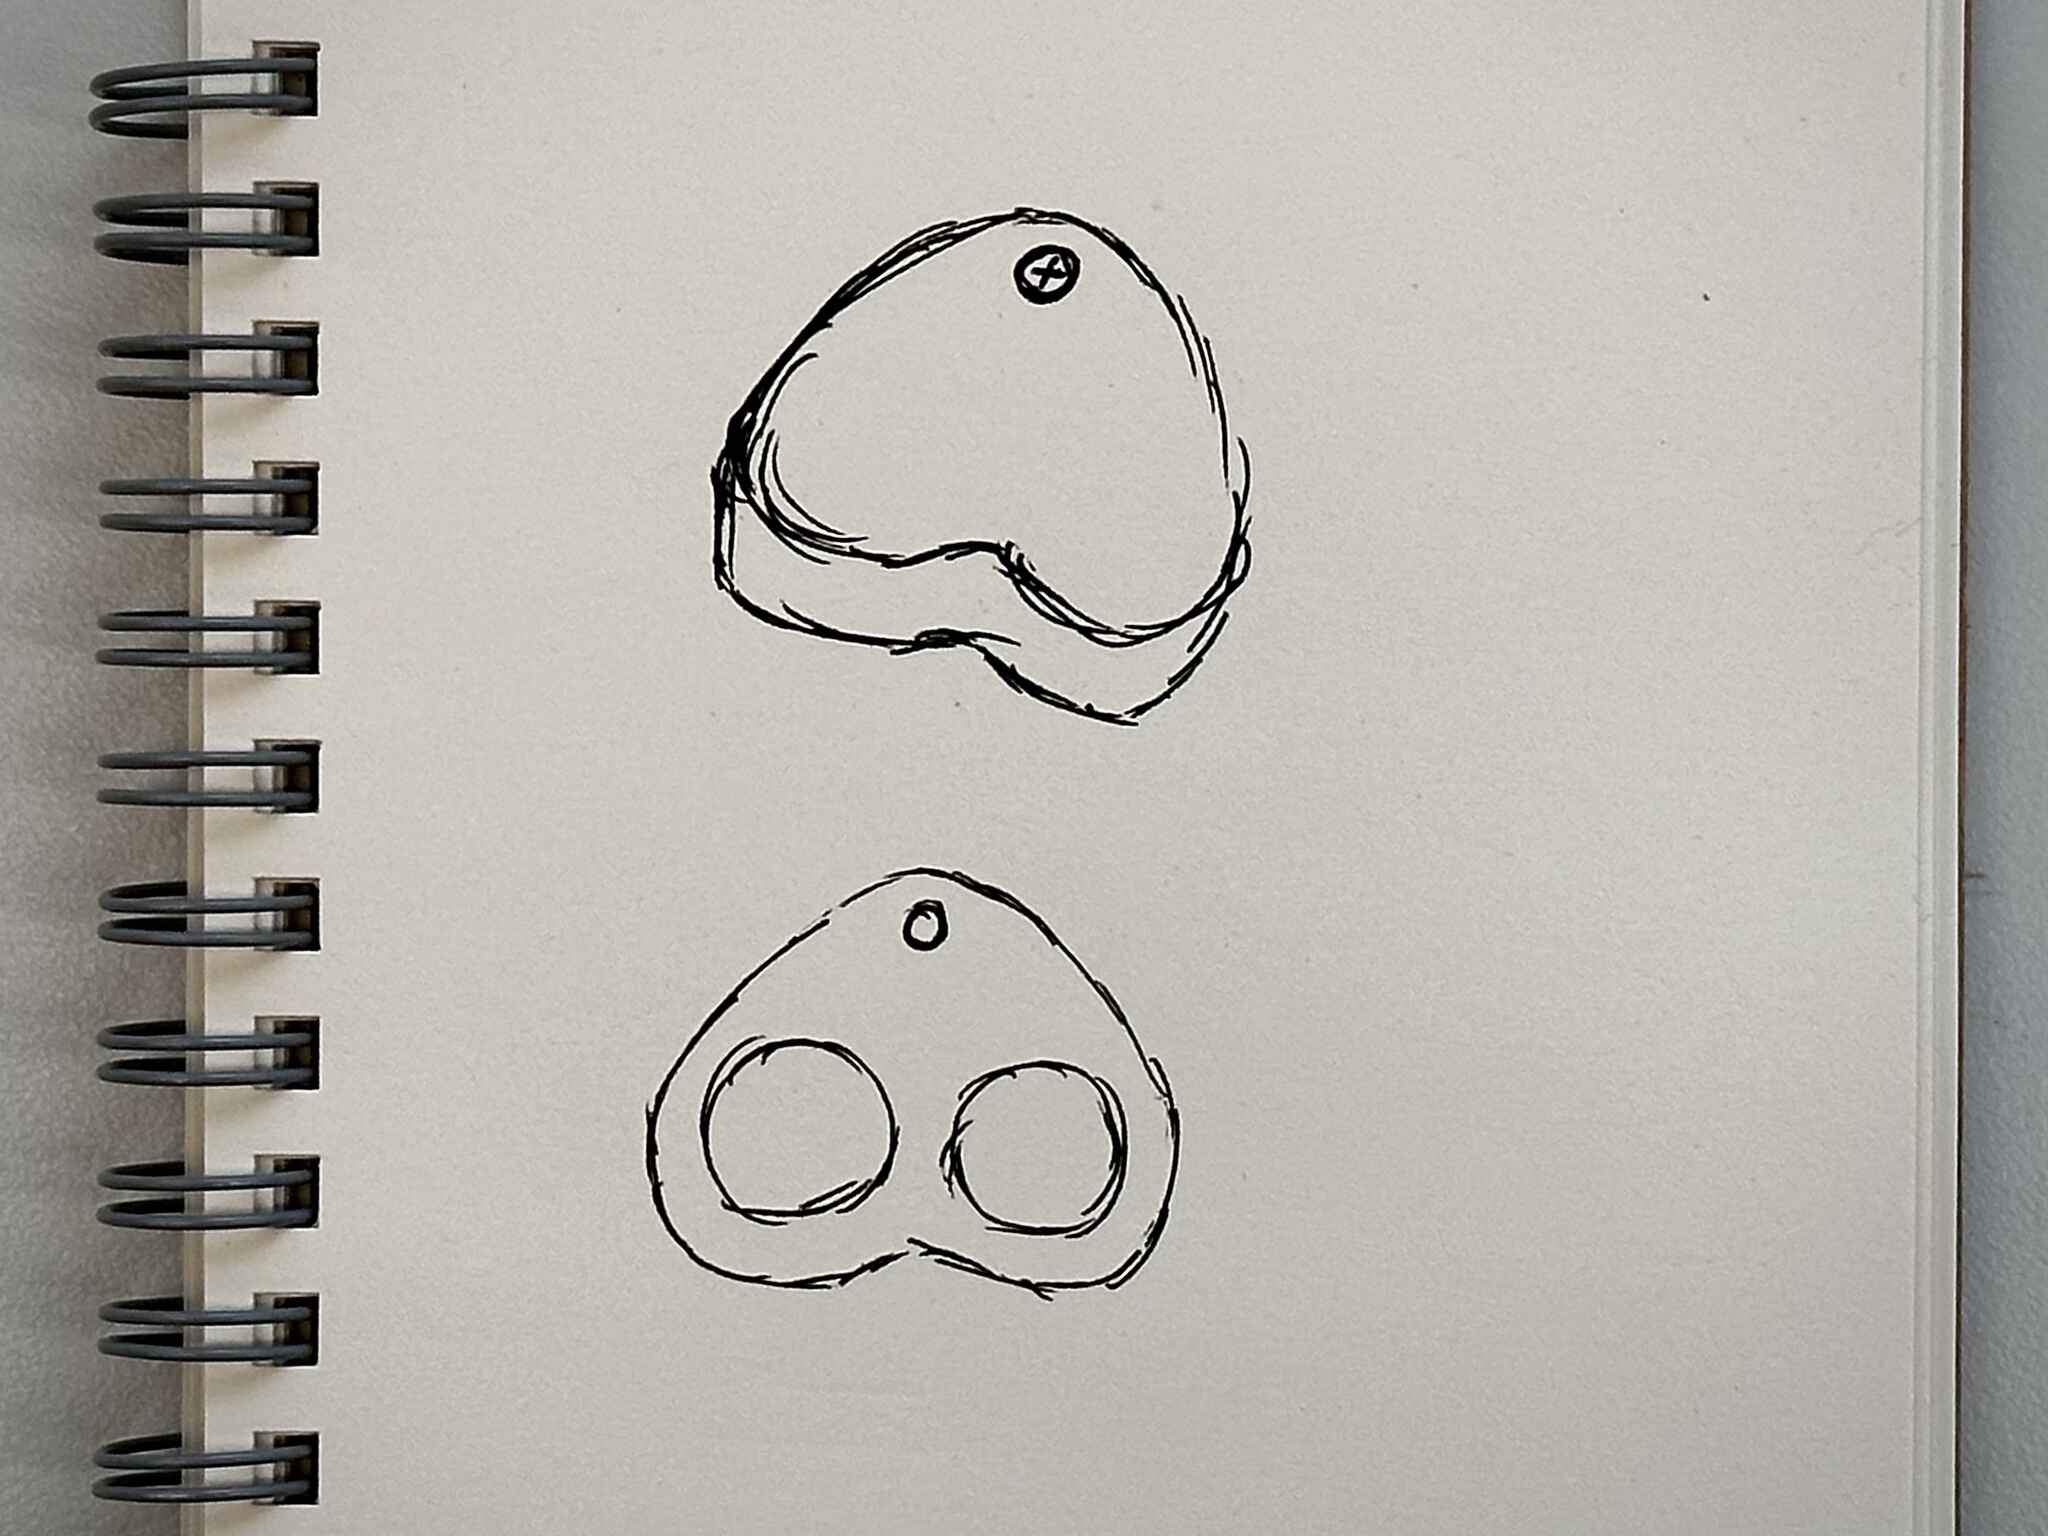
I still did not think I have failed enough for this assignment. I went back to the prototyping shop the next day. This time, as my partner was celebrating her birthday on the other side of the planet, I decided to make a heart-shaped box as a token to celebrate her birthday. Also, I was planning to integrate a nut and a bolt instead of a screw. Again, I was quite impatient with sketching and cannot wait to start making. (I am sure I will learn a lesson one day and spend more time with planning, but not today.)
-
I found another scrap piece and cut a layer off for its lid before shaping the wood. As Phil Caridi, the instructor of this class, mentioned in class, it could be a lot trickier to do this after the wood piece is cut into any irregular shapes.
-
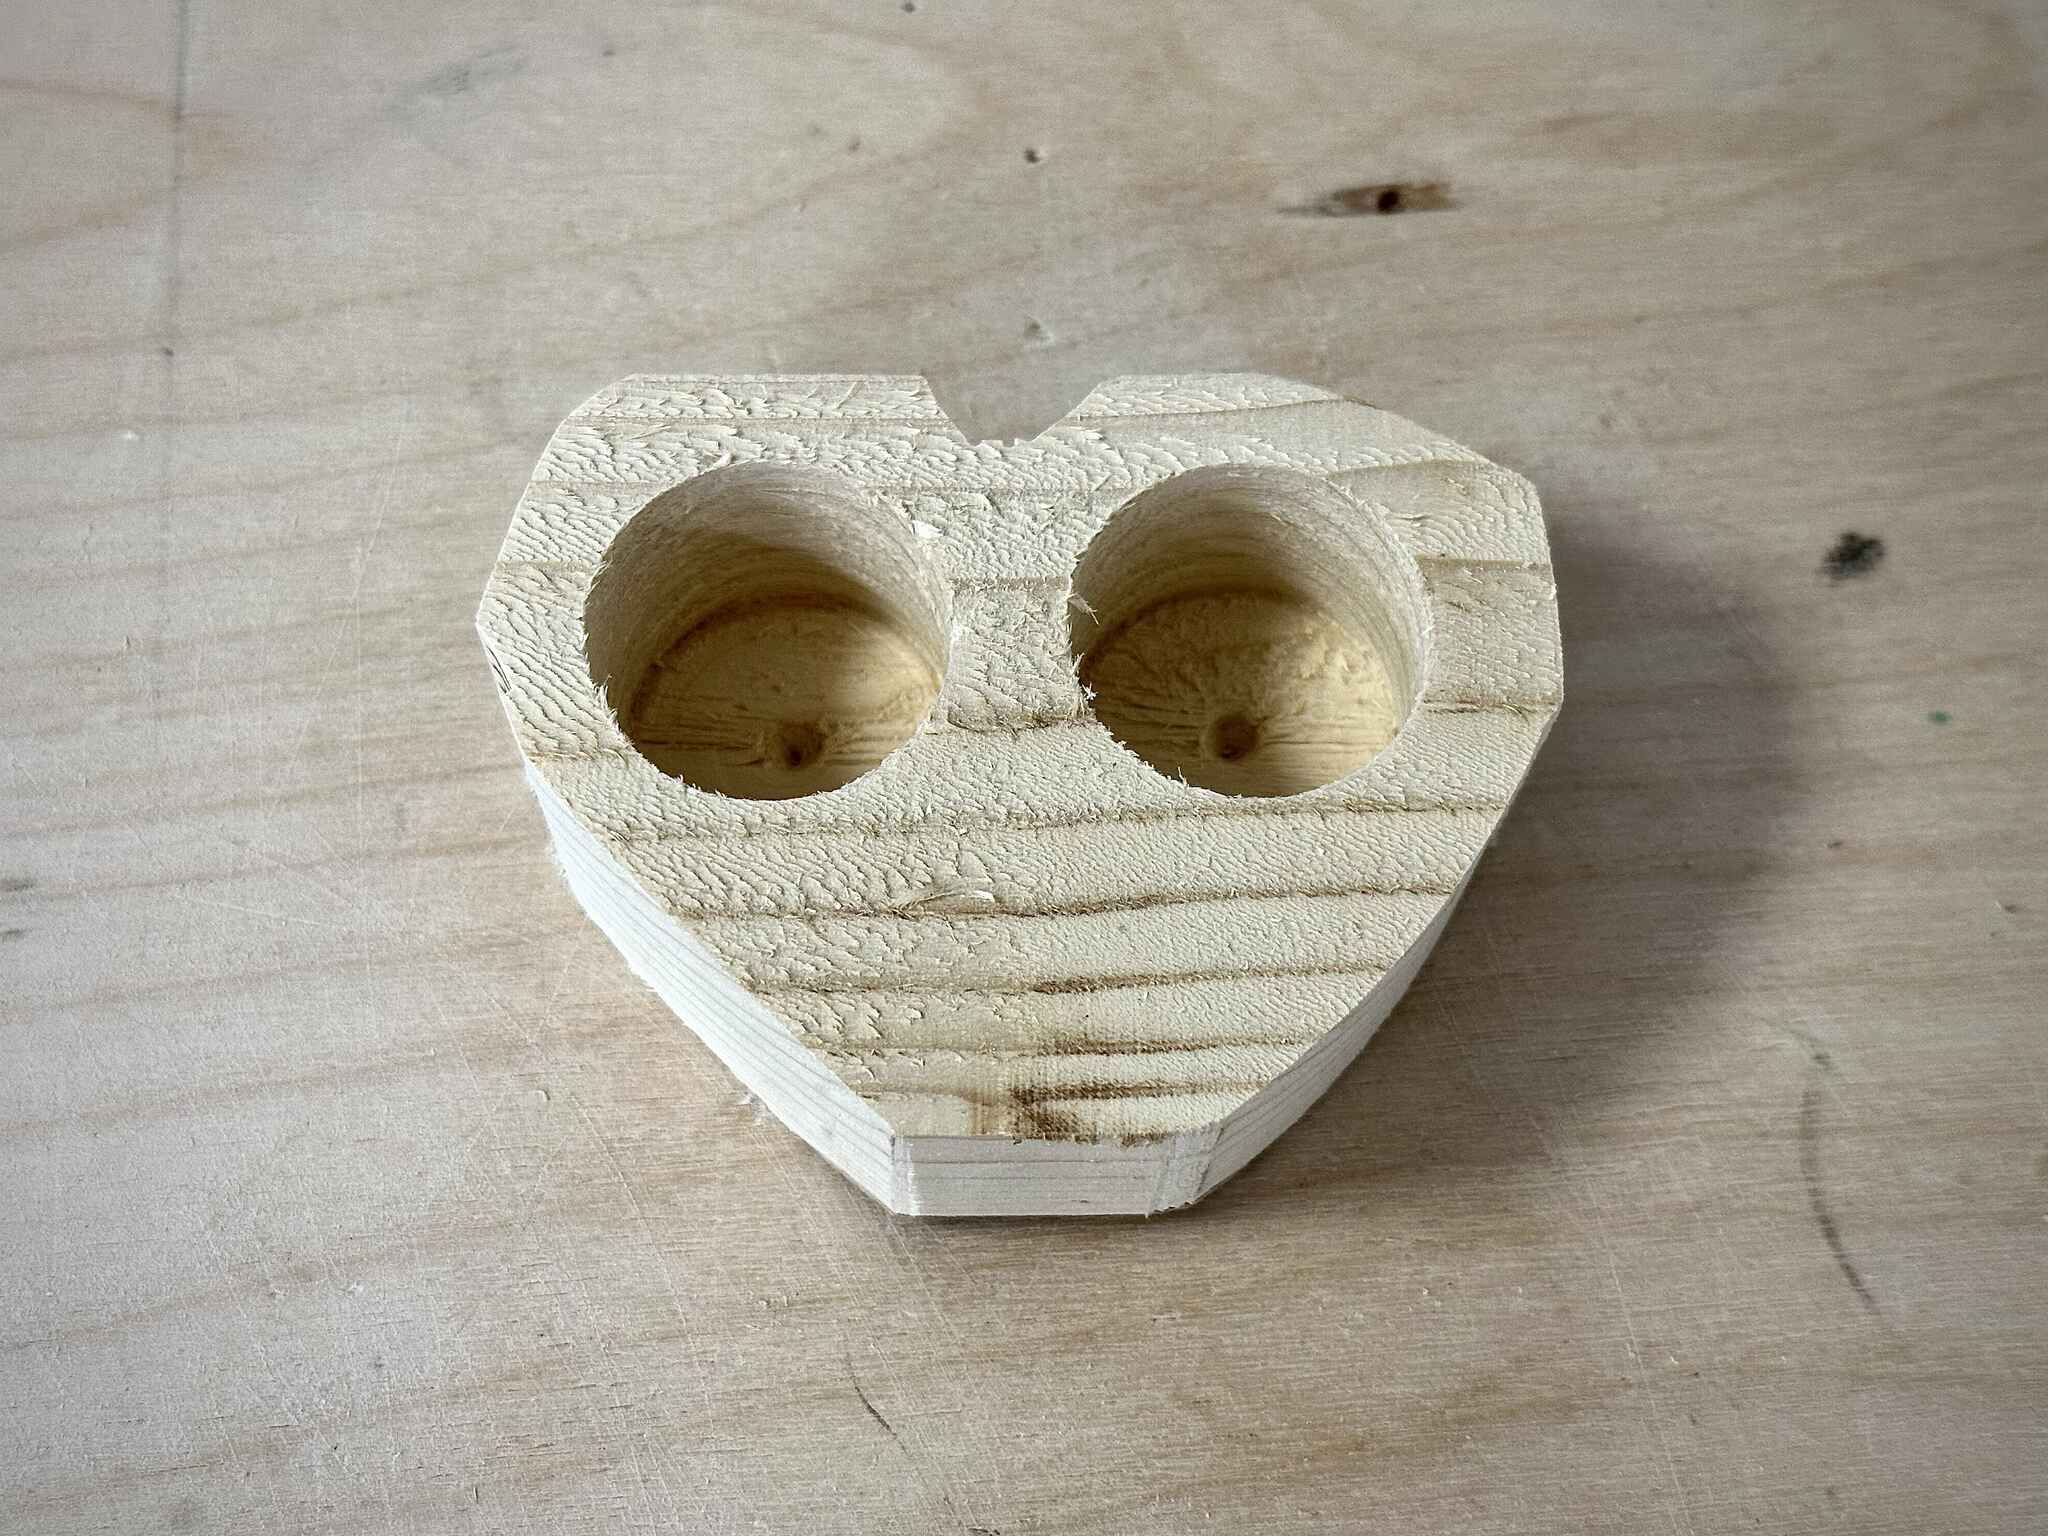
On the band saw, I cut out a rough heart shape using mostly straight cuts, as it is not the best tool for curves, especially at this scale.
-
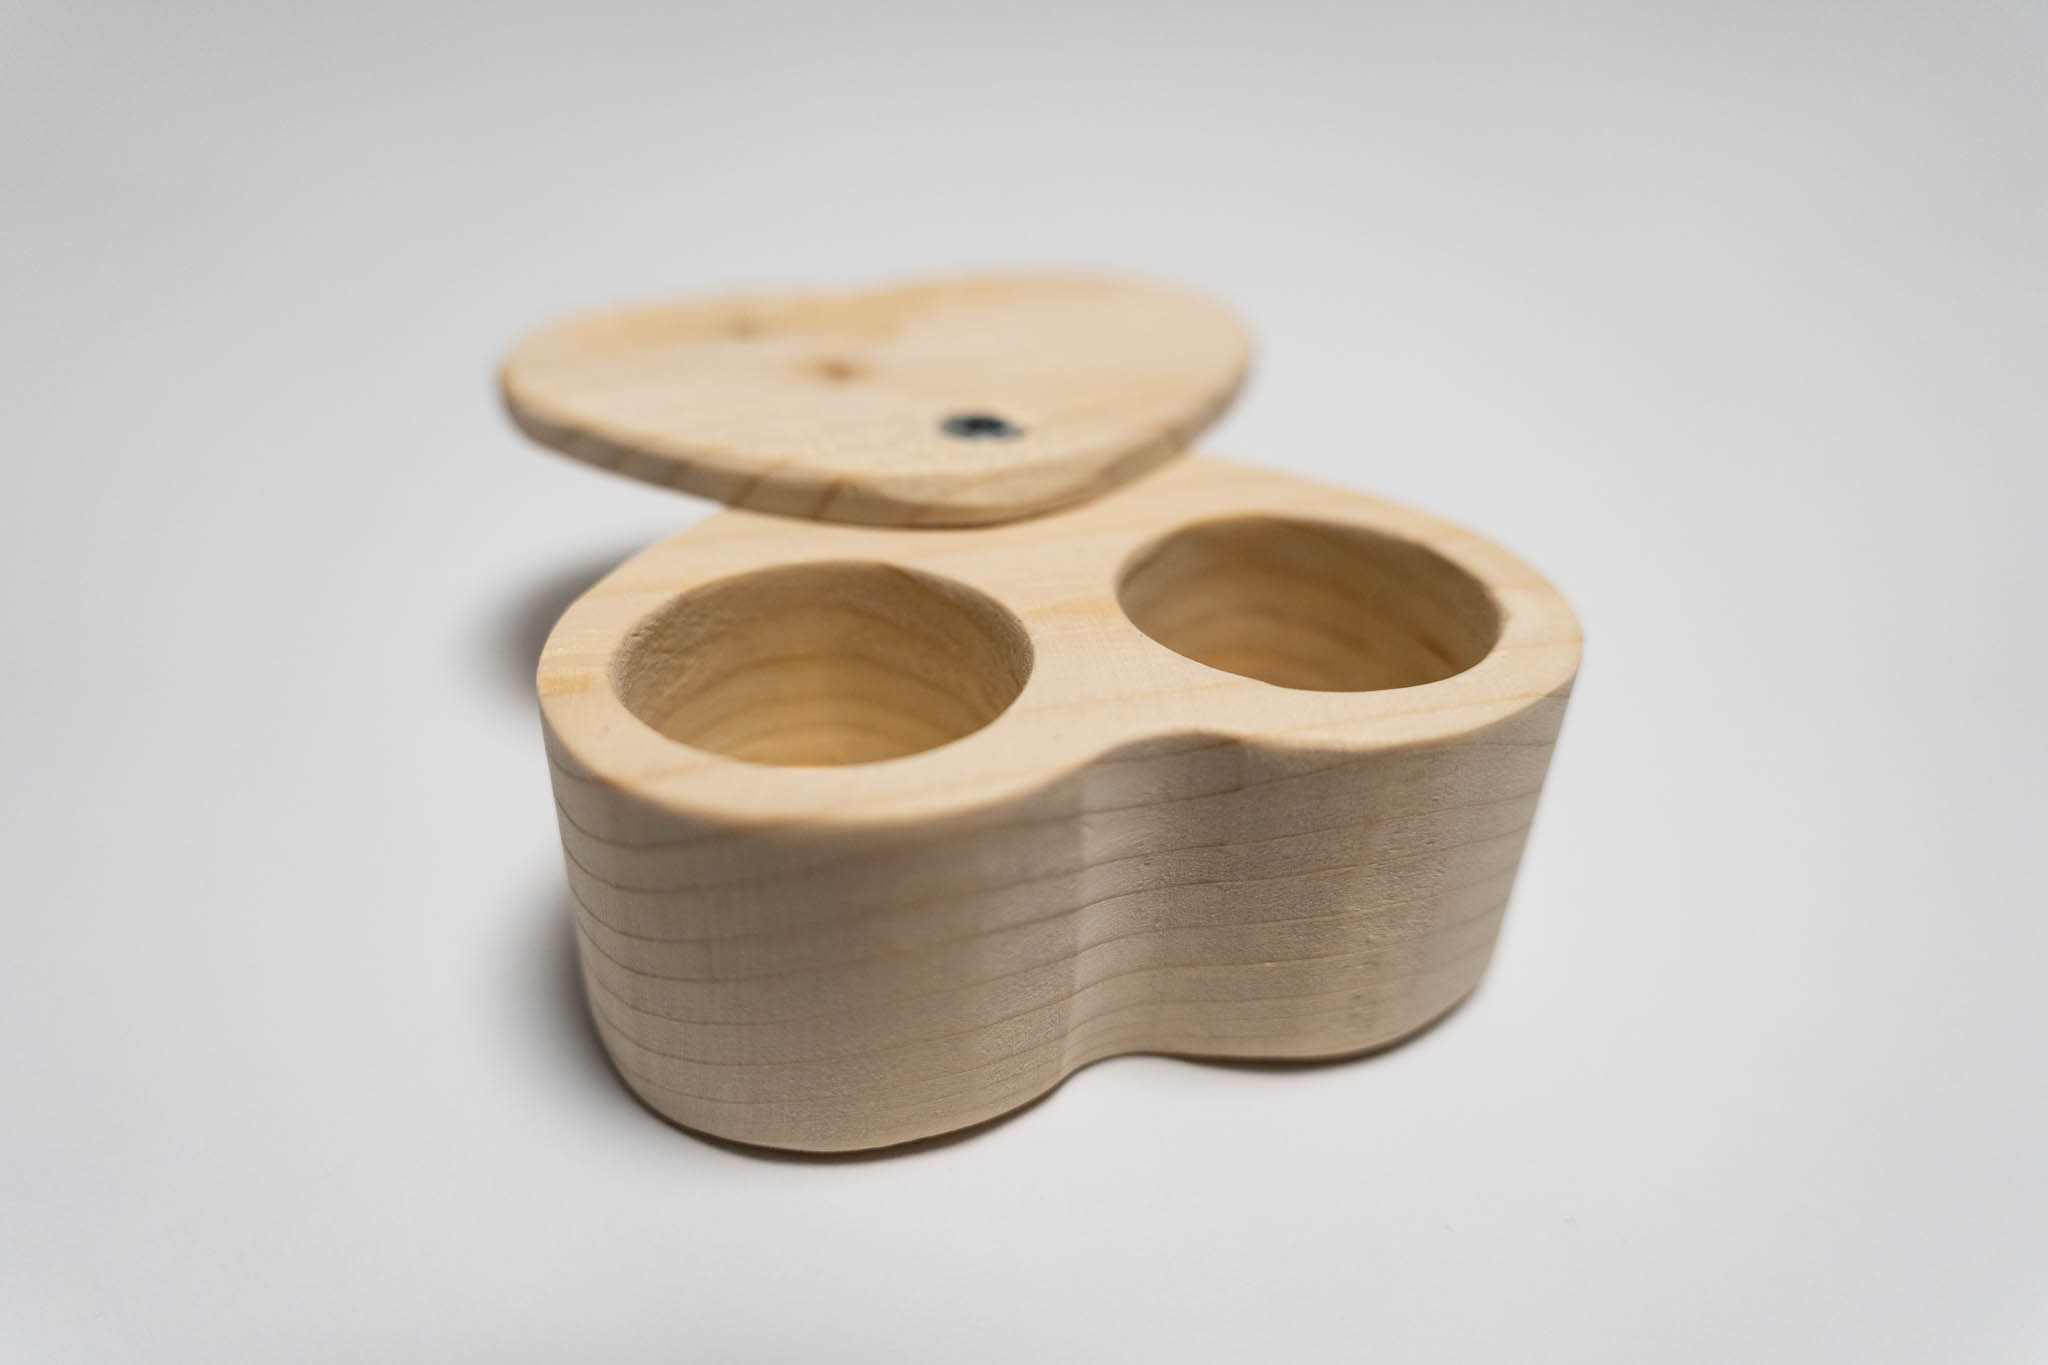
Then, on the drill press, I tried very carefully to carve two holes that are symmetrical to each other.
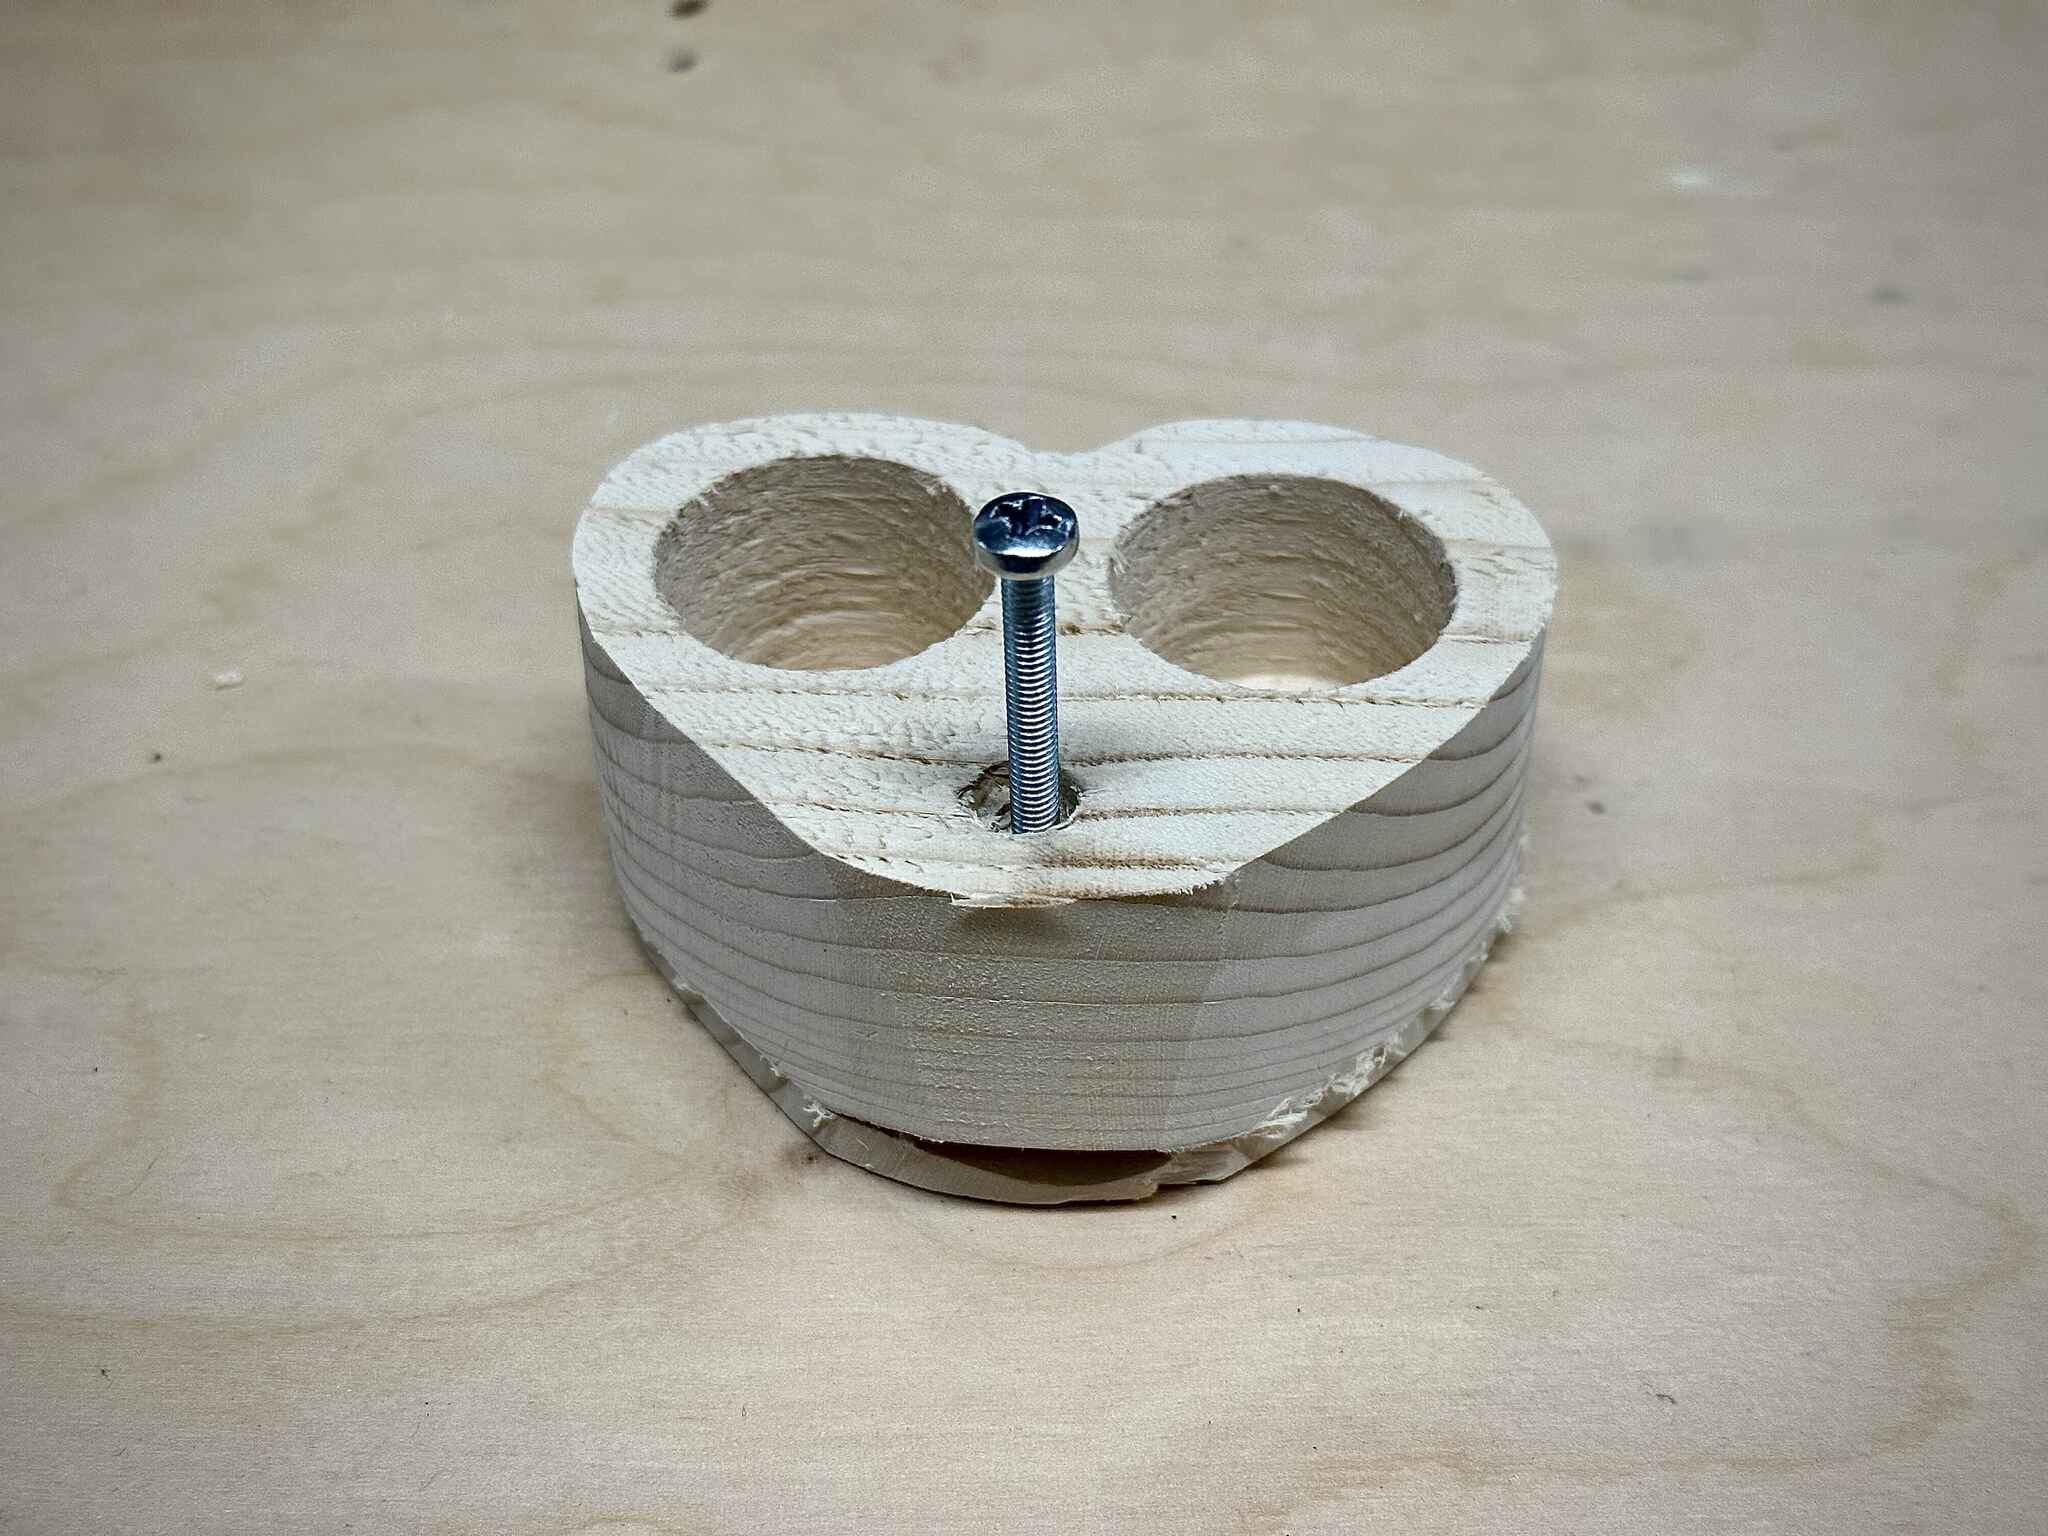
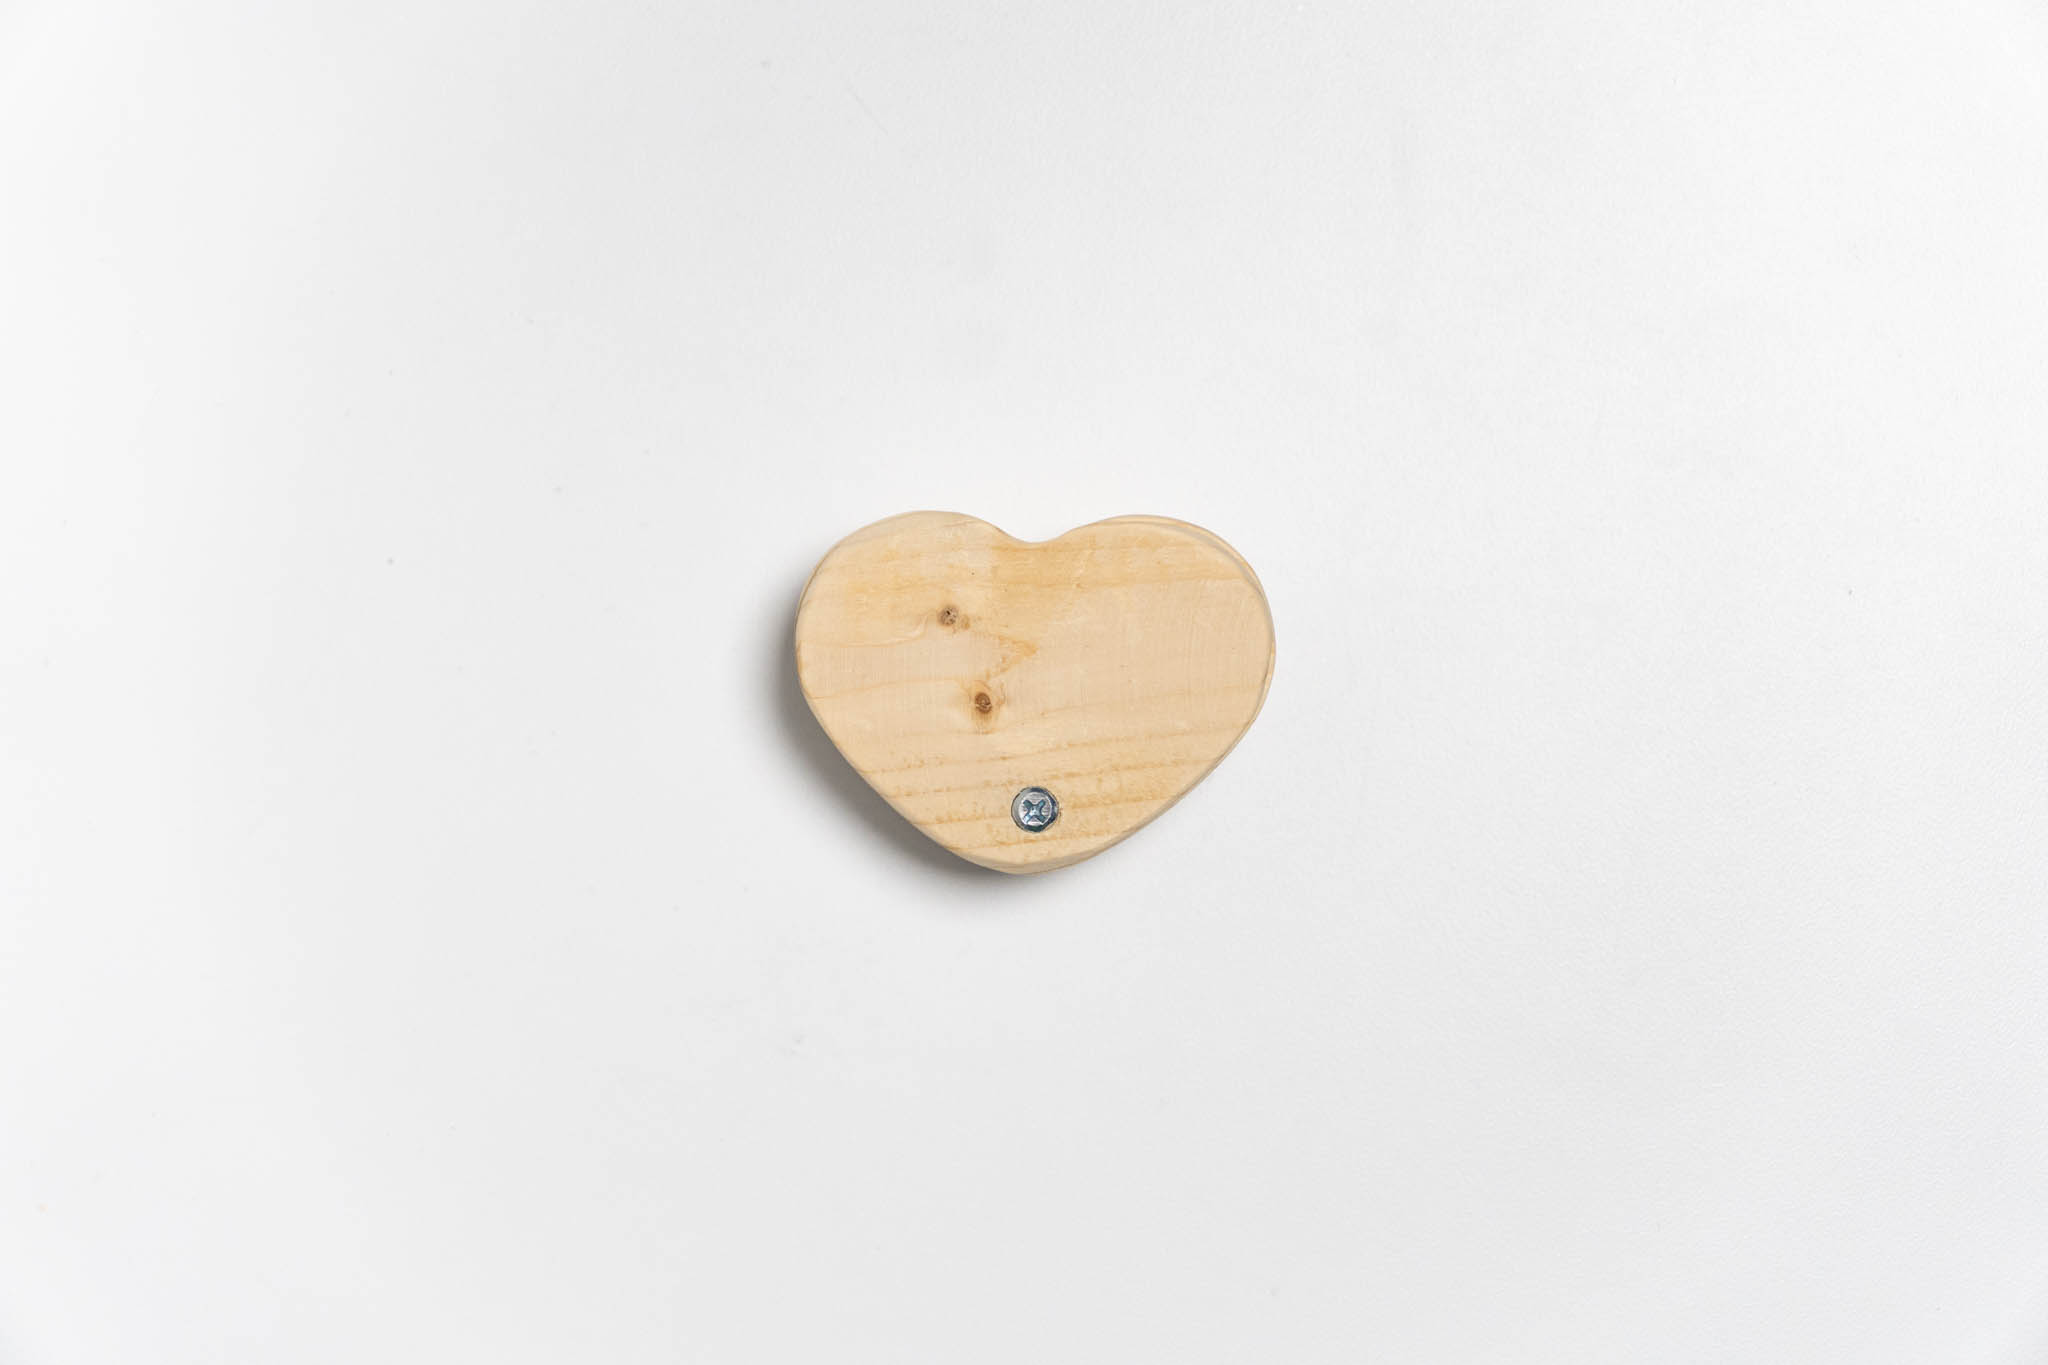
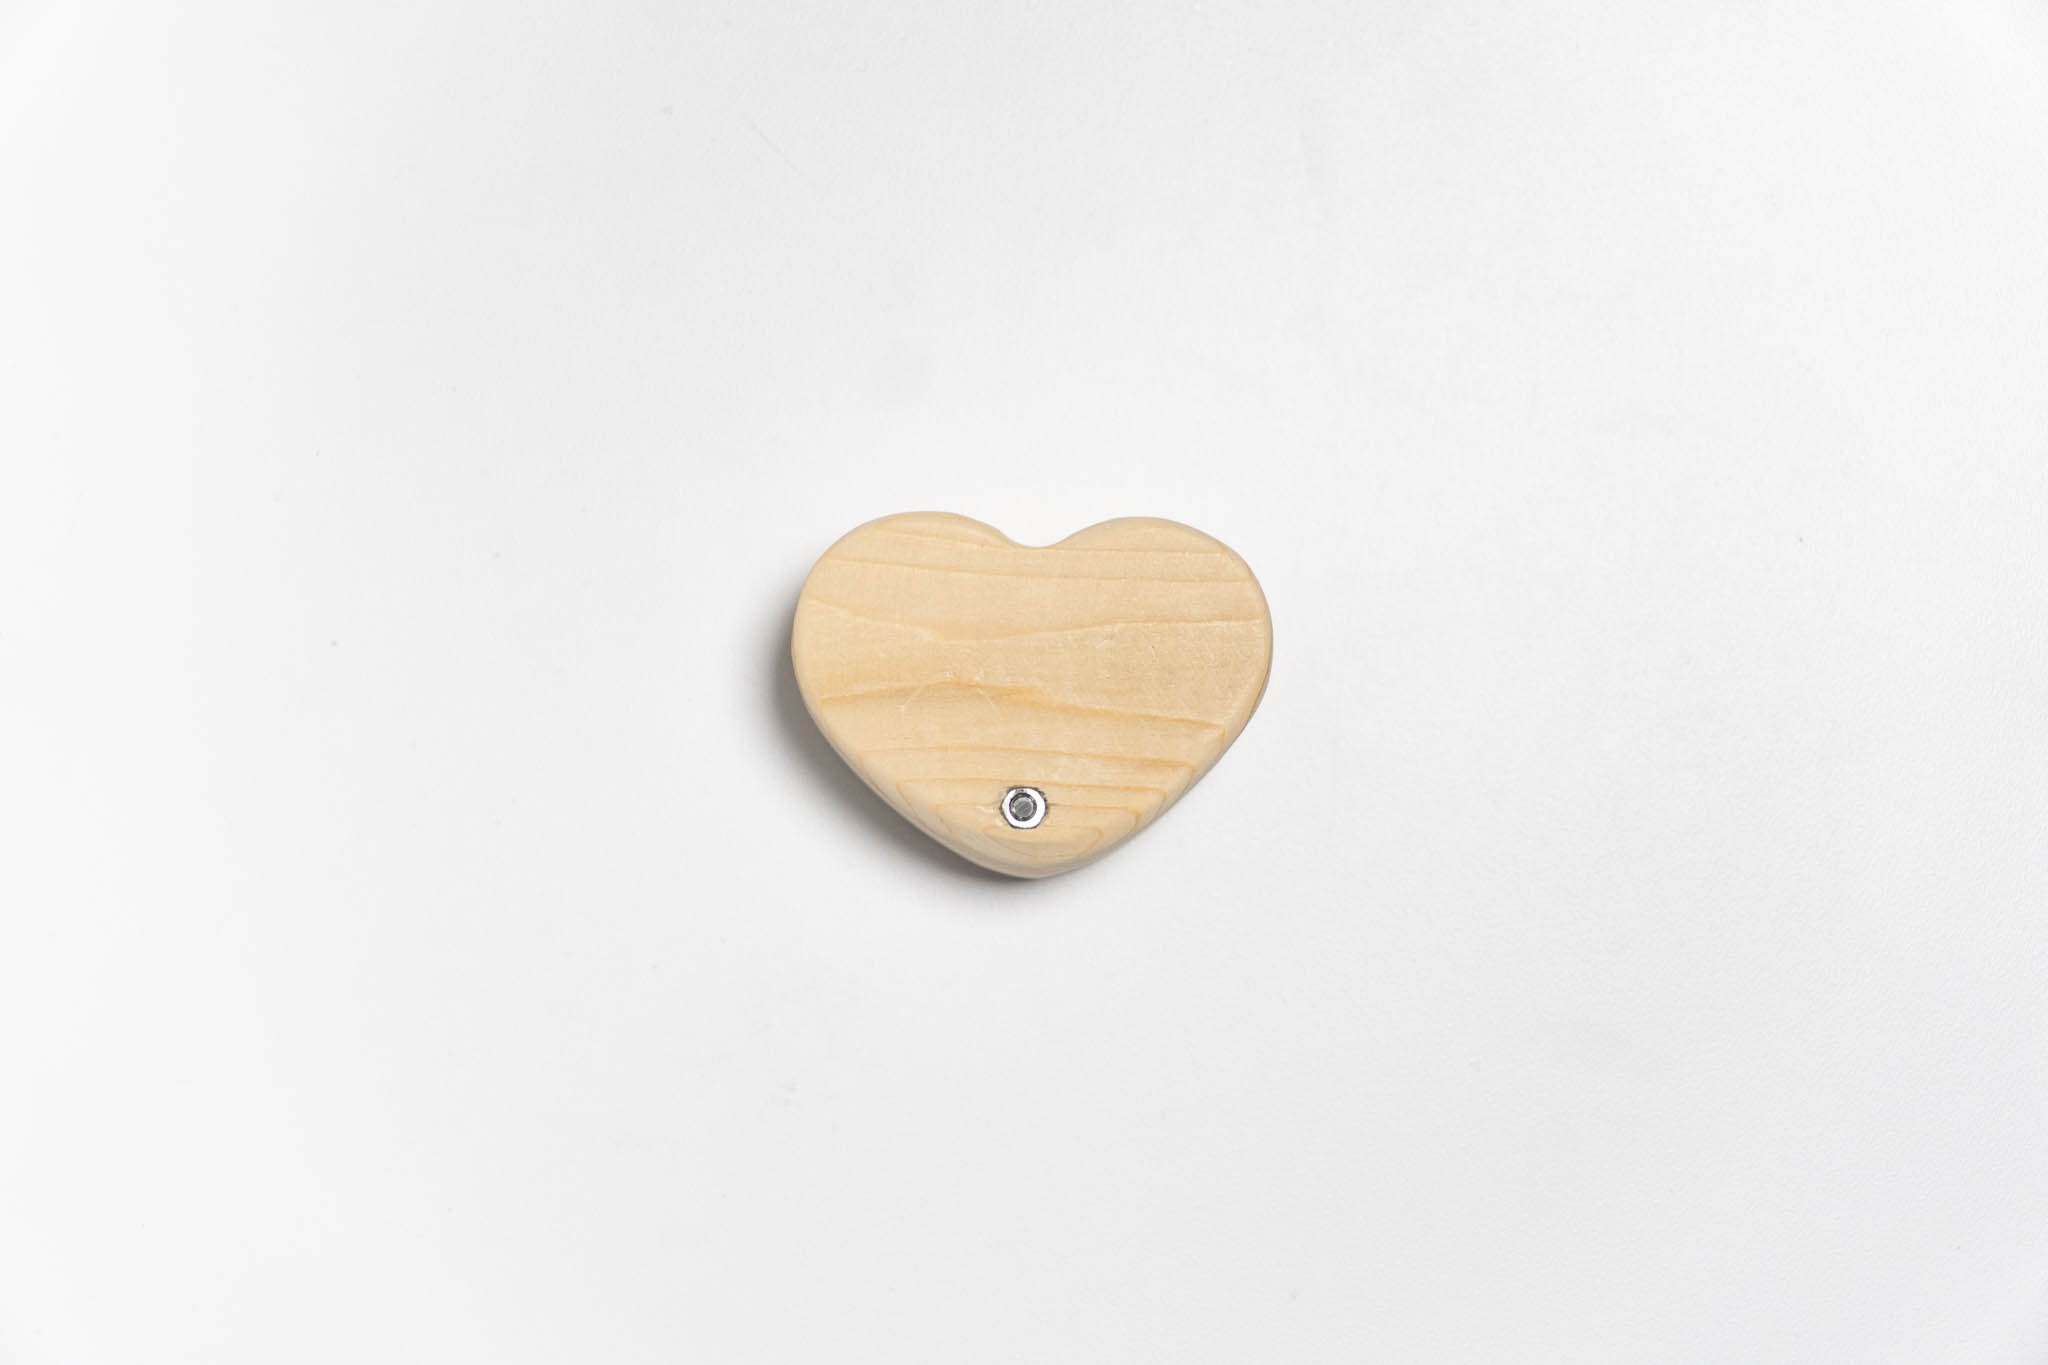
- I also used drill press to drill small holes on both the box and the lid, as well as small dents for a nut and a bolt head. That way, the box surfaces would remain flat and smooth after a nut and a bolt are installed. I initially dented the wrong side of the box, but quickly realized it would be covered by the lid so no one would know (except you, who are reading this post right now).
-
Once all parts were assembled, I used the disk sander to give the box a more refined contour and I used a dremel to carefully sculpt the notch of the heart.
-
Dremel is such a versatile tool. I also used it to cut off the excess extruding part of the bolt as well as sanding the interier of the box.
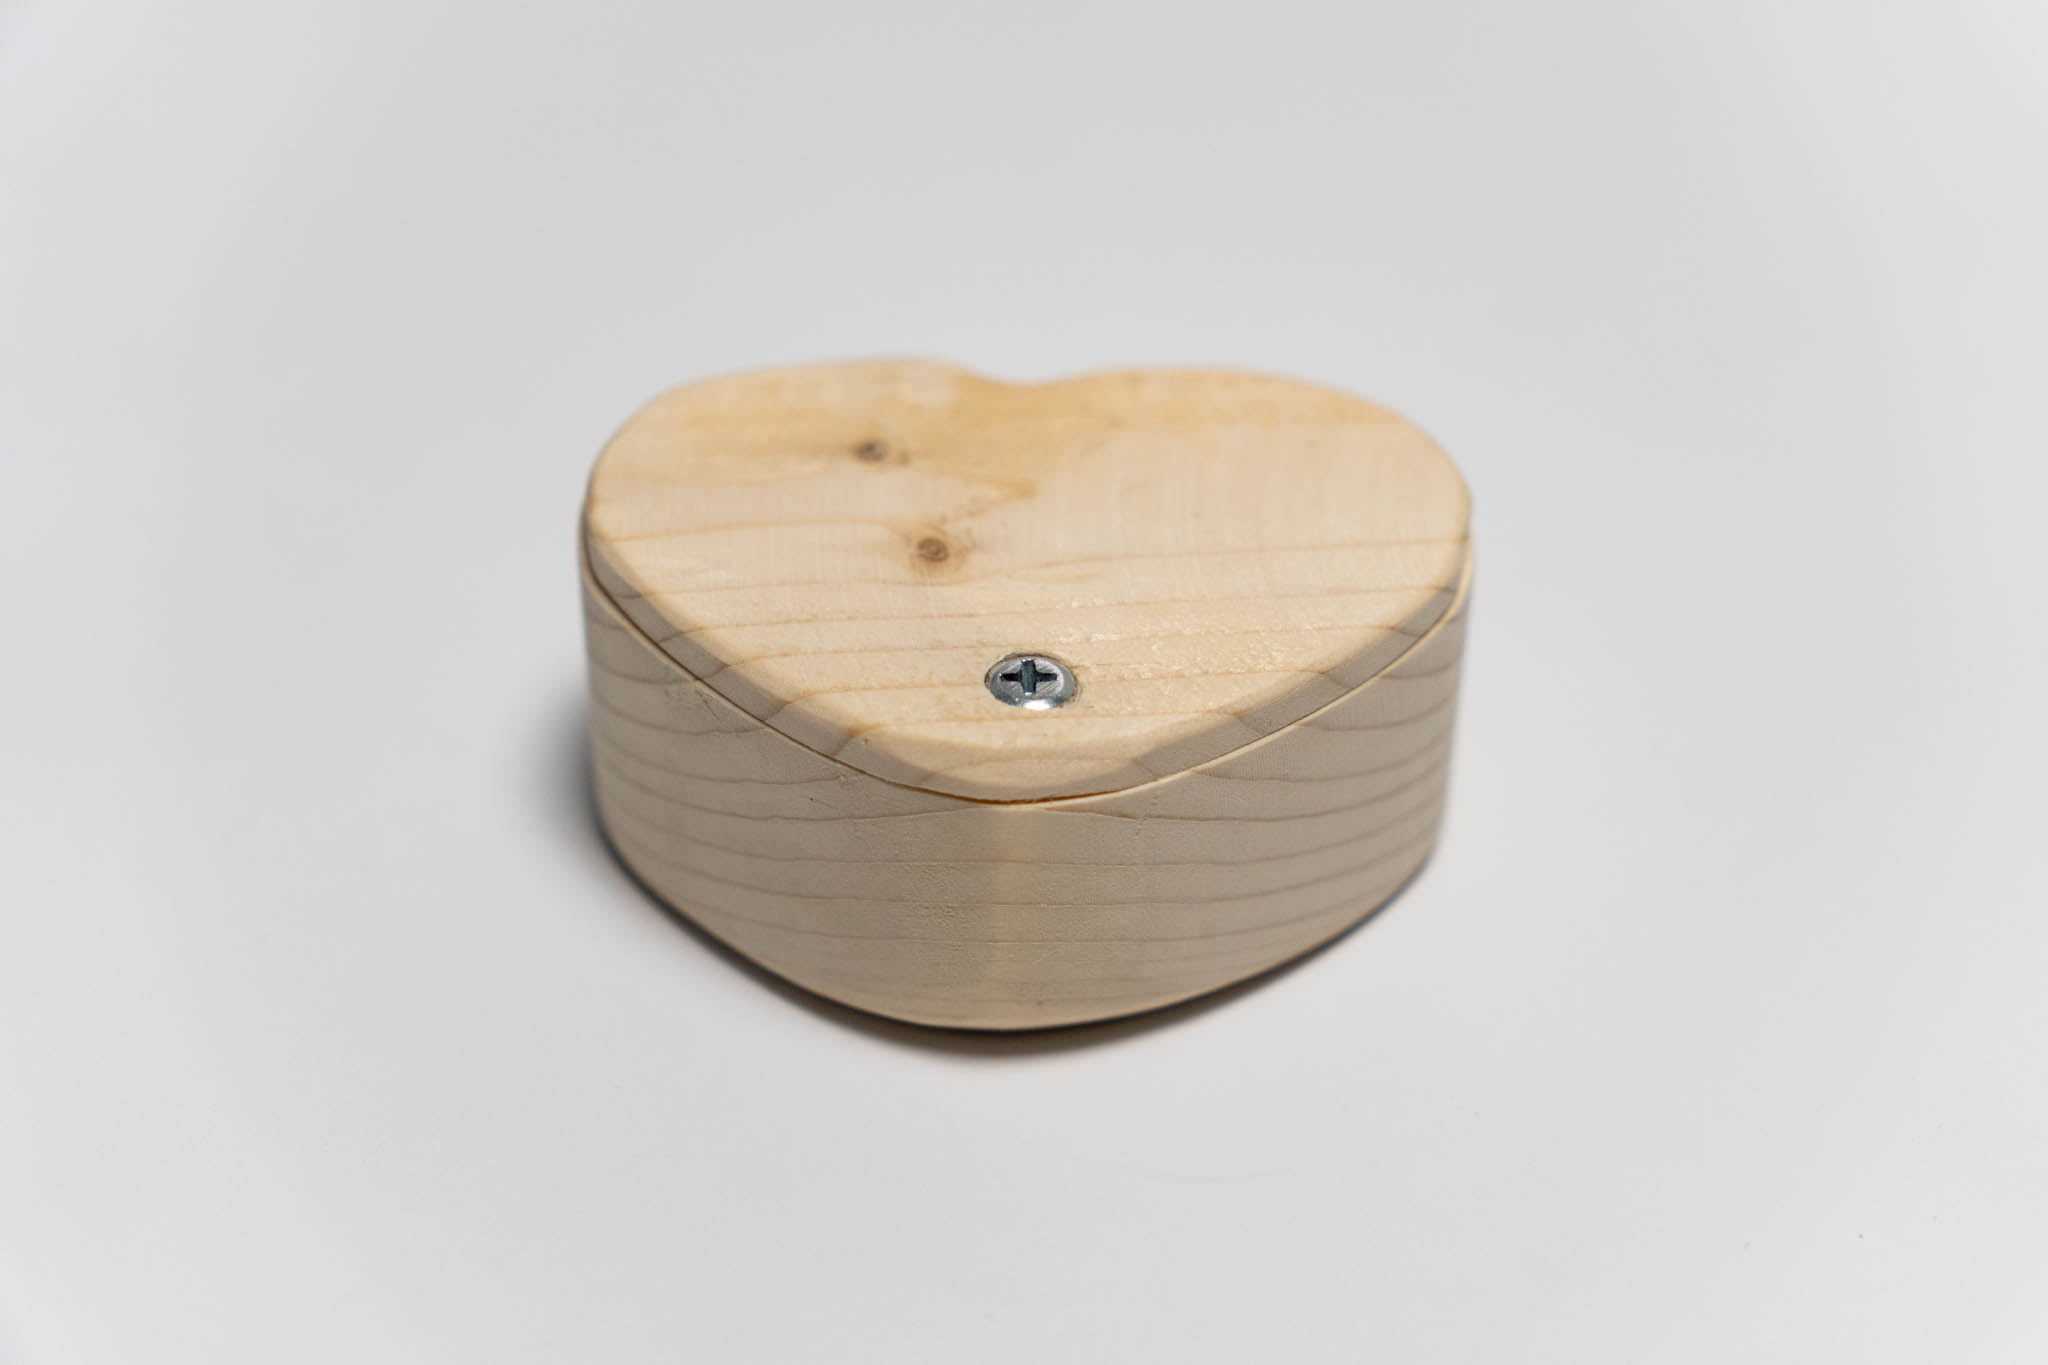
- Lastly, I smoothed out all the rough surfaces and sharp edges with some fine-grit sandpaper. I really enjoyed this last process because it makes the final box so much nicer to touch!
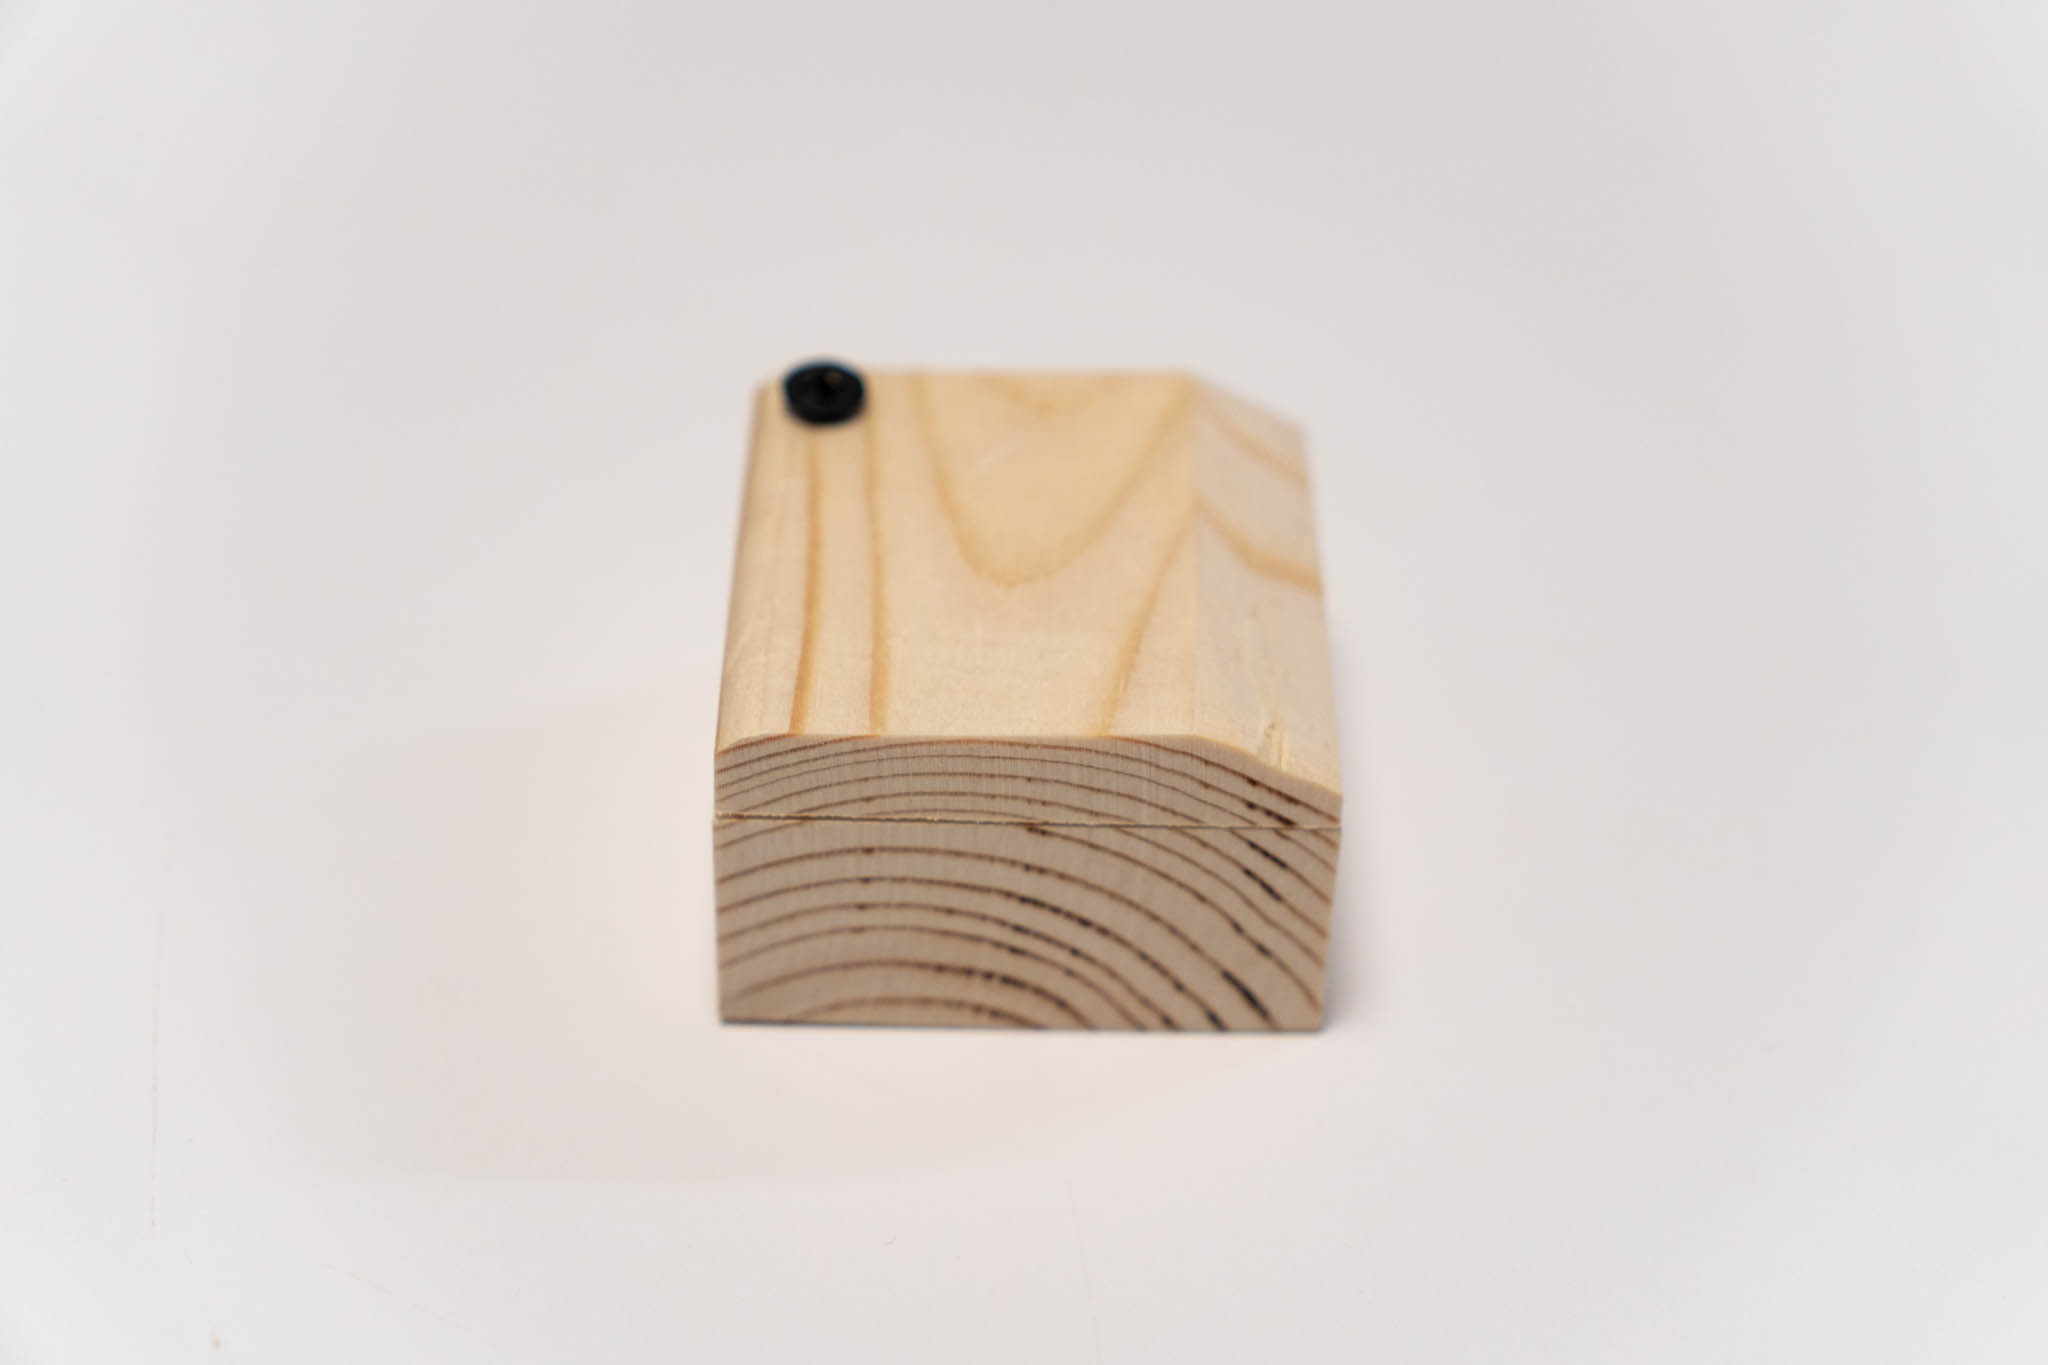
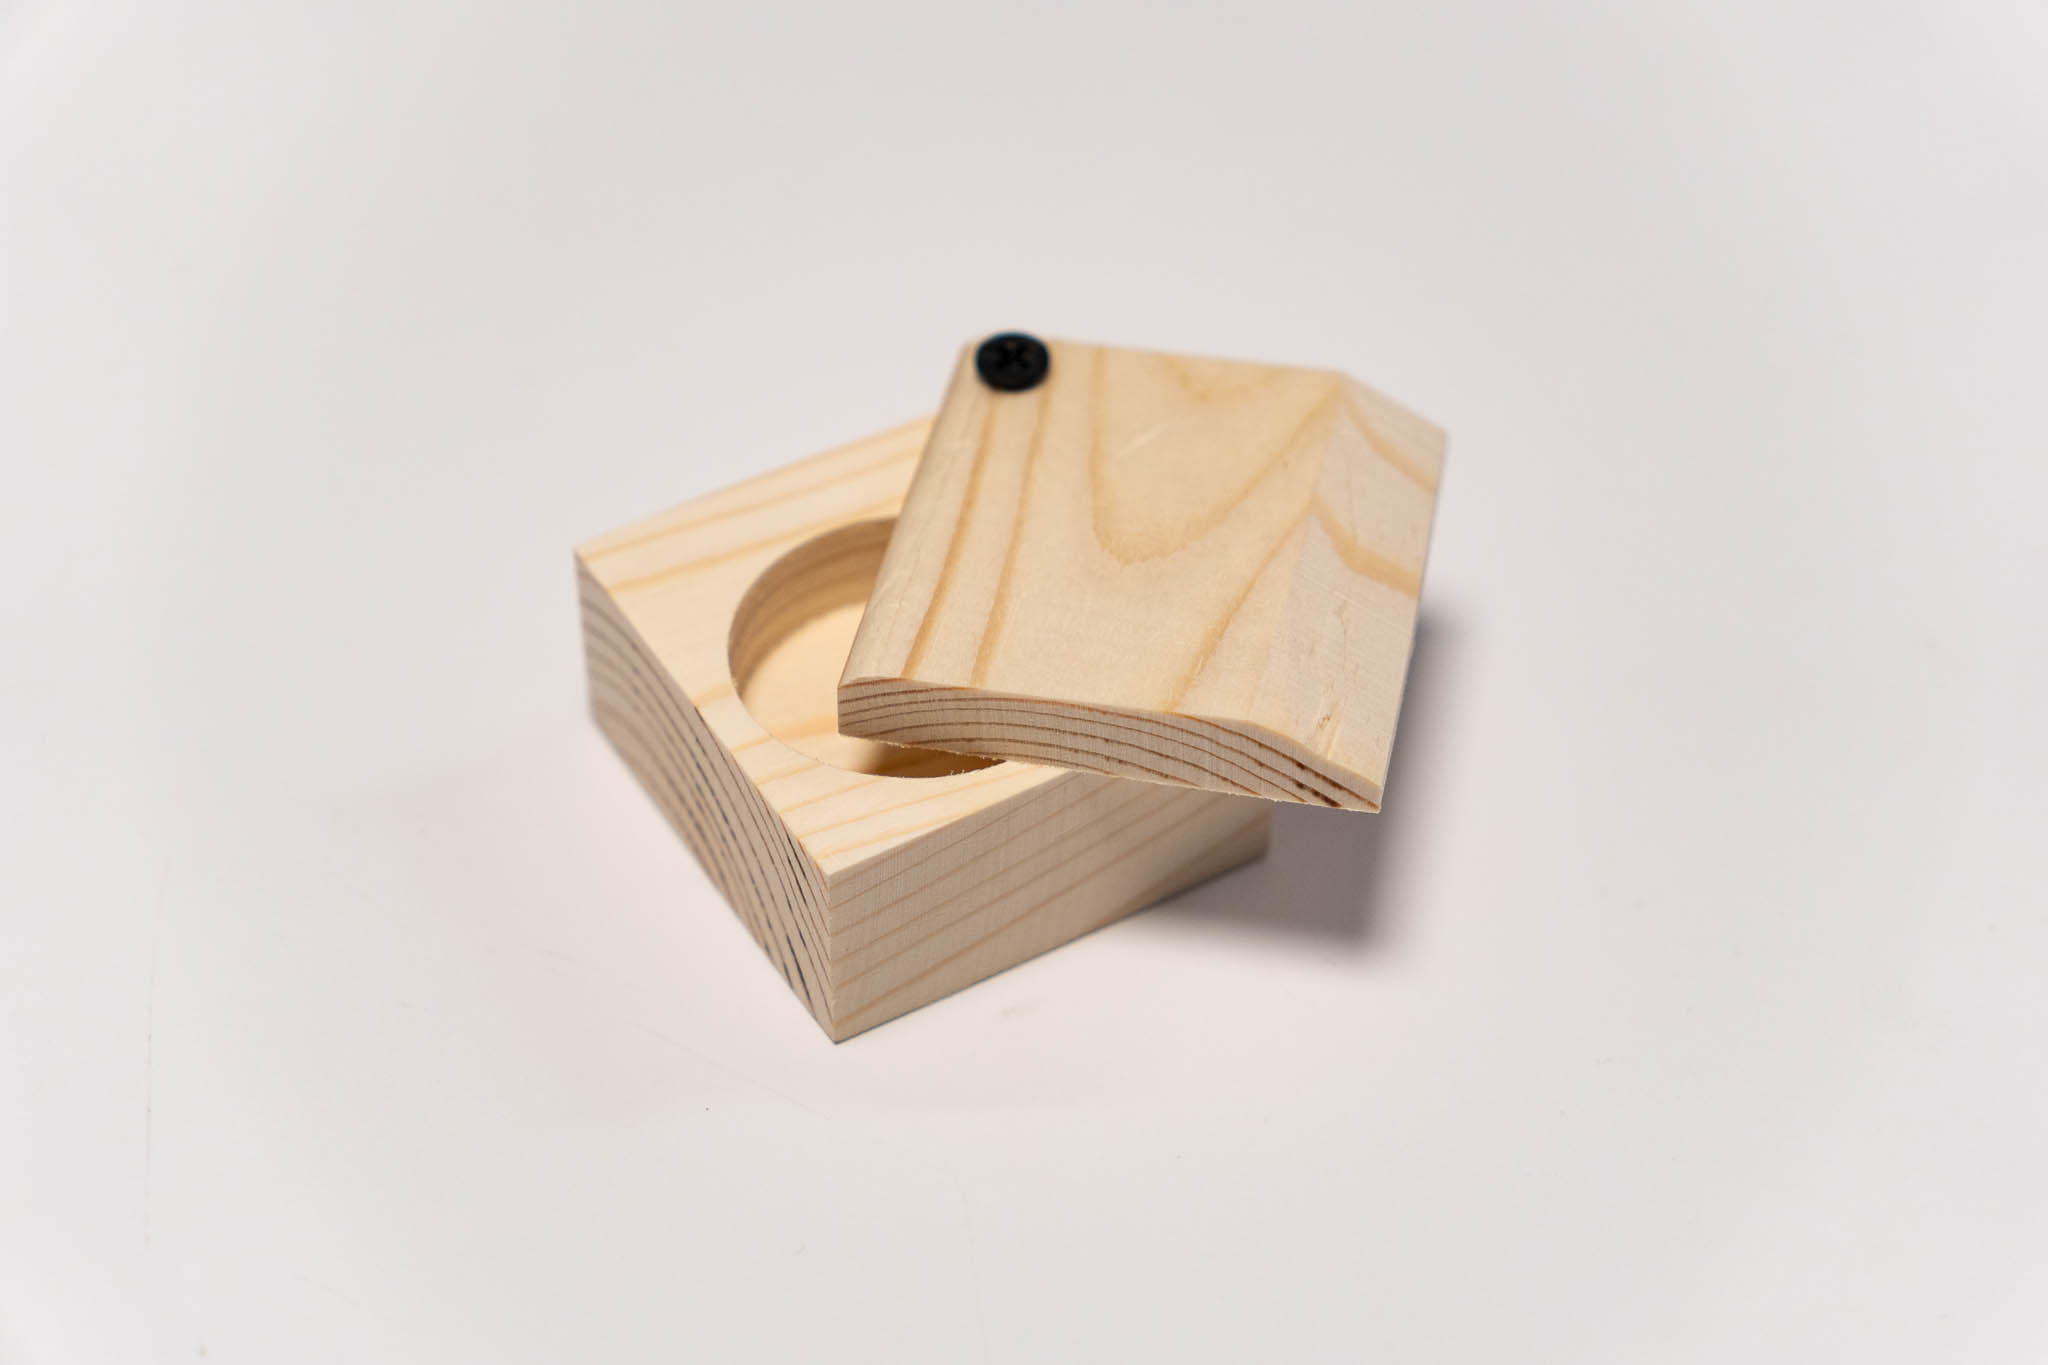
Here are some pictures of the finished box:
 |
 |
 |
I have learned so much through this iterative process and I am planning to continue this theme of experimentation (and learning from failures). I am completely ready to fail again, and fail more!