web-dev-workshop
Part II: JavaScript - Adding Interactive features
Terminologies
Programming language
A programming language is a formal language, which comprises a set of instructions that produce various kinds of output. (Wikipedia)
JavaScript
JavaScript, often abbreviated as JS, is a programming language that conforms to the ECMAScript specification. (Wikipedia)
ECMAScript
ECMAScript (or ES) is a scripting-language specification standardized by Ecma International. (Wikipedia)
Getting ready for JavaScript
JavaScript Console
In Google Chrome, go to View > Developer > Developer Tools, then go to the Console panel.
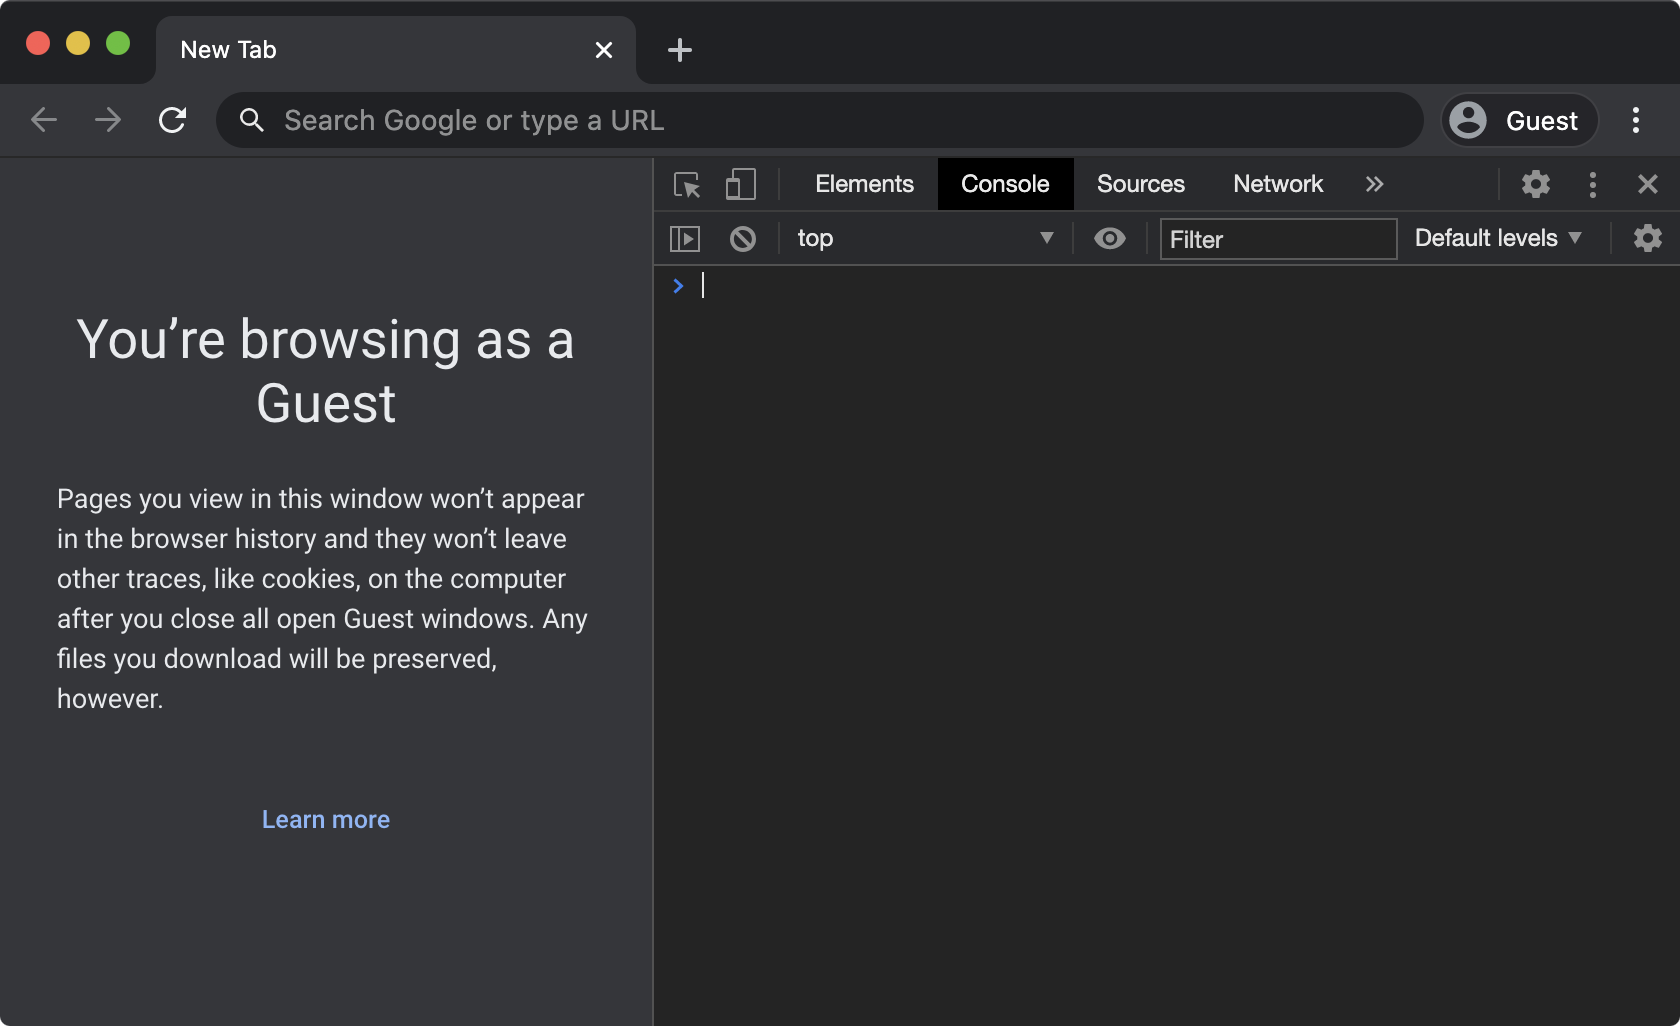
Console is where JavaScript code can output information with console.log();. It is a place where developers can monitor what is going on in the code. We can even enter JavaScript code here directly to see real-time results, but code entered here is only temporary and will not be saved.
Adding JavaScript to HTML
Similar to CSS, there are two ways to add JavaScript to HTML.
Internal
<!DOCTYPE html>
<html>
  <body>
    // put your HTML code here
    <script>
      // put your JavaScript code here
    </script>
  </body>
</html>
External
<script src="path/to/javascript.js"></script>
Introduction to Programming
Variables
In JavaScript, we use let to declare a variable and const to declare a variable that will not be reassigned.
let views = 0;
const USERNAME = 'jack';
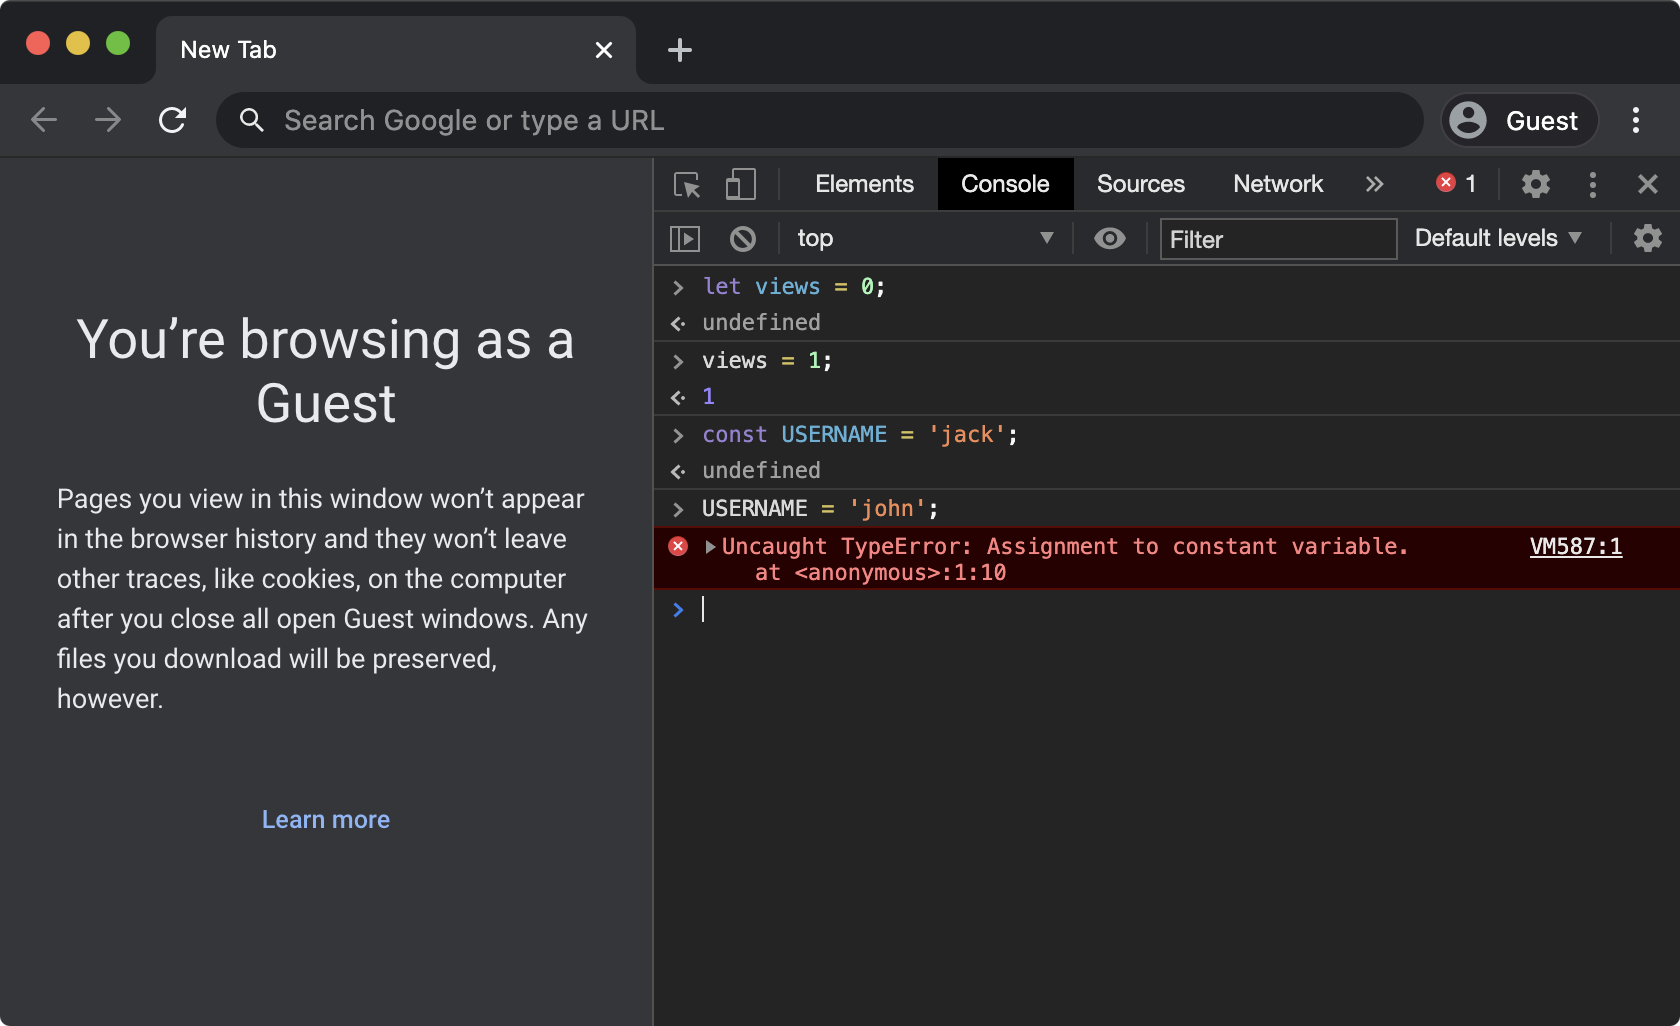
In the above example, views and USERNAME are the names of the variables, and 0 and 'jack' are the values of the variables.
- JavaScript let: https://www.w3schools.com/js/js_let.asp
- JavaScript const: https://www.w3schools.com/js/js_const.asp
Data types
In JavaScript, a variable can hold a number, string, and Boolean, etc.
let age = 20;
let name = "John Doe";
let isStudent = true;
- JavaScript data types: https://www.w3schools.com/js/js_datatypes.asp
- JavaScript data types and data structures: https://developer.mozilla.org/en-US/docs/Web/JavaScript/Data_structures
Operators
Arithmetic operators
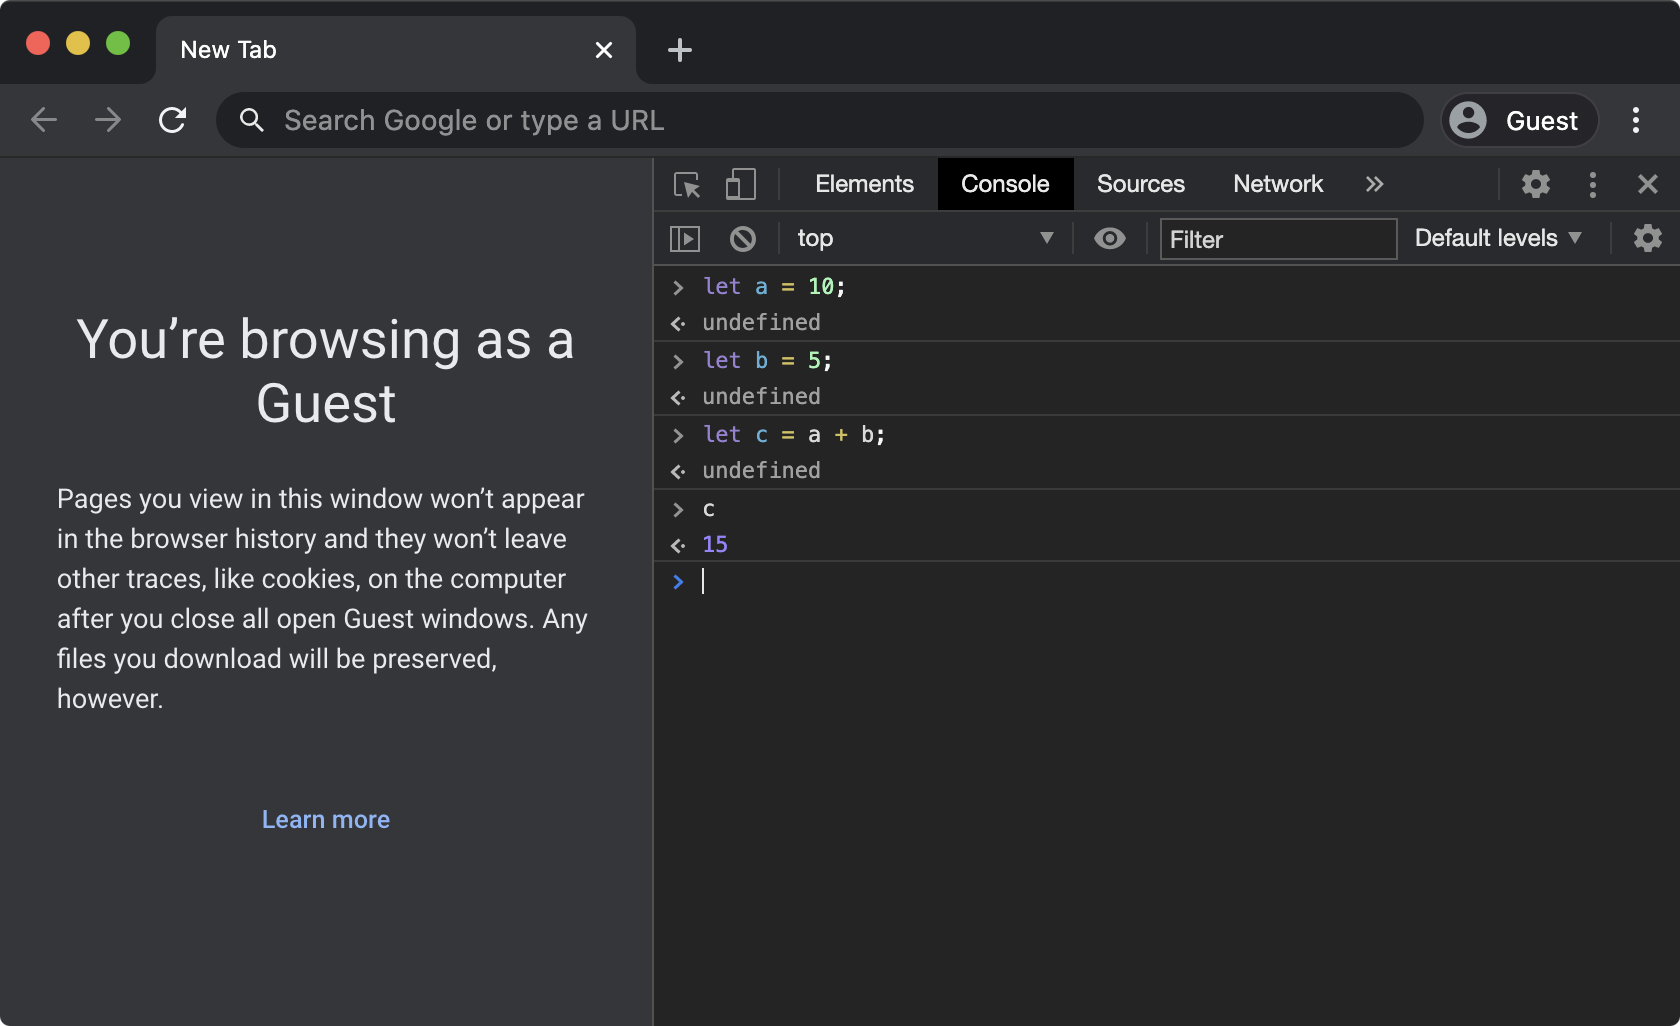
One of the most basic operations you can do in JavaScript is arithmetic operations, namely, addition (+), substraction (-), multiplication (*), and division (/), etc.
let a = 10;
let b = 5;
let c = a + b; // the value of 15 (the sum of a and b) is assigned to the variable c
Assignment operators
We have been using the simple assignment operator (=) since the beginning of this workshop, which assigns the value of its right operand to its left operand. But there are more.
let x += y; // same as let x = x + y;
let x -= y; // same as let x = x - y;
let x *= y; // same as let x = x * y;
let x /= y; // same as let x = x / y;
String operators
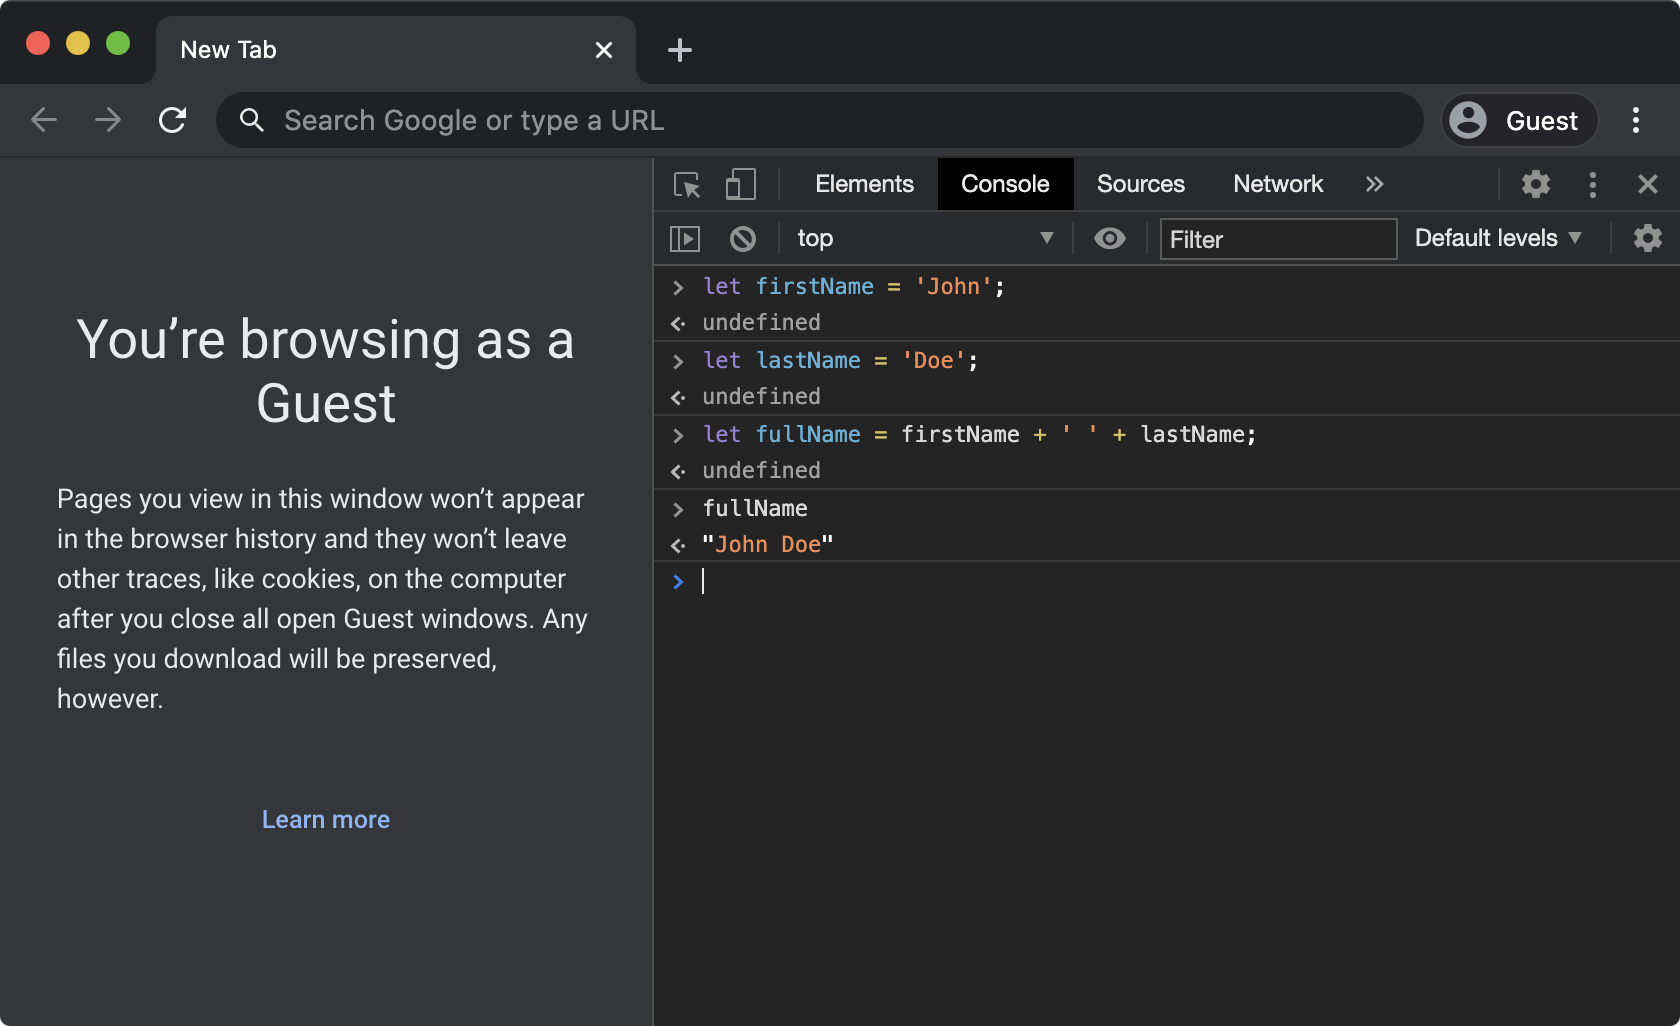
We can use the concatenation operation (+) to concatenate two string values.
let firstName = 'John';
let lastName = 'Doe';
let fullName = firstName + ' ' + lastName; // the string value 'John Doe' is assigned to fullName
Comparision operators
We can use comparision operators to compare two values and it returns a Boolean value based on whether or not the comparsion if true.
let a = 2;
let b = 3;
let c1 = (a == b)  // Boolean value false is assigned to c1
let c2 = (a != b)  // Boolean value true is assigned to c2
let c3 = (a > b)   // Boolean value false is assigned to c3
let c4 = (a < b)   // Boolean value true is assigned to c4
Logical operators
Logical operators are used with Boolean values. There are logical AND (&&), logical OR (||), and logical NOT (!).
let a1 = true && true;          // Boolean value true is assigned to a1
let a2 = true && false;         // Boolean value false is assigned to a2
let b1 = true || false;         // Boolean value true is assigned to b1
let b2 = false || false;        // Boolean value false is assigned to b2
let c1 = !true;                 // Boolean value false is assigned to c1
let c2 = !false;                // Boolean value true is assigned to c2
let d1 = (3 > 2) || !(2 == 2);  // Boolean value true is assigned to d1
let d2 = (3 > 2) && !(2 == 2);  // Boolean value false is assigned to d2
There are many more types of operators. You can check them out in the links below.
- JavaScript operators: https://www.w3schools.com/js/js_operators.asp
- JavaScript expressions and operators: https://developer.mozilla.org/en-US/docs/Web/JavaScript/Guide/Expressions_and_Operators
Conditionals
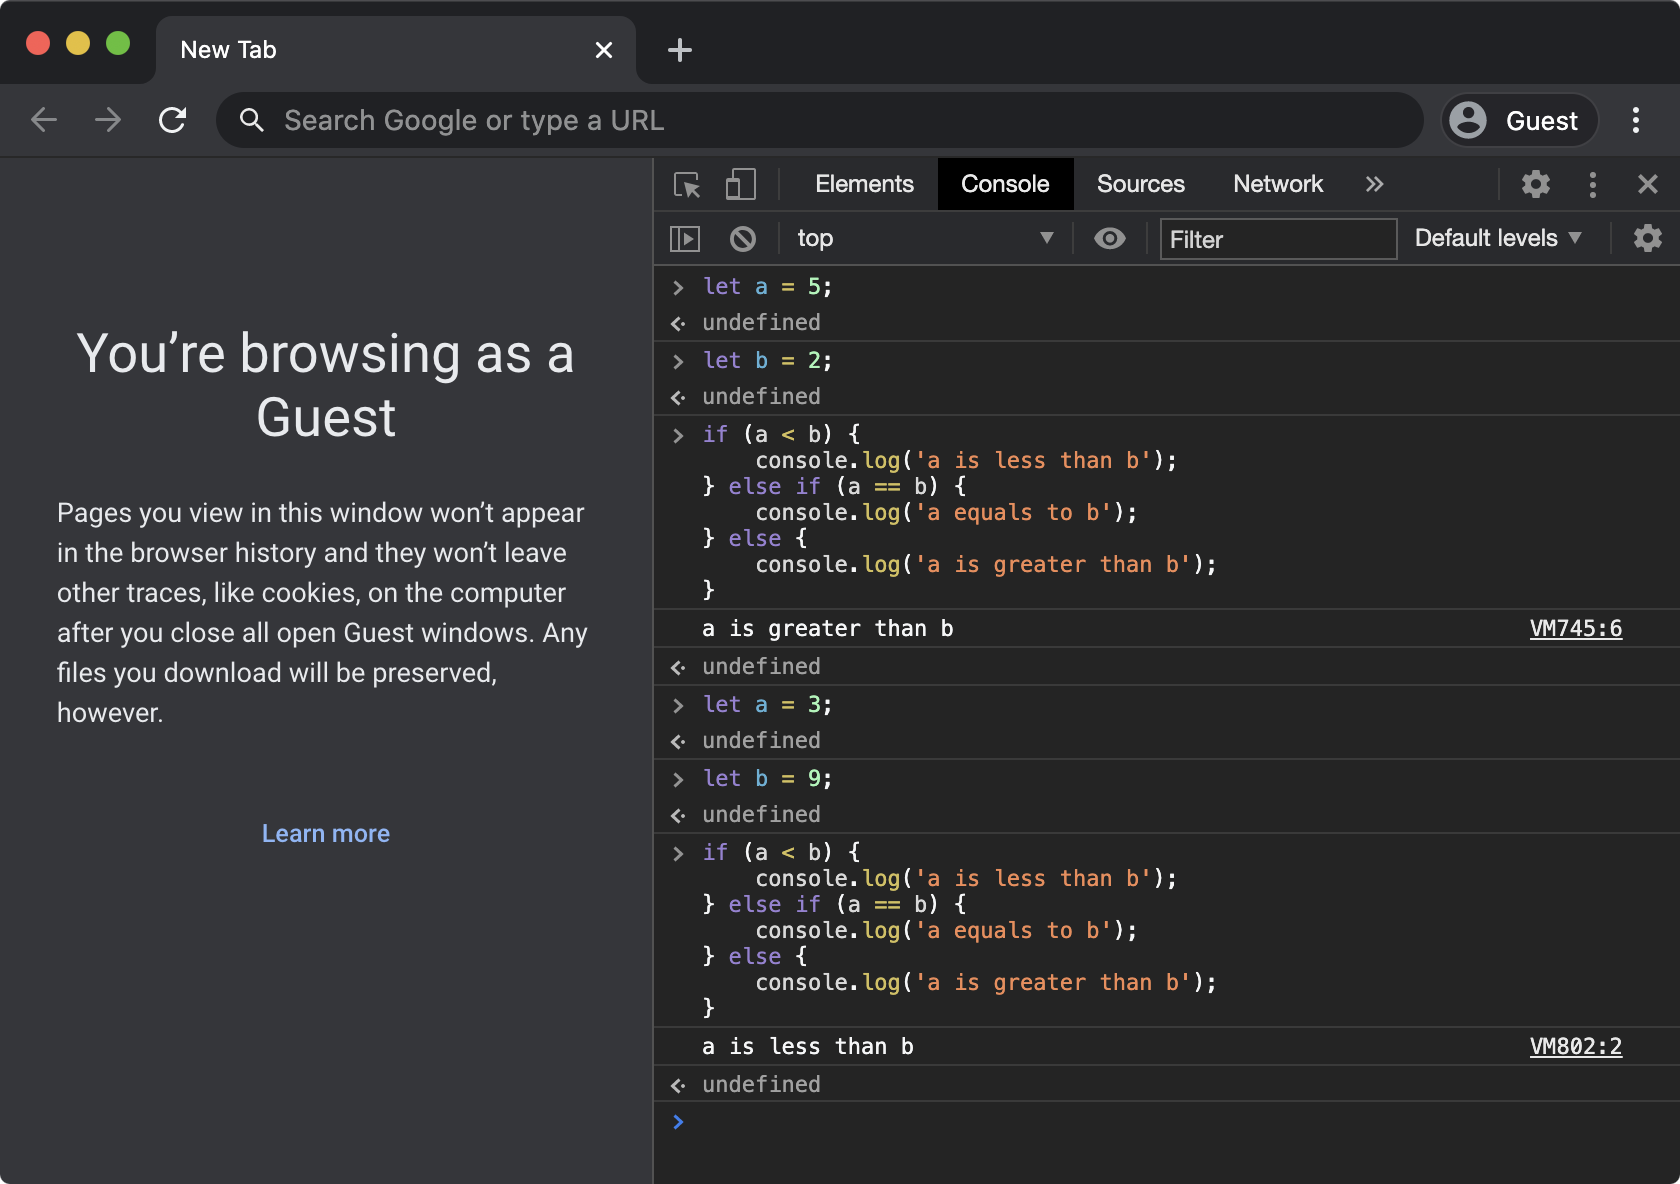
One really important feature of programming languages is to carry out different sets of instructions when different conditions are met. We use if, else if, and else for this.
let a = 5;
let b = 2;
if (a < b) {                          // conditions are put in parentheses
  console.log('a is less than b');    // this line is run only if the condition `a < b` evaluates to true
} else if (a == b) {                  // this is evaluated only if the previous condition evaluates to false
  console.log('a equals to b');       // this line is run only if the condition `a == b` evaluates to true and the previous condition evaluates to false
} else {                              // no conditions should be provided for `else`
  console.log('a is greater than b'); // this line is run only if all previous conditions evaluate to false
}
In the above example, all three statements (if, else if, and else) are used, but that is not always the case. We can use any combinations of them with a few rules:
ifis always required and must be the first statement when there is more than one statementselsemust be the last statement if being usedelse ifcan be used for as many times in betweenifandelse
- JavaScript if else and else if: https://www.w3schools.com/js/js_if_else.asp
- Making decisions in your code — conditionals: https://developer.mozilla.org/en-US/docs/Learn/JavaScript/Building_blocks/conditionals
- Learn JavaScript - Conditionals: https://www.codecademy.com/learn/introduction-to-javascript/modules/learn-javascript-control-flow/cheatsheet
Loops
One other great thing programming languages can do is to carry out the same instructions for as many times as we want (almsot). This is done with loops. Two of the most common types of loops are for and while.
for
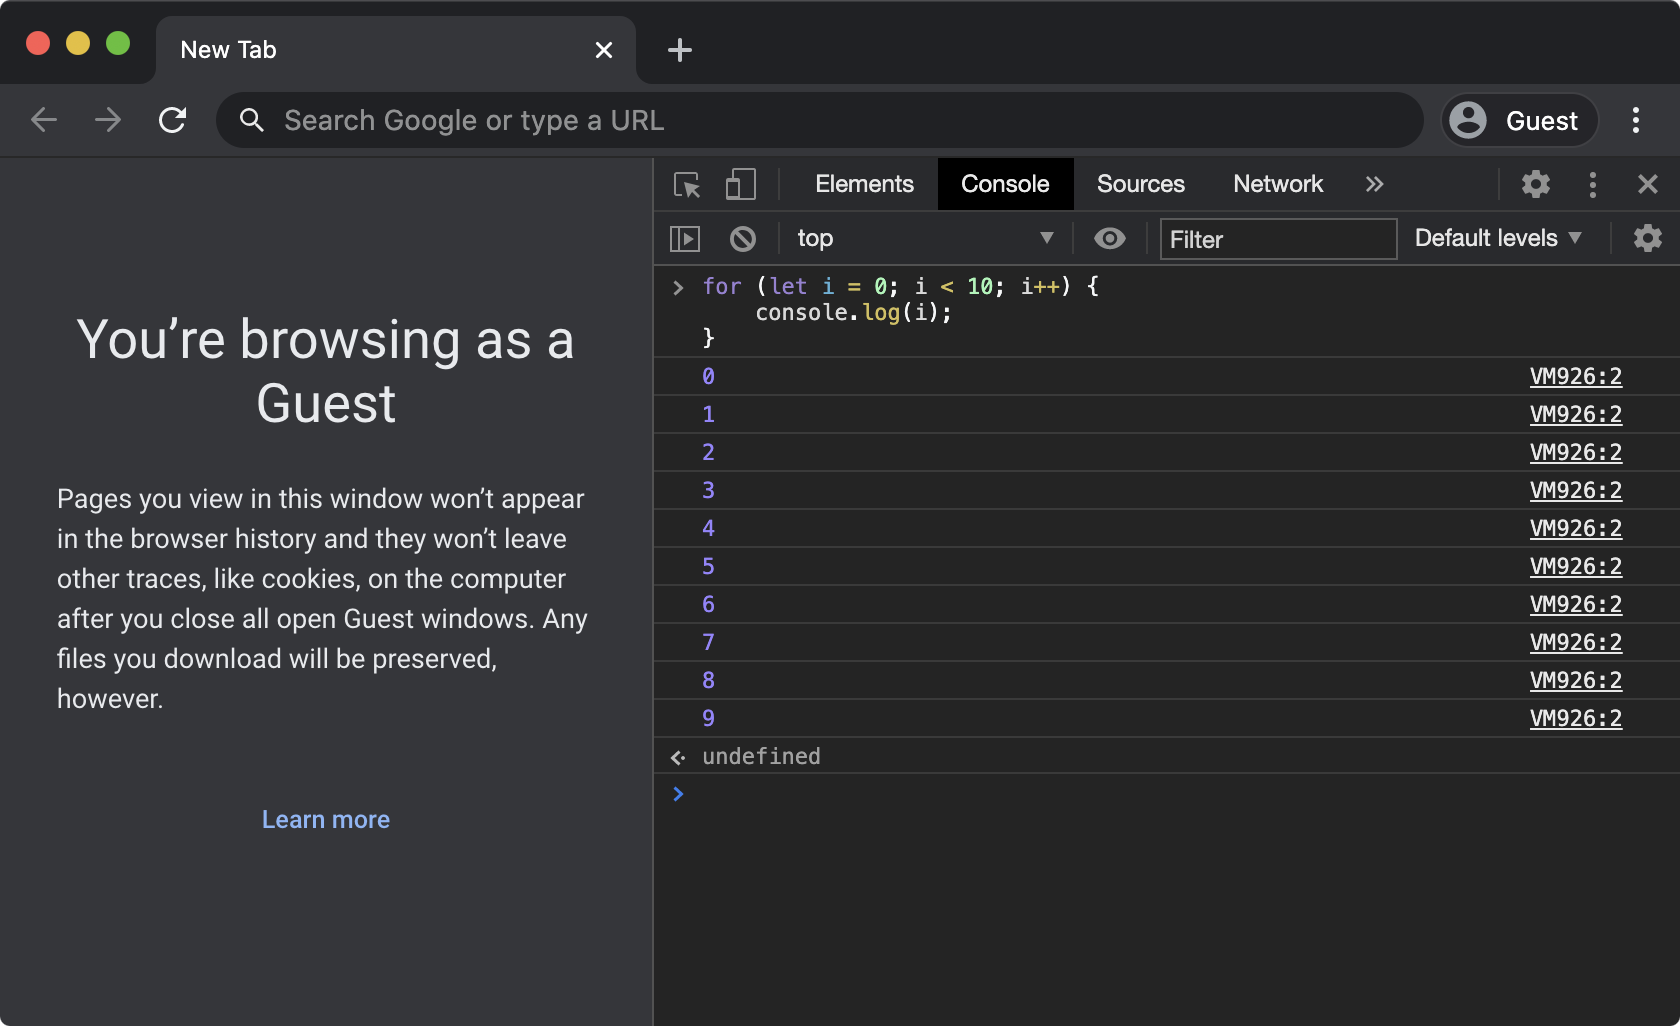
The for statement loops through a block of code for a specified number of times.
for (let i = 0; i < 10; i++) {  // before the for loop starts, i is set to be 0
  console.log(i);               // this line is run while i < 10 evaluates to true, otherwise this for loop is finished
}                               // i++ is the same as i = i + 1, so i is incremented by 1 before i < 10 is evaluated again
while
The while statement loops through a block of code while a specified condition evaluates to true.
let i = 0;        // sets i to 1
while (i < 10) {  // loops the code block below only if i < 10 evaluates to true
  console.log(i);
  i++;            // increments i by 1
}
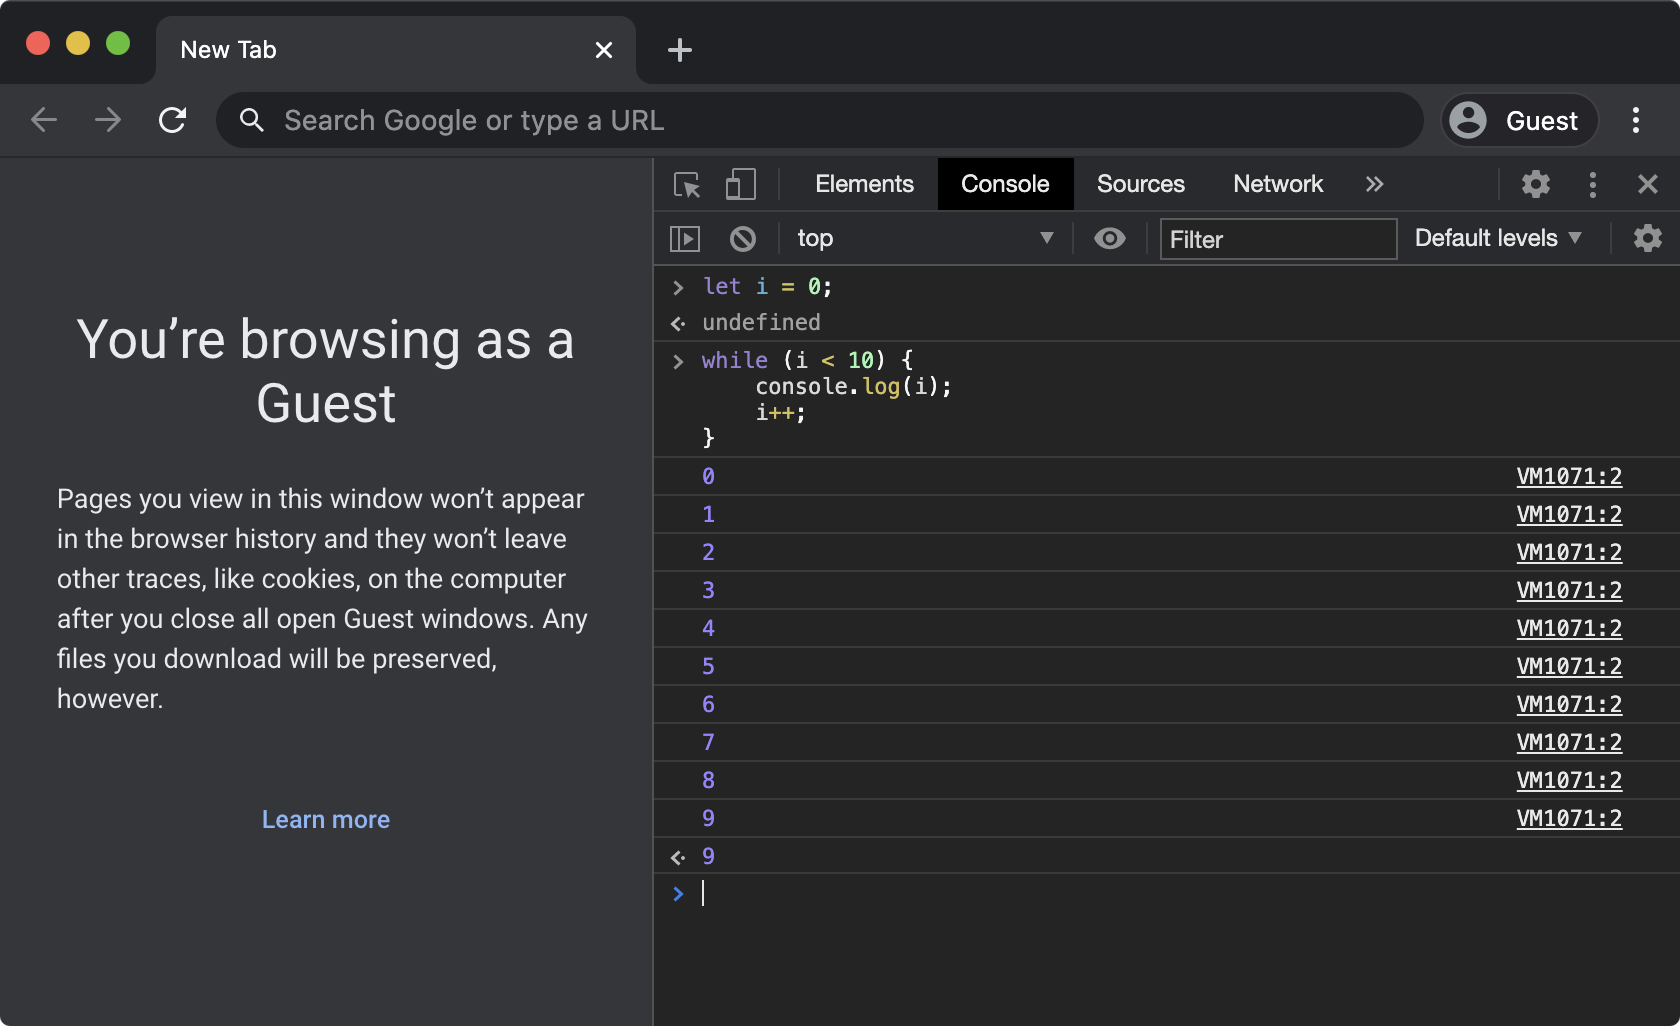
The above while example is equivalent to the previous for example, but since they are structured differently, they can be used to fit different needs.
- JavaScript for statement: https://www.w3schools.com/jsref/jsref_for.asp
- JavaScript for loop: https://www.w3schools.com/js/js_loop_for.asp
- Loops and iteration: https://developer.mozilla.org/en-US/docs/Web/JavaScript/Guide/Loops_and_iteration
Arrays
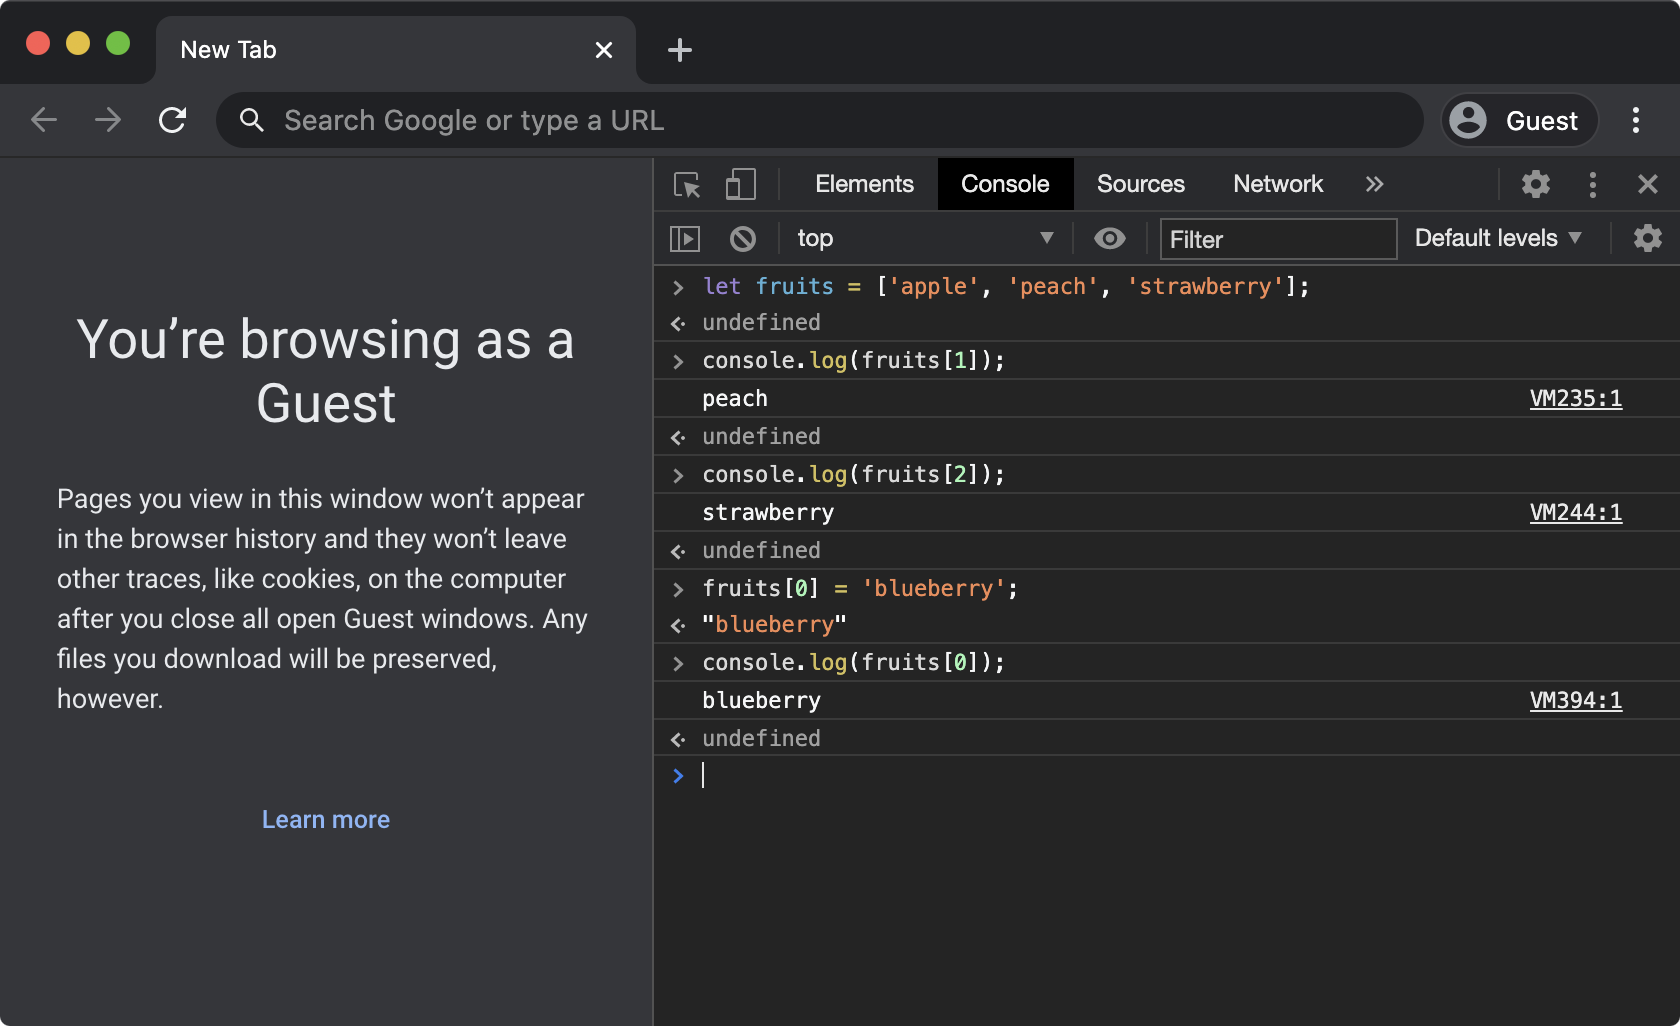
An array is a special data type that lets you store multiple values in a single variable. We access the individual values by specifying their indices in [], starting from [0] for the first value, [1] for the second value, and so on.
let fruits = ['apple', 'peach', 'strawberry']; // creates an array containing three different fruit names
console.log(fruits[1]);                        // logs the value with index 1 ('peach')
console.log(fruits[2]);                        // logs the value with index 2 ('strawberry')
fruits[0] = 'blueberry';                       // modifies the value with index 0 ('apple') to be 'blueberry'
console.log(fruits[0]);                        // logs the value with index 0 ('blueberry')
- JavaScript arrays: https://www.etihad.com/en-ae/
- Array: https://developer.mozilla.org/en-US/docs/Web/JavaScript/Reference/Global_Objects/Array
Manipulating HTML & CSS with JavaScript
Document Object Model (DOM)
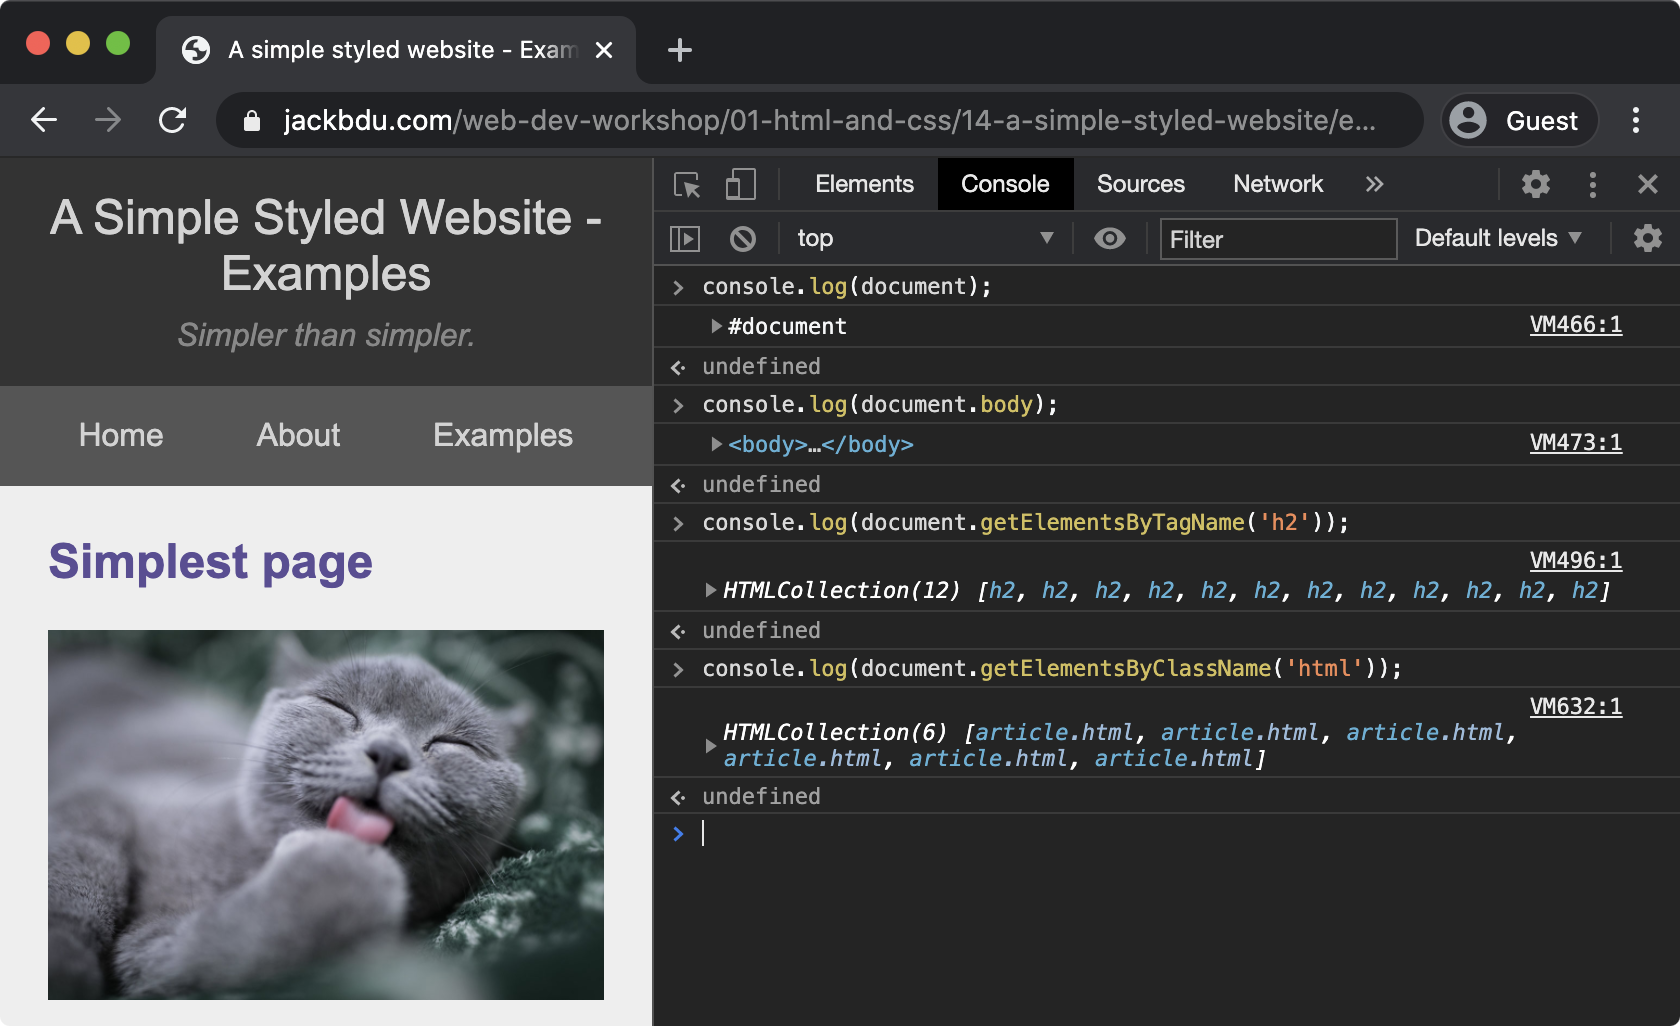
When a web page is loaded, the browser creates a Document Object Model. It allows JavaScript to control many aspects of the web page, including both HTML and its CSS styles. In order to access the HTML document object defined by DOM, we use the keyword document.
Here are a few examples:
console.log(document);                                // logs the entire DOM document object
console.log(document.body);                           // logs the body of the document
console.log(document.getElementsByTagName('h2'));     // logs an array of all <h2> elements in the document
console.log(document.getElementsByClassName('html')); // logs an array of all elements with class html in the document
The web page used in the following examples can be found here and the source code of the web page can be found here.
In addition, we can use document.getElementById() to access a specific HTML element by specifying its id.
- JavaScript HTML DOM: https://www.w3schools.com/js/js_htmldom.asp
- Document Object Model (DOM): https://developer.mozilla.org/en-US/docs/Web/API/Document_Object_Model
- JavaScript HTML DOM Document: https://www.w3schools.com/js/js_htmldom_document.asp
innerHTML
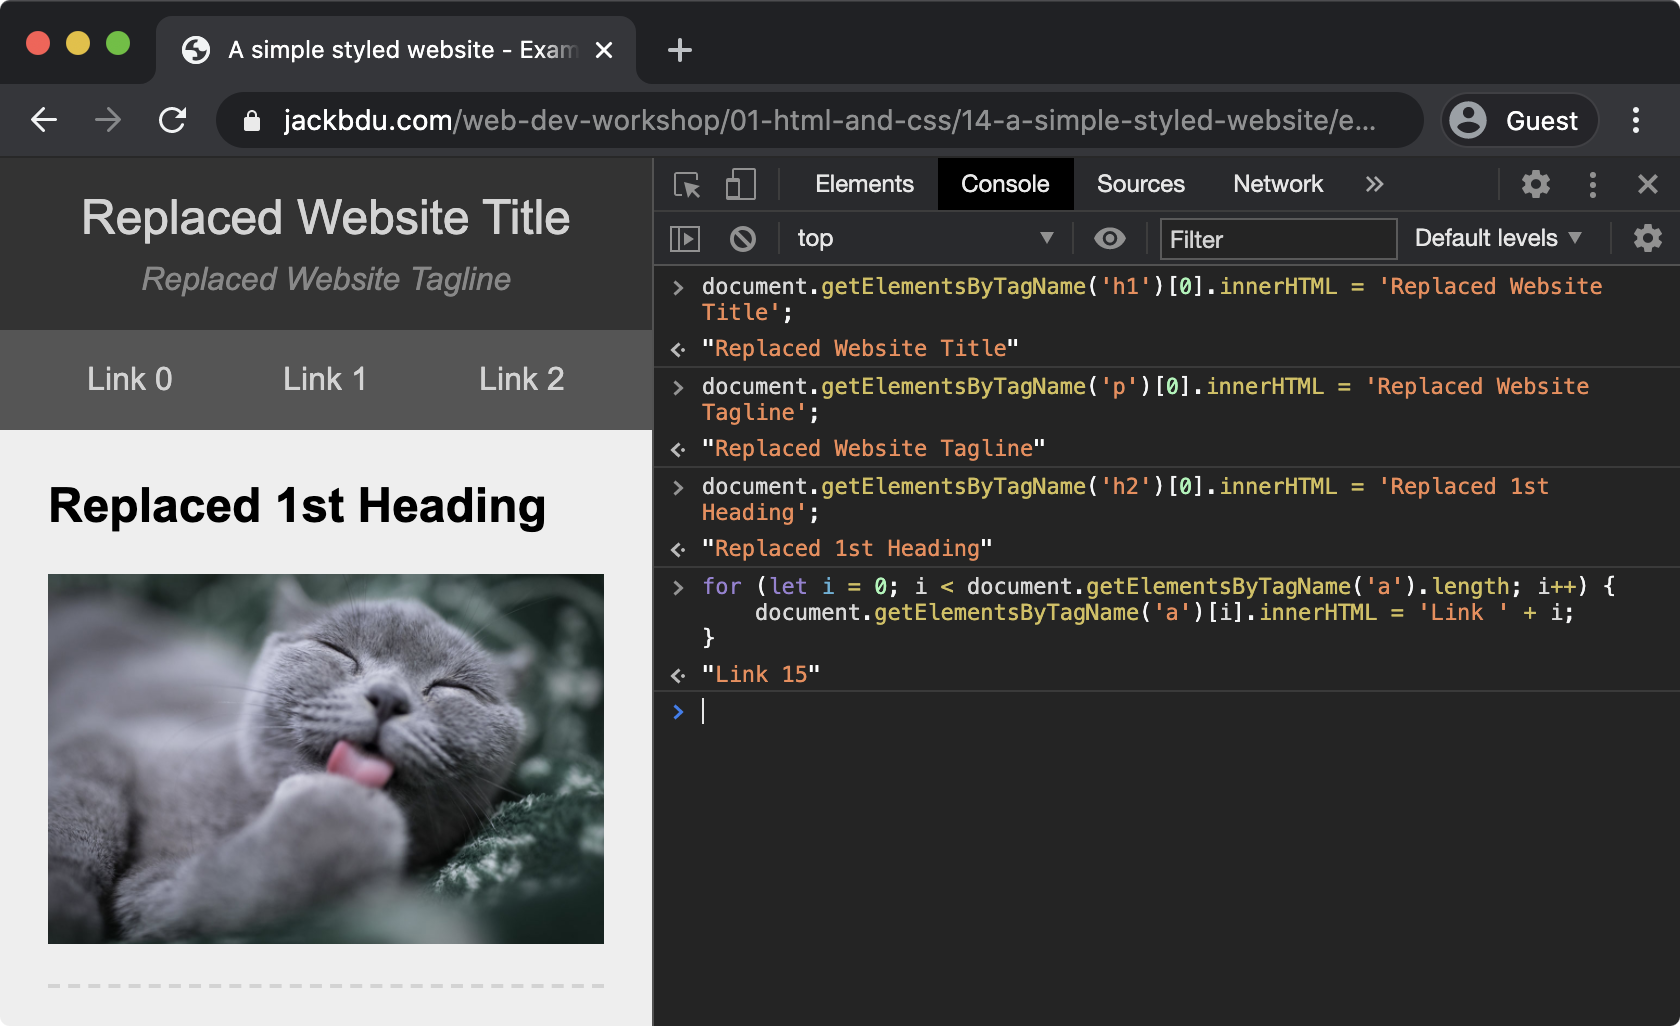
We’ve learned how to access different HTML elements in JavaScript, in order to modify the HTML content within the element, we use innerHTML. Note that document.getElementsByTagName() and document.getElementsByClassName() return an array of elements, so we need to specify the index of the exact element to be modified.
document.getElementsByTagName('h1')[0].innerHTML = 'Replaced Website Title';   // replaces the HTML content of the first <h1> element found
document.getElementsByTagName('p')[0].innerHTML = 'Replaced Website Tagline';  // replaces the HTML content of the first <p> element found
document.getElementsByTagName('h2')[0].innerHTML = 'Replaced Website Tagline'; // replaces the HTML content of the first <h2> element found
for (let i = 0; i < document.getElementsByTagName('a').length; i++) {          // iterates through all the <a> elements
  document.getElementsByTagName('a')[i].innerHTML = 'Link ' + i;               // replaces the HTML content of the <a> element with index i
}
- HTML DOM innerHTML property: https://www.w3schools.com/jsref/prop_html_innerhtml.asp
Style
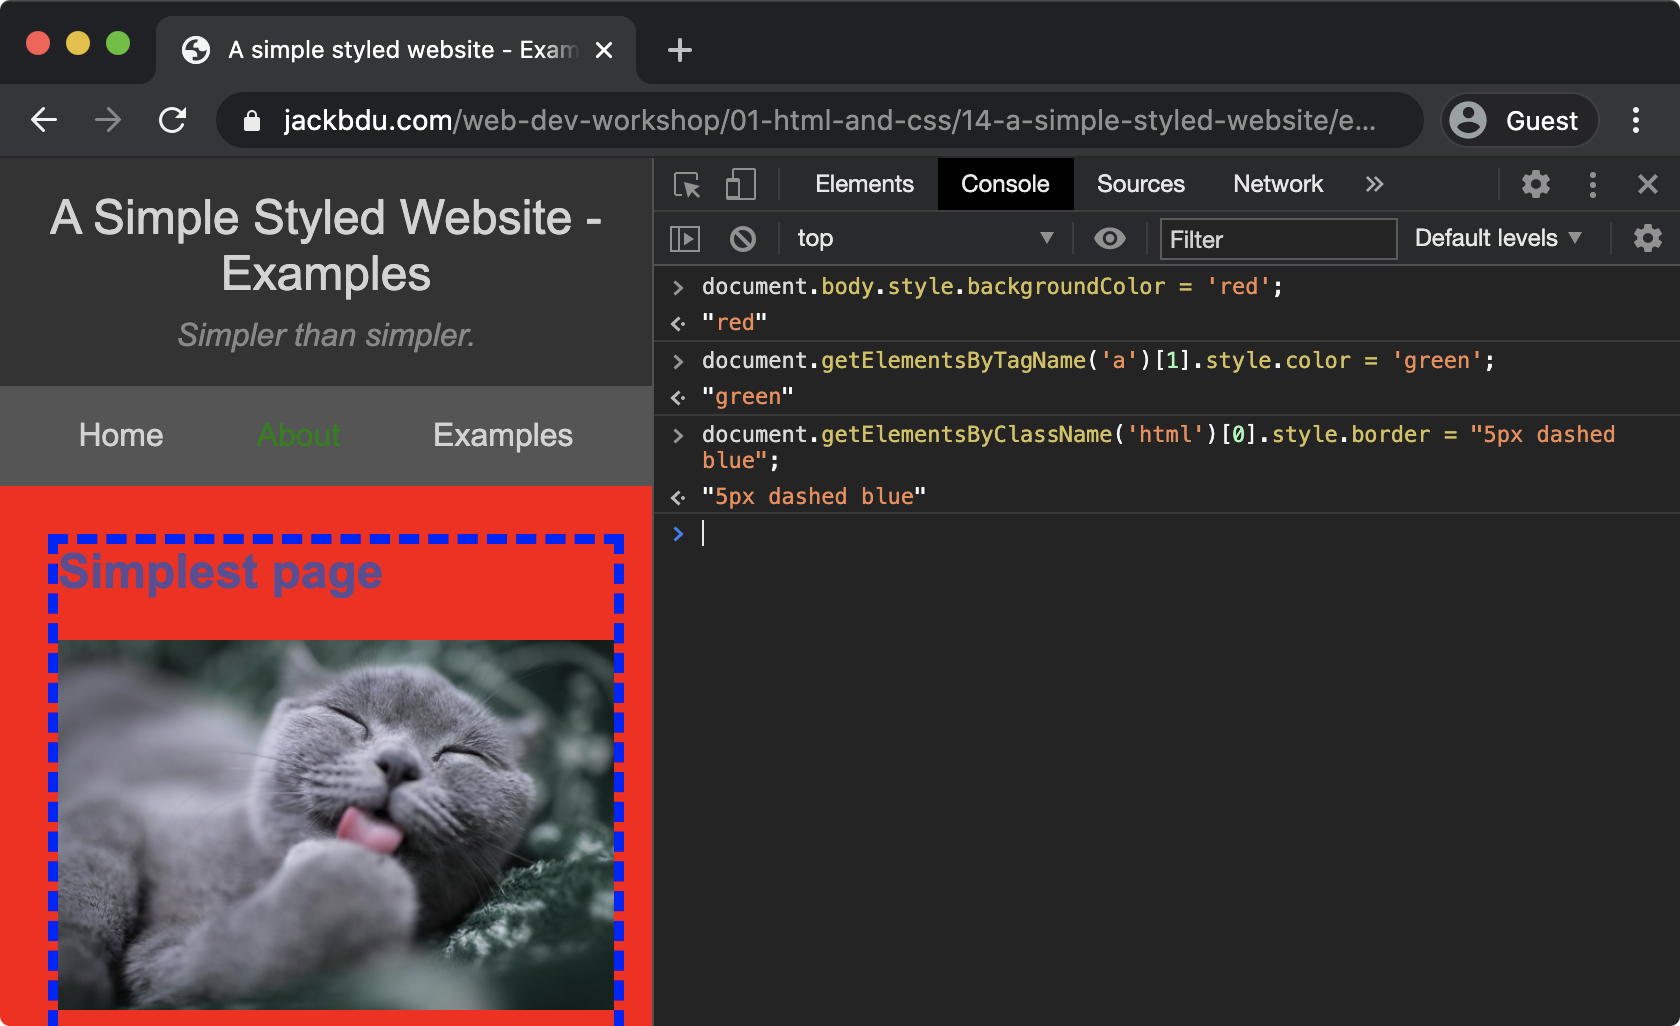
Similarly, we can use style to edit the CSS style of the element. Note that - is not allowed in JavaScript syntax, so we need to convert CSS property names into cameCase.
document.body.style.backgroundColor = 'red';                                 // sets background-color of body to be 'red'
document.getElementsByTagName('a')[1].style.color = 'green';                 // sets color of the second <a> element found to be 'green'
document.getElementsByClassName('html')[0].style.border = '5px dashed blue'; // sets the border of the first element with class 'html' to be be '5px dashed blue'
- JavaScript HTML DOM - Changing CSS: https://www.w3schools.com/js/js_htmldom_css.asp
- Camel case: https://en.wikipedia.org/wiki/Camel_case
Other resources
- JavaScript style guide and coding conventions: https://www.w3schools.com/js/js_conventions.asp
- Airbnb JavaScript Style Guide: https://github.com/airbnb/javascript
Suggested homework
- Make a simple game with all that you have learned
- It does not need to be a conventional video game, be creative!
- Note down your questions and bring them to the next workshop
- Of course, also bring your game to the next workshop so we can all have some fun together