Risograph Animations #risograph #animation #printmaking #analog #scribble #portrait #openframeworks #p5js #glsl #print-and-code #featured

In the past three years, as a part of my ongoing research, I have created well over 1000 computational sketches, in the forms of still images, short animations, and interactive visuals. I have always wanted to experiment more with analog mediums as I am curious about how visuals that are usually shown on digital screens will render on analog mediums. This fall, I am taking Tega Brain’s Print and Code at NYU’s Integrated Design & Media program, where I learned techniques of risograph printing. I decided to turn three videos of my past sketches, each representing a distinct style of my work, into risograph animations.
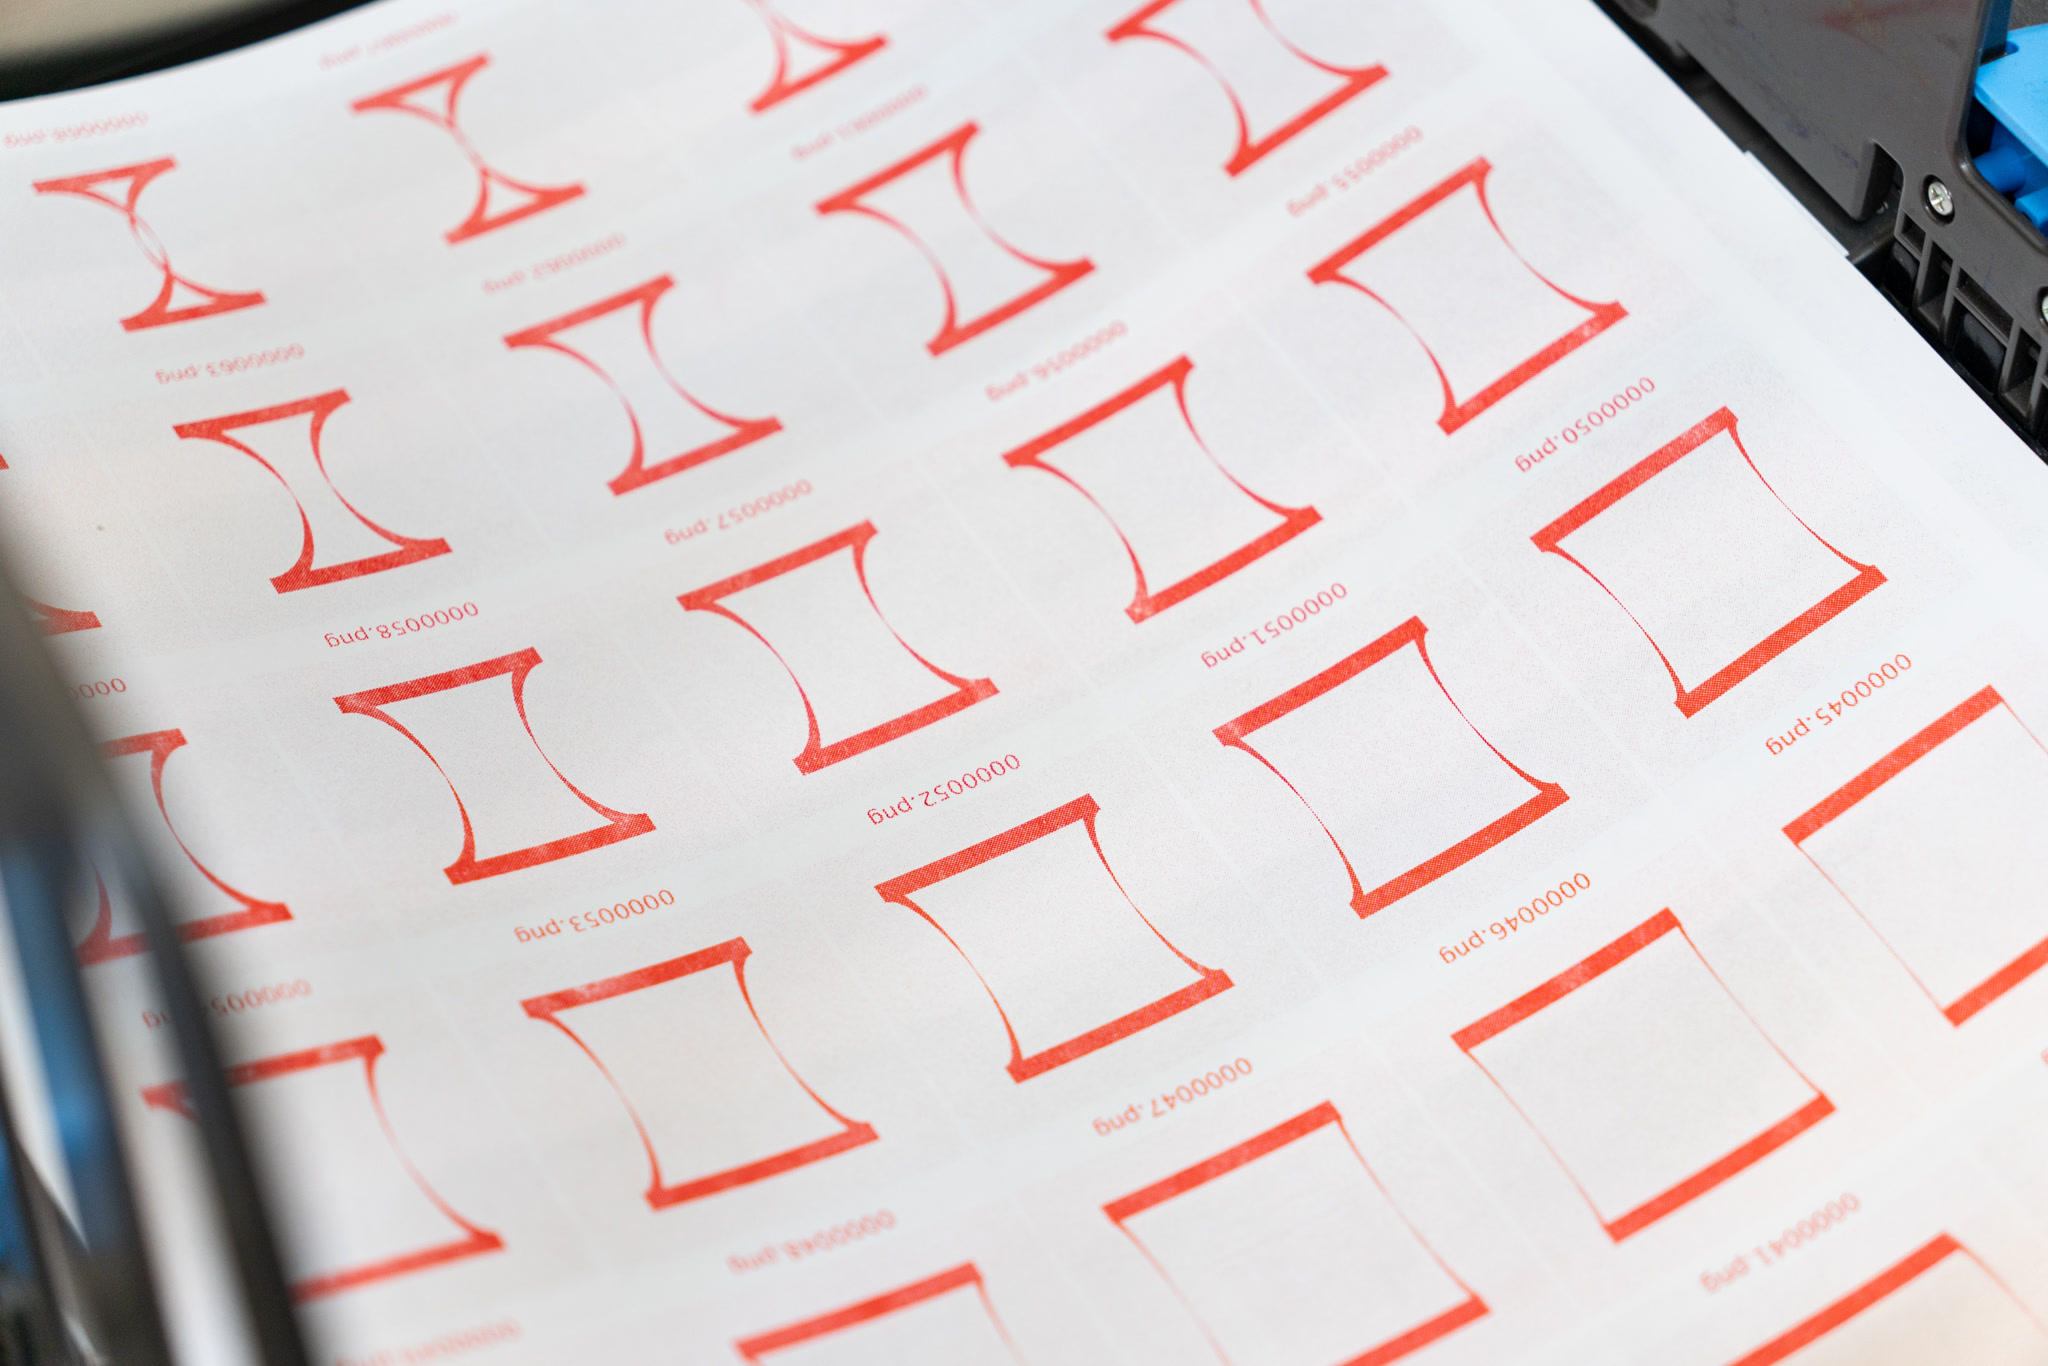 |
|---|
| Morphing Shapes - Contact Sheet in Red |
The first video I selected, titled Self-Portrait, is a short clip of me lifting and letting go of my hair. My image is depicted through clusters of scribbles of varying intensity, acting as pixels in different shades. Pixelation is a recurring element in my work. I think of pixelation as a nostalgic nod to retro technology—a montage to the past that also evokes a sense of mystery, perfectly capturing the imperfections of screens as a medium for visual representation. From a more technical perspective, I was curious to see how risograph printing would translate the intricate scribbles onto paper.
| Self-Portrait - Original Video | Self-Portrait - Risograph Animation |
|---|
The second video I selected was a simple animated loop of a circle morphing into a square, and then back into a circle. This was one of the first sketches I created using openFrameworks, a C++-based creative coding framework. Due to its simplicity and calligraphy-inspired wide strokes, I thought it would be particularly well-suited for risograph printing. I was pleased with the result—the graininess of the risograph print was clearly seen in the bold, bright red strokes.
| Morphing Shapes - Original Video | Morphing Shapes - Risograph Animation |
|---|
While working with the scanned frames of this video in Adobe Photoshop, I accidentally switched the blend mode to “Multiply” on all layers. What I saw was a single, blended image that combined all the frames of the animation, creating a texture that was far more satisifying than the indiviudal frames. This discovery made me want to explore this technique further.
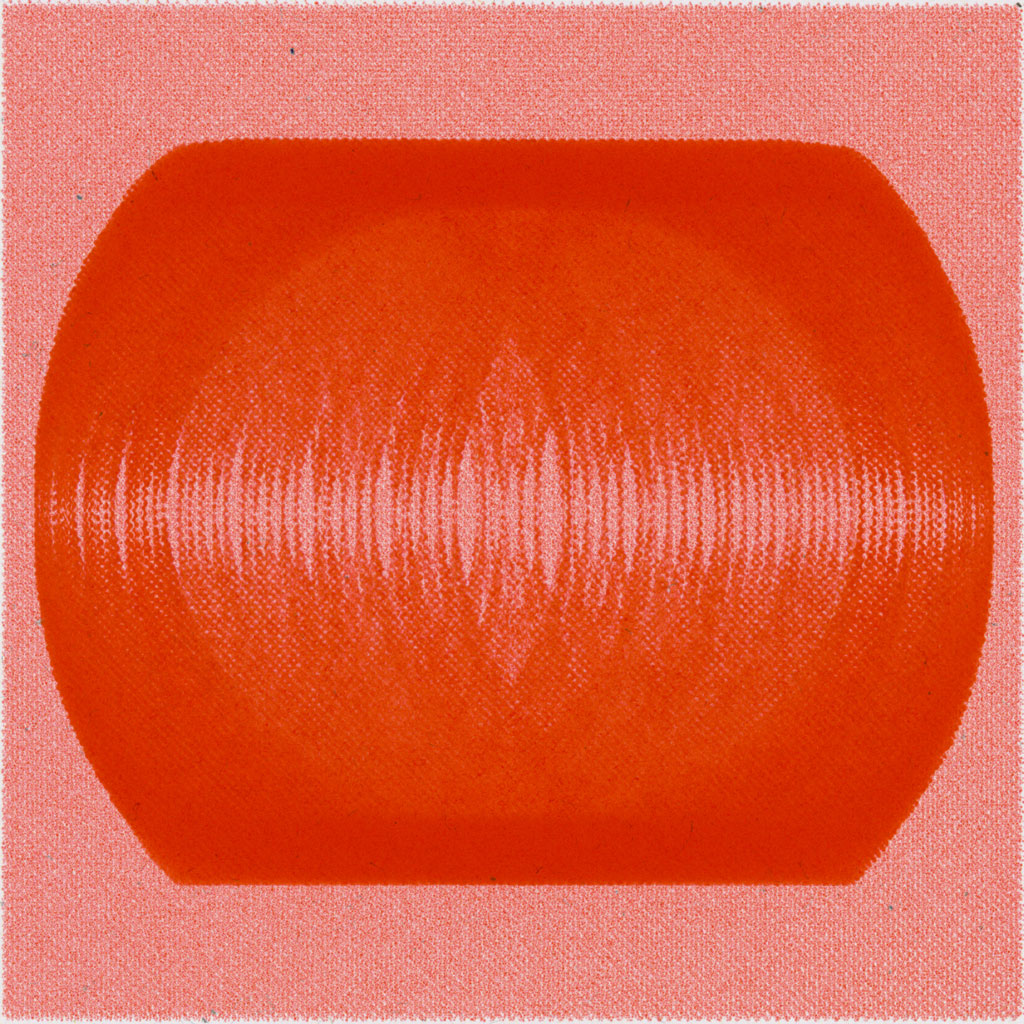 |
|---|
| Morphing Shapes - All Frames Blended Together |
The third and final video I chose was a recent experiment in creating fluid-like visuals using GLSL shaders—programs that run on the graphics processing unit (GPU) rather than the central processing unit (CPU). The key distinction is that the code runs in parallel for every pixel of the image, allowing color gradients to be rendered much more quickly. The first two videos were both monochrome, while this one features vibrant colors that blend smoothly. For this final piece, I initially wanted to print in magenta, yellow, and blue. However, after hours of testing, I discovered that with the risograph printer I was using, blue prints didn’t align properly with prints of any other colors, whereas prints of all other colors aligned nearly perfectly. I have yet to find a solution, as the printer only allows for horizontal and vertical offset adjustments, not tilt. Ultimately, I decided to print using magenta, yellow, and green. However, I also experimented with digitally combining red, yellow, and blue prints in post-production, which, to me, looked very convincing.
| Fluid - Original Video | Fluid - Risograph Animation in Magenta, Yellow, and Green |
|---|
| Fluid - Risograph Animation in Red, Yellow, and Blue |
|---|
One other thing I discovered during printing was that with abstract visuals like those in my third video, it was very difficult to determine the correct order and orientation of the prints, especially with a light color like yellow. It wasn’t until post-production that I realized the yellow prints had been printed in the completely opposite direction. In the future, I plan to print filenames on the contact sheets to help avoid this confusion.
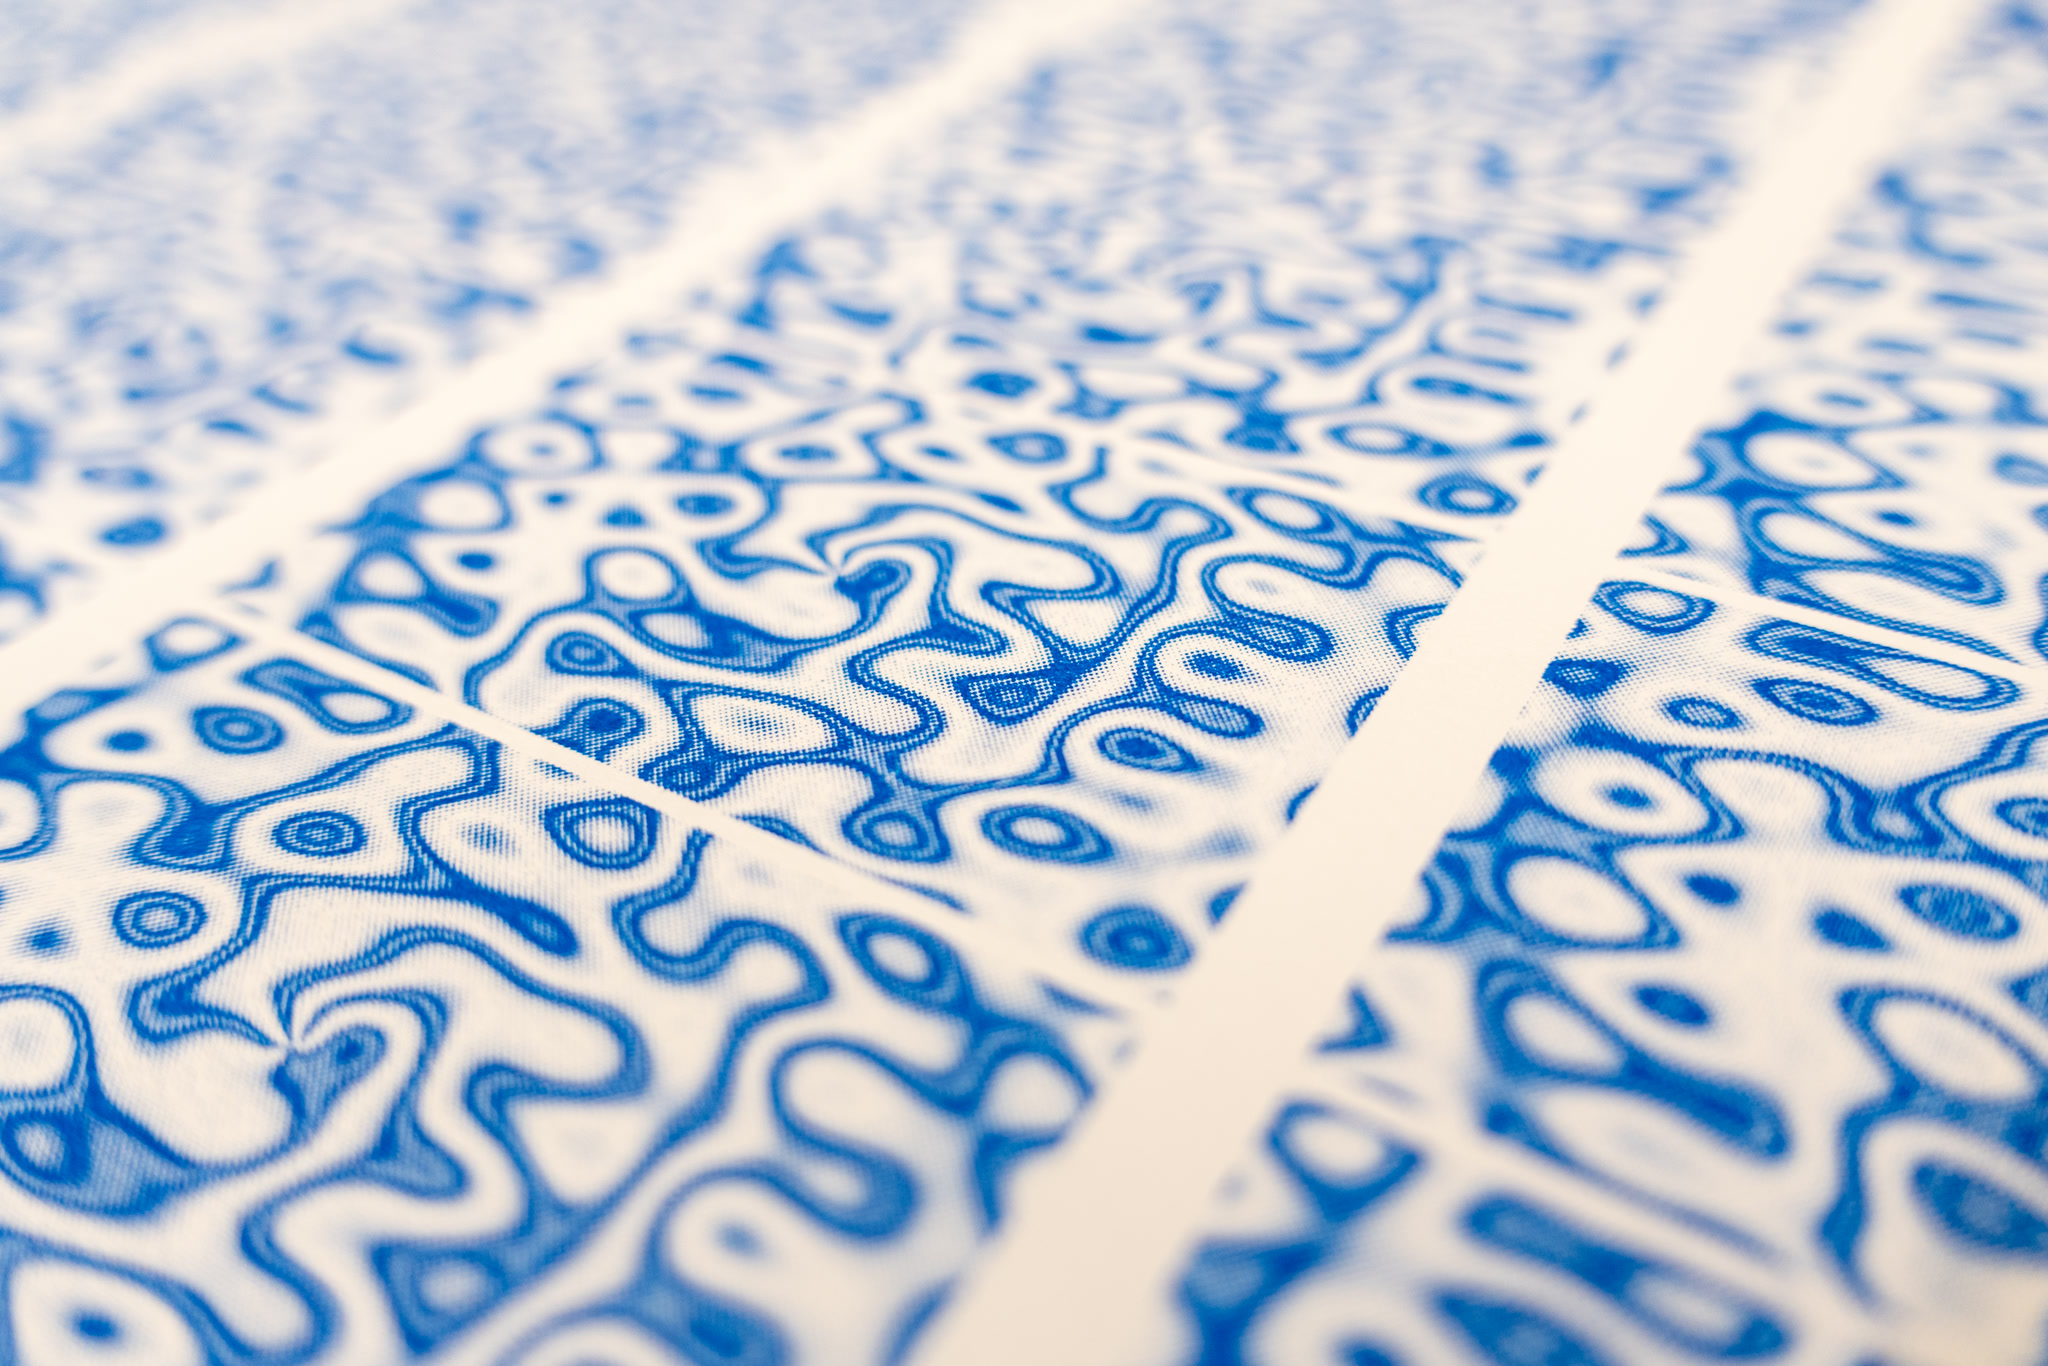 |
|---|
| Fluid - Contact Sheet in Blue |
In summary, following Tega’s instructions, I first converted my videos to contact sheets, which are grids of every frame of the videos. I then printed all the contact sheets using various color combinations with the risograph printer. Once the prints were dry, I selected the best ones and scanned them using the archive scanner in the print lab, saving the files in TIFF format at 600 DPI. Next, I imported the scans into Adobe Lightroom for some minor adjustments before moving them to Adobe Photoshop. Thanks to the script Ryan Kawahara found and shared, slicing the contact sheets into individual frame layers was straightforward. I used Adobe Photoshop’s animation tools to compile the frames into an animation. After making some additional manual adjustments to the frames, I rendered the frames into individual PNG files. Finally, I used a Makefile I created for my daily experiments to automate the conversion of the folder of numbered images into three formats: a high-resolution MP4 video, a high-resolution GIF, and a lightweight low-resolution GIF.
Overall, this project was a therapeutic and pleasantly surprising experience. I love the vibrant colors produced by the risograph printer, as well as the beautiful grain pattern resulting from this process. While the grain was barely visible when viewing the prints directly, it became much more pronounced when scanned and displayed on a large screen. As an artist always seeking ways to highlight and leverage the imperfections of machines and computer systems, as well as the inherent ambiguity and flaws in human visual perception, risograph printing has opened up tremendous creative opportunities for me to explore and express myself.